
Homeowners: Test If Stone Is Sealed With a Water Drop in 15 Minutes
A water-drop test tells you in about 15 minutes whether your stone is sealed: if the drop beads up and stays domed without darkening the stone underneath, your sealer is working. If it soaks in and the stone darkens, you need to reseal soon. When results are mixed, clean the spot and run the test again before deciding anything.
TL;DR:
- Clean an inconspicuous spot with a pH neutral stone cleaner, then let it dry for 24 to 48 hours to prevent false results.
- Treat partial beading or slow darkening as a gray zone: reseal preventively now, or retest in three months; rapid absorption calls for prompt resealing.
- Retest ordinary indoor stone about once a year, but check kitchens, showers, and pool surrounds every few months and record each result.
- Dense granite may not absorb sealer, while honed stone generally absorbs more than polished stone; verify compatibility before choosing a product.
- If wax or an old coating makes results uncertain, degrease and retest; use alcohol on a separate spot because it can strip surface residue.
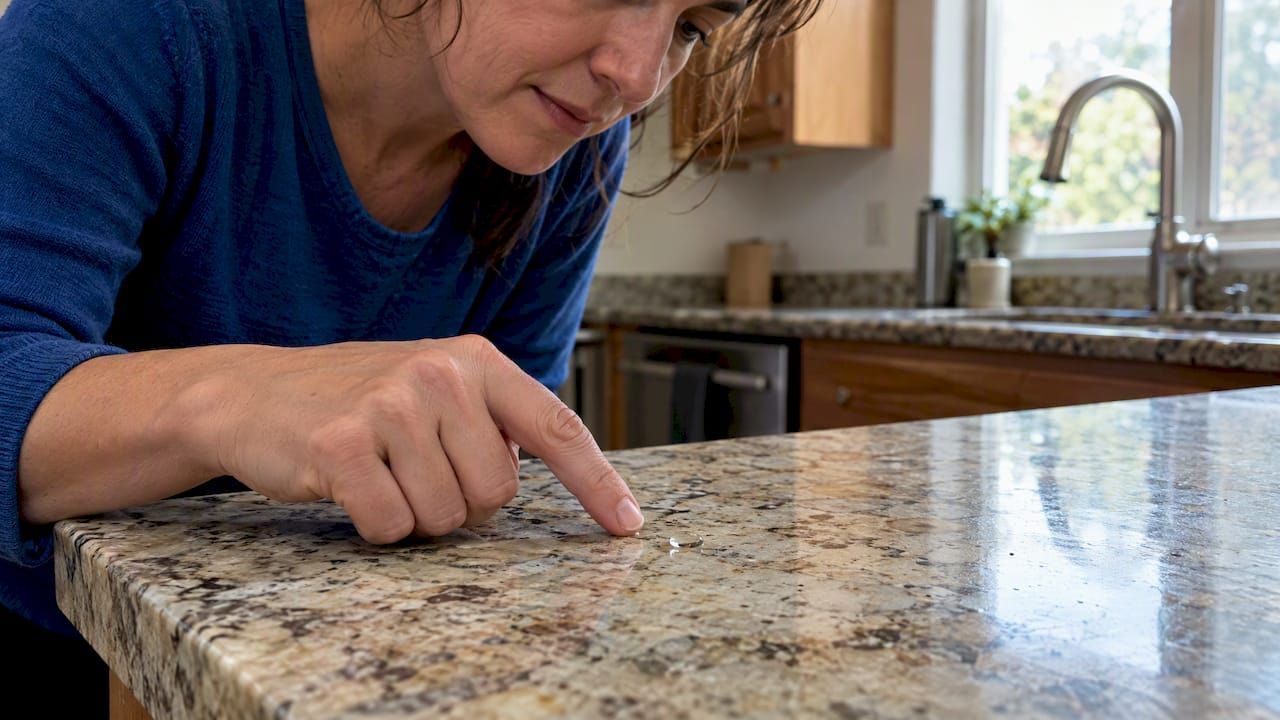
Table of Contents
- Do the water-drop (bead) test step-by-step
- Confirmatory tests and when to use them
- How to interpret results and choose the next action
- Prep and cleaning before testing and before sealing
- Why some sealers are hard to detect
- Eco-friendly product guidance for sealing and maintenance
- Performance-based testing beats calendar-only schedules
- How we can help with sealing and cleanup
- FAQ
- Sources
Do the water-drop (bead) test step-by-step
This test is the fastest way to check a penetrating sealer's performance, and you can run it with things already in your kitchen.
- Clean a small, inconspicuous section of stone with a stone-safe, pH-neutral cleaner, then dry it fully. Skip this step and old wax or soap film can give you a false reading.
- Apply a small amount of water, such as a few tablespoons, in two or three different spots on the test area.
- Cover each puddle with a small glass or cup to stop evaporation from skewing your results.
- Let it sit undisturbed for a typical period recommended for observation (several minutes), then check from eye level rather than looking straight down, since darkening is easier to miss from above.
- Blot the water away and compare the spot's color to the dry stone around it, noting what you saw and where, especially if you're testing several surfaces.
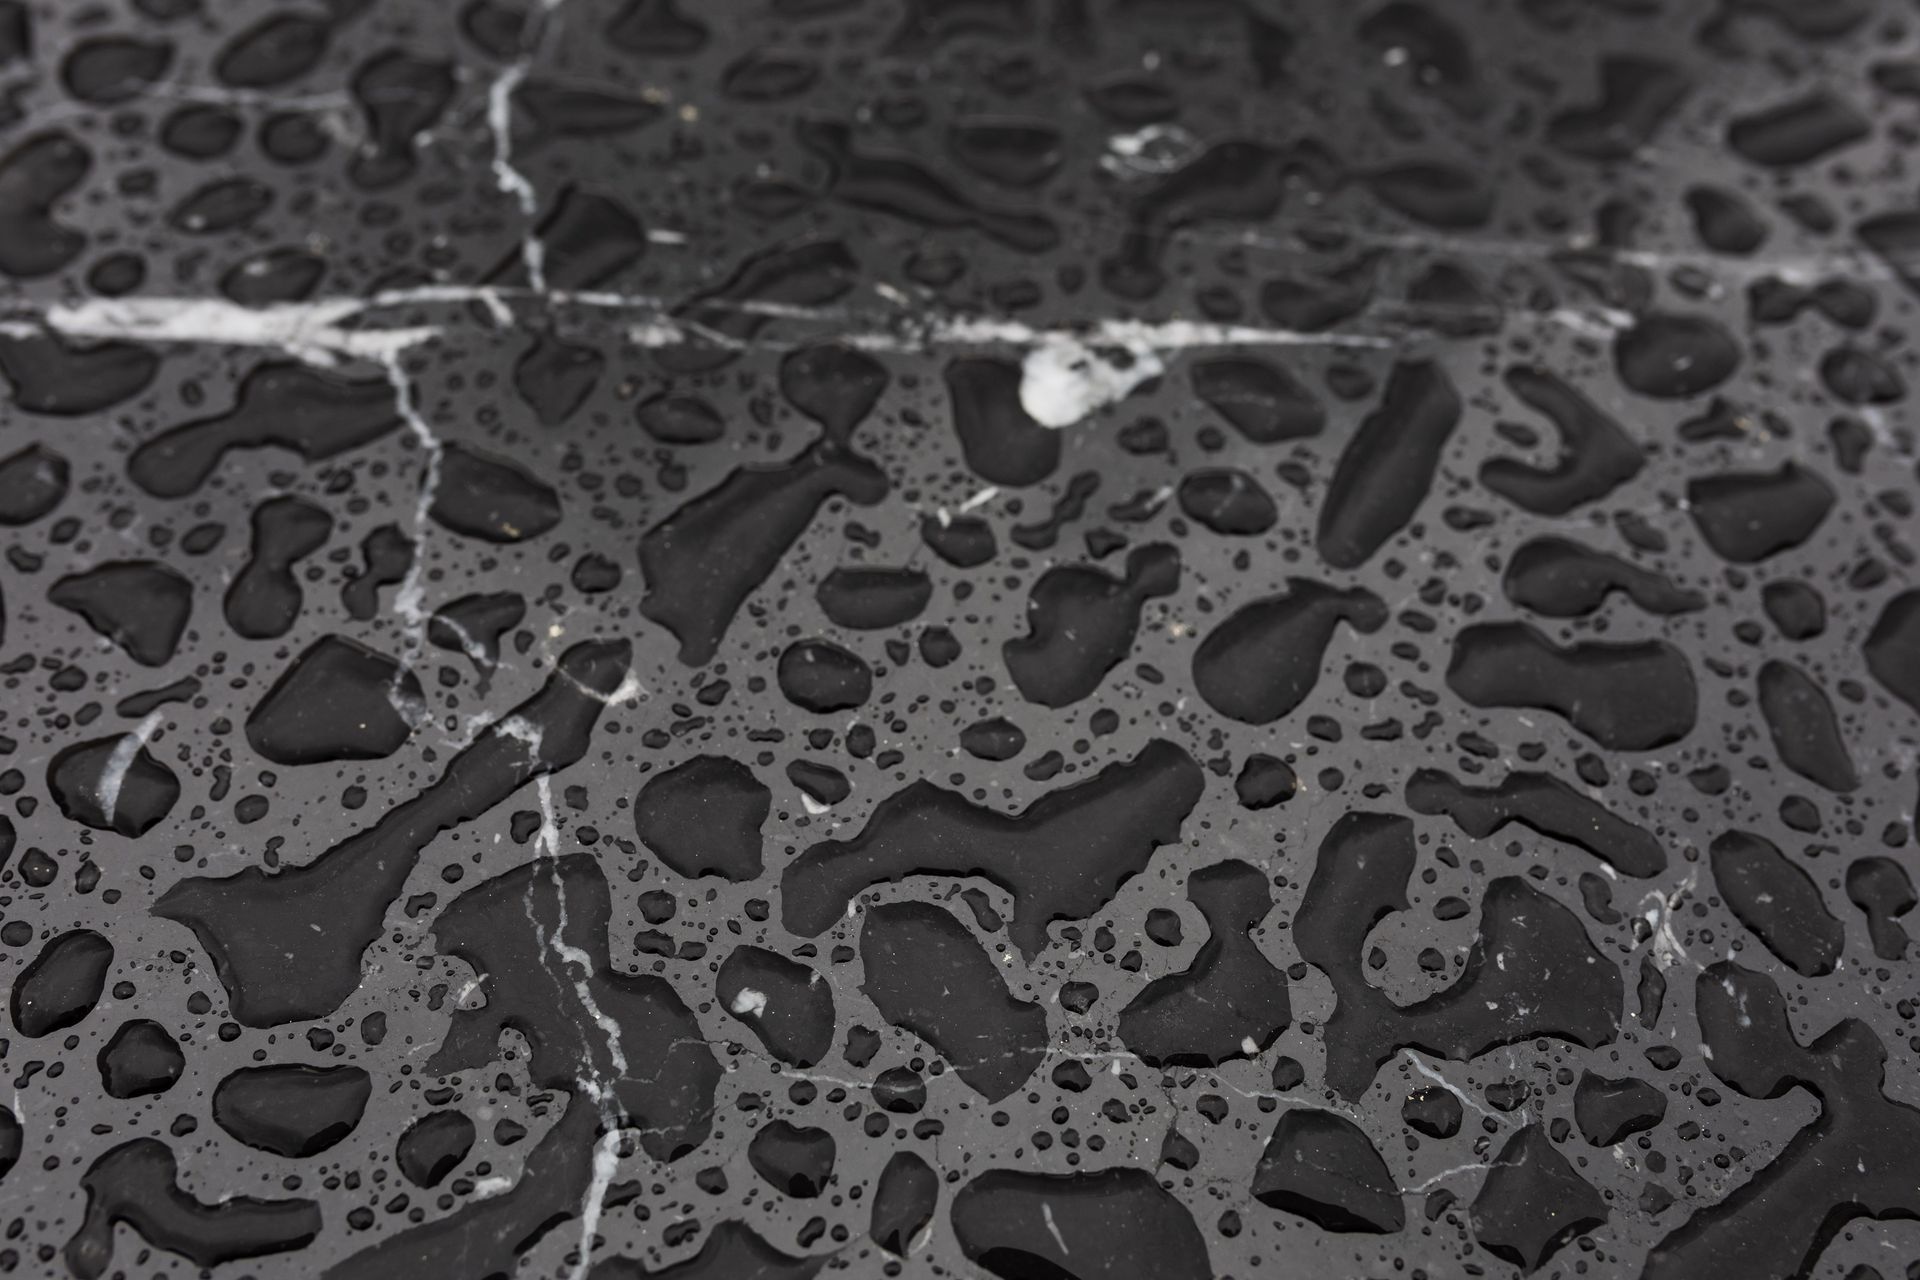
A bead that holds its dome and leaves no color change for the full window is the benchmark for a working seal , according to SlabWise's water drop test guide. A flattened bead or a damp, darkened ring means water is getting into the stone, and that calls for resealing. Manufacturer guidance from LATICRETE's technical datasheet extends the observation window to 20 minutes and recommends covering the drop specifically to prevent evaporation from mimicking a pass.
Confirmatory tests and when to use them
Sometimes the water test leaves you unsure, especially on stone with a waxy residue or an old topical coating sitting on top of the pores. A few quick follow-ups can clear up the picture.
- Clean the spot again with a stone-safe degreaser and retest; leftover wax can make unsealed stone look protected.
- Try a small alcohol spot test for a faster read on surface repellency, since alcohol evaporates quickly and doesn't require a long wait.
- Use an oil blot test to check oil repellency specifically, but wipe it up immediately since oil stains more aggressively than water.
- For larger restoration projects or historic stone, professionals sometimes use a contact-sponge or Karsten tube test, which measures capillary water absorption with more precision than a simple drop test.
Pro Tip: Run the alcohol test on a different spot than your water test. Alcohol can strip light surface residue, which would throw off a water retest on the same area.
How to interpret results and choose the next action
Not every result means the same thing, and your next step depends on where the stone lives in your home.
- Pass (strong bead, no darkening): retest in about 12 months for most indoor surfaces, sooner for high-use or wet spots.
- Gray zone (partial beading or slow darkening): treat it as preventative maintenance territory, reseal now or retest in 3 months.
- Fail (water soaks in fast): reseal promptly, and look for a sealer rated for higher absorption stone.
- Location matters : kitchens, showers, and pool surrounds deserve faster action than a dry decorative stone accent that rarely sees moisture.
If you want more on why sealing pays off in the first place, our piece on how to clean and seal patio pavers for a pristine finish covers expert tips relevant for maintaining your outdoor stone and pavers.
Prep and cleaning before testing and before sealing
A test is only as good as the surface it's run on, and the same prep work applies before you seal.
- Clean with a stone-safe, pH-neutral cleaner to strip grease, wax, or old residue, then let the stone dry 24 to 48 hours before testing or sealing.
- Avoid acidic cleaners entirely. They etch stone and can permanently dull a polished finish.
- Follow the sealer's listed cure time exactly rather than guessing, since rushing this step is one of the most common reasons a fresh seal fails its first water test.
- If you need to strip old sealer first, test a small hidden area before treating the whole surface, and bring in a professional for large jobs.
Pro Tip: Let the stone dry fully between cleaning and testing. A damp surface can trap moisture that mimics a failed seal even when the stone is actually protected.
Why some sealers are hard to detect
Impregnating sealers soak into the stone's pores and typically leave no visible change, which is exactly why the water-drop test exists: it reveals performance you can't see with your eyes. Topical coatings sit on top of the surface instead, so they're usually easier to spot by sheen or texture alone.
Some very dense stones, certain granites especially, are naturally close to non-absorbent and may not take on sealer at all, as LATICRETE's guidance notes. In that case, the water test simply confirms sealing isn't necessary. Porosity varies by stone type and finish, honed stone generally absorbs more than polished stone, and that's what drives both sealer choice and how long it lasts. Our guide to sealer compatibility with different stone types walks through matching chemistry to stone.
Eco-friendly product guidance for sealing and maintenance
Once you know your stone needs sealing, a simple workflow keeps things straightforward: clean, dry, test, seal, cure, retest. We focus on plant-based, low-VOC cleaners and impregnating sealers built around that exact sequence, since harsh acidic cleaners and heavy-VOC sealers can damage sensitive stone or leave fumes behind in a kitchen or bath.
A practical checklist looks like this: clean the surface, let it dry fully, run your water test, choose an impregnating sealer matched to your stone, allow the full cure time, then retest at 24 hours to confirm it took. Always check that the sealer is listed as compatible with your specific stone finish before applying it. Our stone and grout sealers category is a reasonable starting place if you're shopping for that step, and our eco-friendly maintenance tips cover the routine care in between sealings.
Performance-based testing beats calendar-only schedules
I'd rather see homeowners test and record results than seal on a fixed yearly schedule out of habit. A quick water-drop test every few months in high-traffic or wet areas, logged with the date and outcome, tells you far more than a reminder on your calendar ever will.
Lean conservative in stain-prone spots: kitchen counters, shower floors, pool surrounds. If the gray zone shows up repeatedly in the same place, that's a pattern worth acting on, not waiting out.
How we can help with sealing and cleanup
Once your water test tells you where you stand, we carry what you need to act on it. Our stone and grout sealers are formulated as impregnating protectors, plant-based and low-VOC, built for exactly this clean-dry-seal-cure routine.
A simple starter setup covers most homes:
- A stone-safe degreaser for the prep and cleaning step before any test or application.
- An impregnating sealer suitable for different stone types and finishes.
- Basic applicator cloths and a retest plan at 24 hours to confirm the seal took.
Browse our stone and grout sealers category to find the right fit for your surface, or check our stone care maintenance kit guide for the full supply list.
FAQ
What is the stone water test?
The stone water test, often called the water-drop or bead test, checks whether a sealer is still working by placing water on the surface and watching how it behaves over 10 to 15 minutes. A bead that holds without darkening the stone signals a working seal, according to SlabWise.
Do you need to seal natural stone?
Most natural stone benefits from sealing, particularly in kitchens, bathrooms, showers, and outdoor or pool areas exposed to water, oil, and heavy traffic, per Solidshape's sealing guide. Very dense stones may not absorb sealer at all, and the water test is how you find out which category yours falls into.
How can I tell if my granite has been sealed?
Run a water-drop test on a clean, dry section: cover a small puddle, wait 10 to 15 minutes, then blot and check for darkening. If the water beaded and the stone stayed the same color, it's likely sealed or dense enough not to need it.
What sealer should I use on natural stone?
The right sealer depends on your stone type and finish, so check product labels for compatibility before applying anything. Impregnating sealers that penetrate the pores, like our stone and grout sealers, work well for most natural stone surfaces that show water absorption during testing.
How often should I retest sealed stone?
For most indoor stone, a yearly water-drop test is a reasonable check, while kitchens, showers, and pool surrounds warrant retesting more often due to heavier water exposure. If a test lands in the gray zone, a 3-month retest is a reasonable follow-up before committing to a full reseal.
Sources

