
Restore Faded Pavers: Homeowners, Let Them Dry for 24 Hours
To restore faded pavers, clean and diagnose the cause, replenish joint sand, then restore color and finish with a breathable sealer. Skipping steps, especially re-sanding or sealing before pavers dry, causes patchy results. The order matters more than any single product you choose, and getting it right protects both the color and the stone underneath.
TL;DR:
- If white haze disappears when wet and returns as it dries, treat it as likely efflorescence and use a targeted remover, not generic acid.
- For pressure washing, test a roughly 40 degree fan nozzle on a hidden patch, keep the wand moving, and avoid spraying directly into joints.
- Remove degraded polymeric sand before refilling, then compact fresh sand and lightly mist it; layering new material over old residue weakens the joints.
- For severe fading, penetrating dye offers a natural look on concrete; acrylic stains suit concrete and some stone but wear faster under heavy foot traffic.
- Choose a breathable sealer, test it on a hidden patch, follow label conditions, and reseal every three to five years.
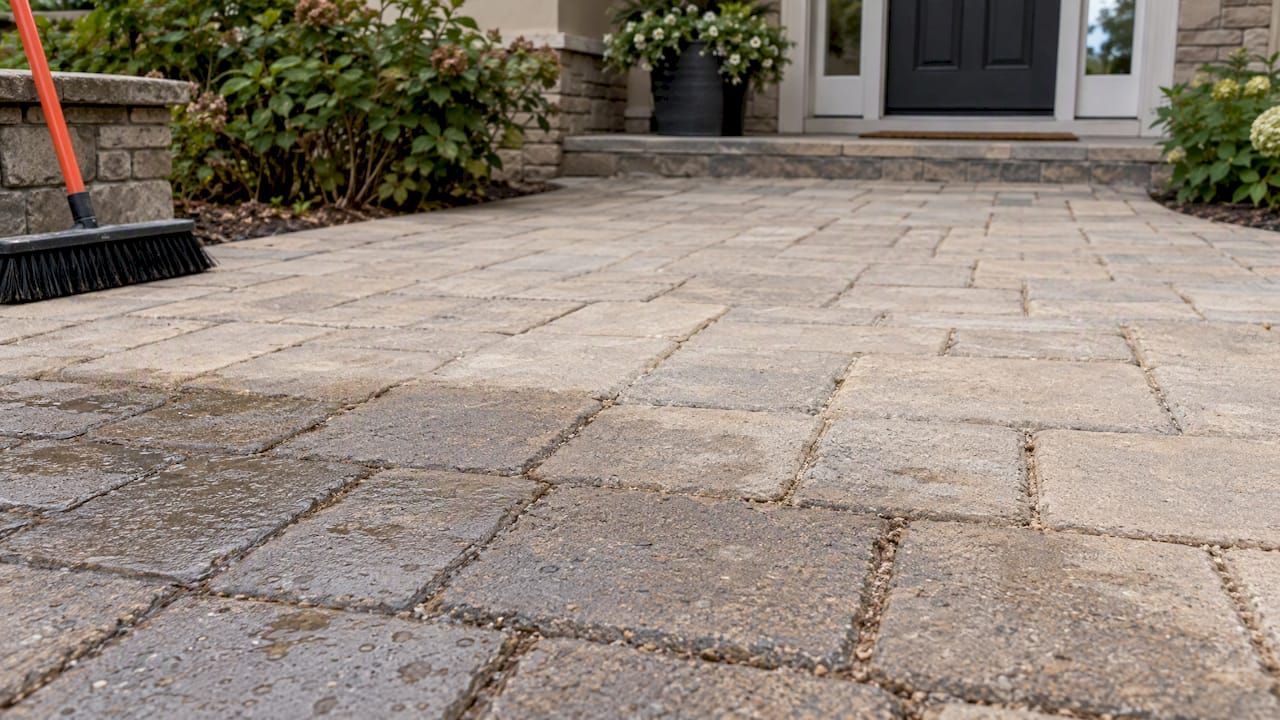
Table of Contents
- Is It Dirt, Efflorescence, or True Color Loss?
- Cleaning, Drying, and Re-Sanding: The Steps That Come First
- Choosing a Color Restoration Method
- Sealing for Long-Term Protection
- Keeping Restored Pavers Looking Good
- Why This Order of Operations Holds Up
- A Practical Note on Getting This Right
- What to Use at Each Step of Paver Restoration
- FAQ
- Sources
Is It Dirt, Efflorescence, or True Color Loss?
Before touching a cleaner or sealer, figure out what you're actually looking at. A chalky white haze on the surface usually isn't permanent fading at all. According to CMHA, efflorescence is a frequent misconception homeowners mistake for permanent fading. It's a surface mineral deposit caused by calcium reactions, and it responds to targeted removal products rather than harsh chemicals that can damage the paver face.
A few simple checks help you tell the difference:
- Wet test: wet the area; if the haze disappears when wet and returns as it dries, it's likely efflorescence, not fading.
- Small-area cleaning test: clean a hidden patch first and compare the result before treating the whole patio.
- Wait-and-observe: some efflorescence fades on its own as the mineral deposits weather away.
If the dullness stays even when wet and resists gentle cleaning, you're dealing with genuine pigment loss from sun and weather, not a surface deposit.
Pro Tip: Never reach for a generic acid cleaner on a hunch. Use a product made specifically for efflorescence removal so you don't etch the paver surface while chasing a stain that was never permanent.
Cleaning, Drying, and Re-Sanding: The Steps That Come First
Restoration works best in a fixed order, and most disappointing results trace back to someone skipping ahead. This Old House lays out the sequence plainly: remove debris, deep clean, dry completely, refill joints, then seal. Sealing before the joints are stabilized locks in contaminants and risks a patchy, cloudy finish.
- Clear the perimeter. Pull grass and weeds from joints by hand or with a joint knife, and sweep away loose debris so it doesn't grind into the surface during cleaning.
- Choose a cleaning method. For pressure washing, Family Handyman recommends testing a fan-pattern nozzle around 40 degrees on a hidden spot first, holding the wand at a steady distance, and never spraying directly into the joints. For a gentler approach, mild detergent and a stiff-bristled brush handle most surface grime without any risk of etching.
- Let the surface dry fully. Plan around 24 hours of dry time before moving on to color work or sealing, as recommended by both Family Handyman and This Old House. Trapped moisture under a sealer is one of the most common causes of hazy, uneven finishes.
- Refill the joints. Polymeric sand is the material of choice here. Sweep it into the joints, compact it with a plate compactor or hand tamper, then lightly mist with water to activate the polymers that bind the sand in place.
- Inspect before moving forward. Confirm the joints are firm and the surface is uniformly dry before you touch a dye, stain, or sealer.
Re-sanding isn't a cosmetic extra. North Valley Stone Supply treats it as a structural necessity: skipping it can lead to shifting pavers, chipped edges, and faster weed regrowth, which undoes any color work you do afterward.
A few shortcuts cause most of the damage we see described in restoration guides:
- Sealing over dirt, efflorescence, or leftover cleaning residue instead of a clean, dry surface.
- Using acid-based cleaners as a first resort instead of testing a mild detergent first.
- Holding a pressure washer in one spot too long, which etches the paver face and leaves visible lines.
Pro Tip: If you're unsure whether your pavers are fully dry, press a paper towel against the surface. If it comes away damp, give the pavers more time before sealing.
Choosing a Color Restoration Method
Once the surface is clean, dry, and re-sanded, you have a few real options for bringing back the color, and they aren't interchangeable.
- Penetrating dyes soak into the paver and restore color from within, which tends to look the most natural and holds up well on concrete pavers specifically.
- Acrylic stains sit closer to the surface and work on both concrete and some natural stone, offering a quicker application but a finish that can wear faster in high-traffic areas.
- Color-enhancing sealers combine a tint with protection in one step, deepening existing color rather than dramatically changing it, which suits pavers that are faded but not severely discolored.
- Paint-like coatings fully change the surface color and work best when you want a deliberate new look rather than a restoration of the original tone, though they build up a film that can peel over time.
Severely faded pavers, or ones where you want an exact match to the original color, are often better suited to professional dyeing, since getting an even tone across a large area by hand is tricky. Lighter fading responds well to DIY stains or enhancers.
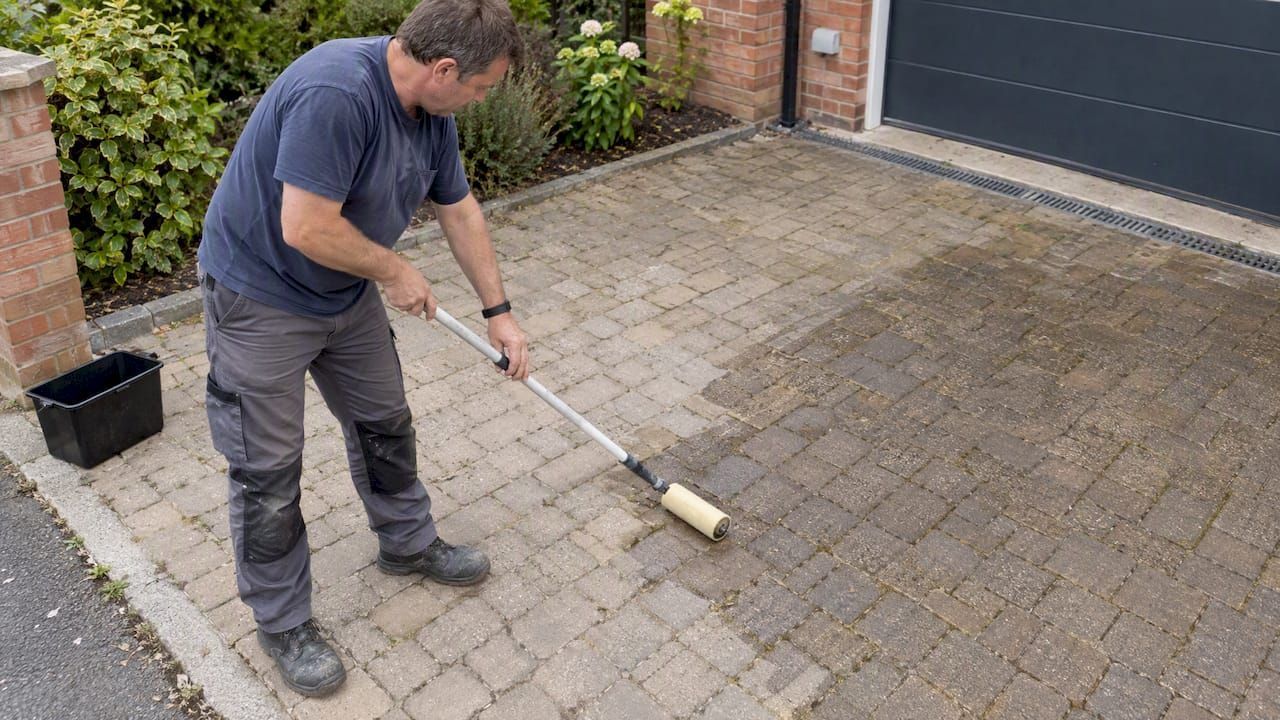
Whichever method you pick, test it on an inconspicuous section first, follow the manufacturer's stated drying windows exactly, and expect some texture or sheen change. Surface stains and paints in particular may need reapplication sooner than a penetrating dye.
Pro Tip: Apply color restoration products with a pump sprayer or roller in thin, even passes rather than one heavy coat. Thin coats dry more evenly and avoid the blotchy look that comes from pooling.
Sealing for Long-Term Protection
A breathable sealer lets moisture vapor escape from inside the paver while still blocking water, oil, and stains from the surface. That matters because trapped moisture under a non-breathable film is a common cause of the white haze and surface failures tied to efflorescence.
- Apply only after the full 24-hour dry window following cleaning, and after any color restoration product has cured per its label.
- Work in even, thin coats and avoid letting sealer pool in low spots or joints.
- Stick to the temperature and humidity range listed on the product label; sealing in direct midday heat or right before rain usually causes problems.
- Test a small area first to confirm the sheen and color match what you expect before covering the whole patio.
Reseal roughly every three to five years, a cadence Family Handyman cites, rather than after every cleaning. Resealing too often builds up layers that can trap moisture instead of letting it escape.
Keeping Restored Pavers Looking Good
A yearly cleaning and a quick walk-around for efflorescence or settling spots catch most problems before they spread.
- Spot-clean new efflorescence with a targeted remover rather than waiting for it to cover a larger area.
- Touch up thin spots with a color enhancer or a small patch of sealer instead of redoing the whole surface.
- Keep drainage clear so water doesn't pool against the pavers, and check that edging stays firm to prevent shifting.
- Skip deicing salts and acid cleaners near pavers, since both accelerate the mineral reactions behind efflorescence and surface wear.
Why This Order of Operations Holds Up
The sequence here, clear debris, deep clean, dry fully, re-sand, then seal, isn't a preference; it's the order practitioner guidance from This Old House and North Valley Stone Supply consistently backs. CMHA guidance also cautions against reaching for acid treatments before confirming whether you're dealing with efflorescence at all. Our own how-to resources on efflorescence removal and sealing outdoor surfaces walk through the product side of each step in more detail.
A Practical Note on Getting This Right
Test every product on a small, hidden section first, and don't rush the drying windows. We favor breathable, low-VOC products because patience with the process matters more than any single brand choice, and following the order above avoids most of the failures people post about online.
What to Use at Each Step of Paver Restoration
Matching the right product to each stage saves you from guesswork and repeat work. For the deep-clean stage, our Home Essential Cleaners line handles grime. Once you've confirmed efflorescence rather than true fading, a targeted mineral remover clears it without stripping color underneath. After drying and re-sanding, our Stone & Grout Sealers category covers sealers suited to the final protective step.
Browse our Stone & Grout Sealers for your next resealing cycle.
FAQ
Can I put new polymeric sand over old sand?
Old, degraded polymeric sand should be removed first rather than covered. Fresh sand bonds poorly over old residue, which can leave joints loose and prone to the shifting that North Valley Stone Supply warns results from skipped or improper re-sanding.
Is painting pavers a good idea?
Paint-like coatings change the paver color fully rather than restoring the original tone, and they build a surface film that can peel or chip over time. They suit homeowners who want a deliberate new look, while a penetrating dye or color enhancer better serves someone restoring a faded original color.
How do I make old pavers look new again?
Follow the full sequence: clear debris, deep clean, let the surface dry fully (plan around 24 hours as recommended by Family Handyman), refill joints with polymeric sand, restore color if needed, then apply a breathable sealer. Skipping the drying or re-sanding step is the most common reason results look uneven.
What is a good color enhancer for pavers?
A good color enhancer deepens the paver's existing tone rather than masking it, applies in thin even coats, and is breathable so it doesn't trap moisture underneath. Look for a plant-based, low-VOC formula if you want enhanced color without acid-based additives that can etch the surface.

