
Surface Restoration Tips for Pool and Stone Surfaces
TL;DR:
- Surface damage in pools often results from improper cleaning and maintenance rather than age, highlighting the importance of timely, correct restoration methods. Using pH-neutral cleaners, sealing surfaces properly after repairs, and following a seasonal cleaning schedule can prevent costly deterioration. Proper identification of materials and consistent upkeep are essential for long-term preservation of stone and grout surfaces around pools.
Your pool deck looked flawless two summers ago. Now there are white calcium streaks along the waterline, grout lines are stained gray, and the stone pavers near the steps are starting to flake. These are the kinds of problems that sneak up on homeowners and property managers when surface restoration tips get applied too late or too incorrectly. The damage is rarely caused by time alone. More often, it comes from using the wrong products, skipping seasonal upkeep, or attempting repairs without understanding how different materials behave under heat, moisture, and chemical exposure.
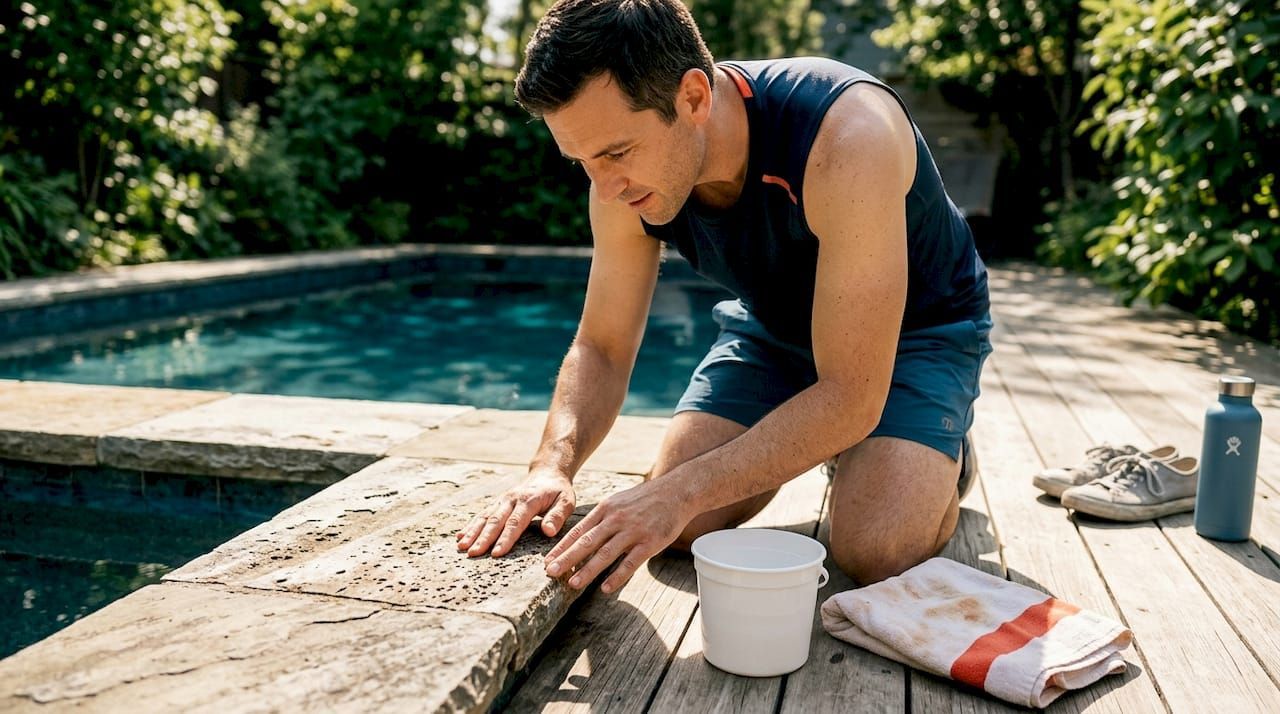
Table of Contents
- Key takeaways
- 1. The right surface restoration tips start with knowing your material
- 2. Use pH-neutral cleaners to prepare surfaces without causing new damage
- 3. Follow a seasonal cleaning schedule to prevent buildup
- 4. Repair minor surface damage before it becomes a structural problem
- 5. Choosing the right sealer protects your restoration work
- 6. Avoid the cleaning mistakes that undo restoration work
- 7. Build a long-term maintenance routine that keeps restoration rare
- My honest take after years of watching surfaces fail
- Products that support everything this article covers
- FAQ
Key takeaways
| Point | Details |
|---|---|
| Match method to material | Different surfaces require different approaches; using the wrong cleaner or sealer causes long-term damage. |
| pH-neutral cleaners protect grout | Soap-based cleaners leave residue that attracts dirt and stains grout lines over time. |
| Dry before you repair | Moisture trapped under fillers or sealers is the leading cause of bond failure and short repair lifespan. |
| Seal after every restoration | Applying a quality sealer after cleaning or repair protects the surface from future staining and erosion. |
| Consistent upkeep beats big repairs | Seasonal maintenance is far more cost-effective than waiting until visible damage forces a full restoration. |
1. The right surface restoration tips start with knowing your material
Not all stone behaves the same way. Travertine, limestone, marble, slate, and concrete pavers each have different porosity levels, hardness, and chemical tolerances. What works perfectly on a dense granite pool coping can permanently etch the surface of a soft limestone tile.
Before starting any home surface restoration project, identify what you are working with. Calcareous stones like marble and travertine react strongly to acids. Even mild acidic cleaners will dull the finish permanently. Siliceous stones like slate and granite handle slightly more aggressive treatments but still need careful handling near grout lines and sealers.
Environmental factors matter just as much. Pool surfaces face chemical exposure from chlorine and pH-adjusting agents. Outdoor stone in shaded areas builds up organic material faster. Interior surfaces face soap scum and hard water minerals. Your approach needs to reflect those real conditions, not just the type of stone.
Key factors to assess before you begin:
- Surface material type : calcareous vs. siliceous stone, concrete, grout, or tile
- Current condition : staining, etching, cracking, efflorescence, or biological growth
- Exposure environment : poolside, indoor, shaded outdoor, or coastal conditions
- Existing sealer : sealed vs. unsealed surfaces require completely different starting points
- Temperature and humidity : restoration products generally perform best when applied between 50°F and 90°F in low-humidity conditions
Pro Tip: If you are unsure whether your stone is sealed, place a few drops of water on the surface. If the water beads, the sealer is still working. If it soaks in within 30 seconds, the stone is unprotected and should be cleaned and sealed before any repair work.
2. Use pH-neutral cleaners to prepare surfaces without causing new damage
The single most common mistake homeowners make during DIY surface restoration is reaching for an all-purpose or soap-based cleaner. It seems logical. The surface is dirty, so you clean it. The problem is that soap-based cleaners leave residue that seeps into grout lines and creates a cycle of resoiling that looks like the surface never got clean at all.
pH-neutral, soap-free cleaners dissolve mineral deposits, organic matter, and biological buildup without altering the surface chemistry. They rinse clean without leaving anything behind. That matters enormously for pool tile, where calcium carbonate deposits are already a constant battle, and for natural stone, where even trace residues can attract airborne particles and dull the finish over months.
For pool deck cleaning, a non-residue cleaner applied with a soft-bristle brush works well on most surfaces. Avoid pressure washing at high settings on porous stone. High-pressure water forces debris deeper into the pores and can widen micro-cracks over time.
Surface cleaning hacks that actually work:
- Use a pH-neutral stone cleaner diluted per label instructions rather than concentrated
- Rinse with clean water and allow the surface to fully air dry before inspecting for staining
- For organic staining like algae or moss, let the cleaner dwell 5 to 10 minutes before scrubbing
- For calcium deposits at the waterline, use an acid-free calcium releaser rather than vinegar or muriatic acid
- Avoid mixing multiple cleaning products, as this can create reactions that damage both the surface and any existing sealer
Pro Tip: Never clean stone or grout in direct midday sunlight during summer. The cleaner evaporates too quickly, leaving behind concentrated residue that is harder to remove than the original stain.
3. Follow a seasonal cleaning schedule to prevent buildup
One of the most underused surface rejuvenation methods is a simple calendar. Most homeowners clean when they notice a problem. By that point, moss has taken hold in the grout joints, algae has started etching the stone surface, or calcium buildup has become thick enough to require aggressive removal that risks damaging the tile glaze.
Seasonal paver cleaning removes moss, algae, weed growth, slippery residue, and surface discoloration caused by moisture before it becomes entrenched. For pool surfaces, spring cleaning removes winter buildup before swim season starts. Fall cleaning removes organic debris before it breaks down and stains the surface over winter.
A basic schedule for most climates looks like this: deep clean in spring before heavy use, light maintenance clean monthly through the active season, and a thorough fall clean before closing or reduced use. In warmer climates without a true winter, quarterly deep cleaning is the minimum for outdoor stone.
The payoff is real. Proactive maintenance consistently costs a fraction of what restoration requires once surfaces are visibly deteriorated. A two-hour spring cleaning session is a far better investment than grinding down and resealing an entire pool deck.
4. Repair minor surface damage before it becomes a structural problem
Small cracks and chips in pool coping or stone pavers rarely stay small. Water gets in. It expands and contracts with temperature. The crack widens. What started as a cosmetic issue becomes a repair that requires professional tools and materials.
The best practices for surface repair start with honest assessment. Minor hairline cracks in grout can be cleaned out and filled. Chips in stone tile can be stabilized. But once a crack runs through the full thickness of a paver or tile, or once the substrate beneath is compromised, DIY surface restoration has its limits.
Here is a step-by-step approach for repairing minor damage:
- Clean the damaged area thoroughly using a pH-neutral cleaner. Remove all debris, moss, and loose material from cracks before filling.
- Dry completely before applying any filler. Trapped moisture under repair surfaces prevents proper adhesion and leads to early failure. Use a heat gun or allow 24 hours of dry weather.
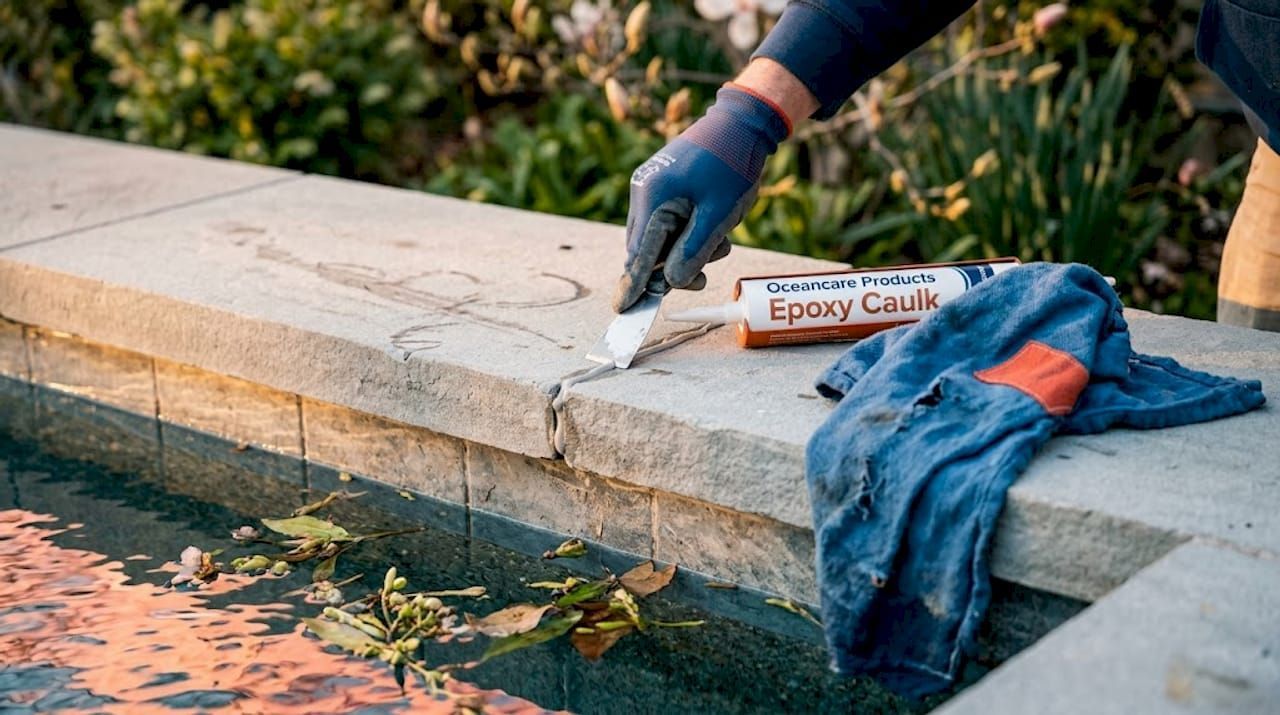
- Choose the right filler for the environment. For wet or poolside areas, epoxy grout caulk offers superior waterproofing and adhesion compared to standard caulks, which break down under constant moisture exposure.
- Apply filler in thin layers , pressing firmly into the crack or void. Overfilling creates a raised seam that catches dirt and looks uneven.
- Allow proper curing time. For stone repair compounds and grout, follow the manufacturer's instructions. For surface coatings, optimal curing happens between 65°F and 75°F. Avoid repairs during extreme heat or cold.
- Sand or hone the repair area once cured to match the surrounding texture. Polished stone will need re-polishing to blend.
- Seal the repaired area immediately after the filler has fully cured to protect the fresh repair from moisture intrusion.
| Damage type | Recommended repair method | Curing time |
|---|---|---|
| Hairline grout crack | Epoxy grout caulk | 24 to 48 hours |
| Chip in stone tile | Stone repair compound | 24 hours minimum |
| Paver surface scratch | Honing and re-sealing | 24 hours before sealing |
| Efflorescence staining | pH-neutral cleaner plus sealing | Allow full dry before sealing |
Pro Tip: Before filling any crack in a pool environment, patch repairs work best in fall when pool water levels are lower and surfaces have had time to fully dry after the swim season.
5. Choosing the right sealer protects your restoration work
Applying a sealer after restoration is not optional. Without it, cleaned and repaired surfaces absorb stains, moisture, and biological material almost immediately. The work you put into restoration gets undone within one season.
There are two main sealer types for stone and grout. Penetrating sealers soak into the pores of the stone and create an invisible barrier that repels moisture without altering the surface appearance. Topical sealers form a film on the surface that changes the look, often adding gloss. For pool areas and natural stone in wet environments, penetrating sealers are almost always the better choice. They allow the stone to breathe while blocking liquid and stain penetration.
Common problems with stone sealers stem from applying them incorrectly or to unprepared surfaces. Sealer applied over existing residue or grime gets trapped under the coat and creates a milky or uneven appearance that requires complete removal and reapplication. Learn more about sealer application mistakes before you start to avoid this.
Factors that affect which sealer to use:
- Stone porosity : high-porosity stones like travertine need a deeper-penetrating formula
- Surface finish : matte, honed, or textured finishes generally take penetrating sealers well; polished finishes may benefit from a light topical coat
- Traffic level : high-traffic pool decks need sealers rated for exterior, heavy-use conditions
- Reapplication schedule : most penetrating sealers last 2 to 5 years depending on exposure; test annually with the water-bead check
Choosing biodegradable sealers for pool environments also matters from a safety standpoint. Many standard sealers contain solvents that off-gas in enclosed areas and can affect pool water chemistry if they run off during application.
6. Avoid the cleaning mistakes that undo restoration work
Knowing what not to do is at least as valuable as knowing the right techniques. The most common errors that lead homeowners back to square one after a restoration are product-related mistakes that damage stone and grout surfaces without the homeowner realizing it until months later.
Vinegar is probably the most cited DIY surface cleaning hack on the internet. It absolutely should not be used on natural stone. The acetic acid in vinegar dissolves the calcite in calcareous stones and dulls polished finishes permanently. The same goes for bleach on grout. It may look like it is working in the short term, but it breaks down grout binder over time and weakens the joint structure.
A few more mistakes that regularly set back restoration efforts:
- Skipping the rinse step after cleaning, which leaves cleaner residue on the surface
- Using a wire brush or steel wool on stone, which leaves metal particles that rust and stain
- Applying sealer to a damp surface, which traps moisture and causes clouding
- Ignoring early discoloration or staining, which is always cheaper to address when fresh
- Pressure washing pool tile at settings above 1,200 PSI, which can crack grout and chip tile
Pro Tip: Check your home cleaners against a compatibility guide for your specific stone type before using anything new. Fifteen minutes of research prevents months of regret.
7. Build a long-term maintenance routine that keeps restoration rare
The goal of all these tips for surface maintenance is to reach a point where you rarely need to restore anything. A consistent routine prevents the kind of buildup and damage that makes restoration necessary in the first place.
For pool surfaces, test water chemistry weekly during swim season. High or fluctuating pH accelerates calcium scaling on tile and erodes grout. Keep the pH between 7.4 and 7.6 and watch calcium hardness levels. For outdoor stone, clear organic debris promptly after storms and address any standing water pooling near stone surfaces. Moisture is the most persistent enemy of stone longevity.
Inspect grout lines annually. Grout does not last forever, and catching early signs of cracking or hollowness before water infiltrates the substrate is the difference between a simple regrout and a full tile replacement.
Regular attention to surfaces using hard surface best practices does not require hours of work every week. A quick monthly clean with the right product, an annual sealer check, and prompt attention to any new staining or cracking will keep most pool and stone surfaces in excellent condition for decades.
My honest take after years of watching surfaces fail
I have seen a lot of homeowners invest serious money in stone pool decks and natural stone kitchens, and then watch them deteriorate within three years because the maintenance plan was an afterthought. The restoration work itself is often done correctly. The sealer gets applied, the cracks get filled, the surface looks beautiful. Then the wrong cleaner gets used six months later, or the sealer reapplication gets skipped because the surface still looks okay to the eye.
What I have learned is that most surface failures are not about the restoration. They are about the maintenance that does not happen afterward. The products people reach for out of habit, the generic all-purpose sprays and the vinegar-and-baking-soda concoctions from social media, quietly undo everything that a proper restoration accomplishes.
My opinion: spend less on the initial restoration if needed, and invest that money in the right ongoing products. A quality pH-neutral cleaner and a proper sealer applied consistently will always outperform an expensive one-time restoration with the wrong follow-up care. DIY surface restoration is genuinely achievable for most homeowners. The ceiling is not professional skill. It is consistent, informed effort with the right tools.
Products that support everything this article covers
If the cleaning and sealing steps here have made you reconsider what is currently under your sink, Oceancarestore carries a focused range of products built specifically for pool tile, natural stone, and grout surfaces. These are not general-purpose cleaners that happen to mention stone on the label. They are formulated for the specific chemical and environmental challenges these surfaces face.
Oceancarestore's stone and grout sealers include penetrating options for both interior and exterior applications, all low-VOC and safe for use in pool environments. Their pH-neutral stone cleaner is plant-based, soap-free, and rinses completely clean without leaving the residue buildup that undermines long-term surface health. If you are starting a restoration project and want to make sure you choose the right sealer the first time, Oceancarestore's stone sealer selection guide walks through the decision by surface type, porosity, and environment.
FAQ
What is the best cleaner for natural stone pool surfaces?
A pH-neutral, soap-free cleaner is the safest and most effective option for natural stone pool surfaces. Soap-based and acidic cleaners leave residue or etch calcareous stones like travertine and limestone.
How often should I reseal natural stone or pool tile?
Most penetrating sealers last 2 to 5 years, but annual testing with the water-bead method tells you more accurately when reapplication is needed. High-traffic or poolside surfaces typically need resealing every 2 to 3 years.
Can I do surface restoration myself, or do I need a professional?
Most homeowners can handle cleaning, minor crack filling, and resealing with the right products and preparation. Professional help is worth considering when cracks run through the full depth of a tile or paver, or when the substrate beneath is damaged.
Why does my grout keep getting dirty after cleaning?
Repeated grout soiling is usually caused by soap or cleaner residue left behind after washing. Switching to a soap-free, pH-neutral cleaner and rinsing thoroughly will break that cycle.
When is the best time to repair and reseal outdoor stone?
Repairs and sealer application work best in mild conditions between 50°F and 90°F with low humidity. Fall, after the swim season ends and before freezing temperatures arrive, is ideal for pool surface repairs.

