
Biodegradable Cleaner Application Guide for Homeowners
TL;DR:
- Switching to biodegradable cleaners requires correct application techniques to achieve professional results and prevent residue or damage.
- Choosing EPA-certified products and following precise dilution, dwell time, and pre-cleaning steps ensures effective and safe cleaning across surfaces.
Switching to biodegradable cleaners sounds simple until you actually try to get professional-grade results with them. Many homeowners and property managers make the switch with good intentions, then end up frustrated when a "green" product leaves residue on pool tile or fails to cut through calcium buildup on stone. The real issue is rarely the product. It's the application. This biodegradable cleaner application guide gives you the precise preparation, technique, and troubleshooting knowledge you need to make eco-friendly cleaners perform as well as anything you've used before, on every surface that matters.
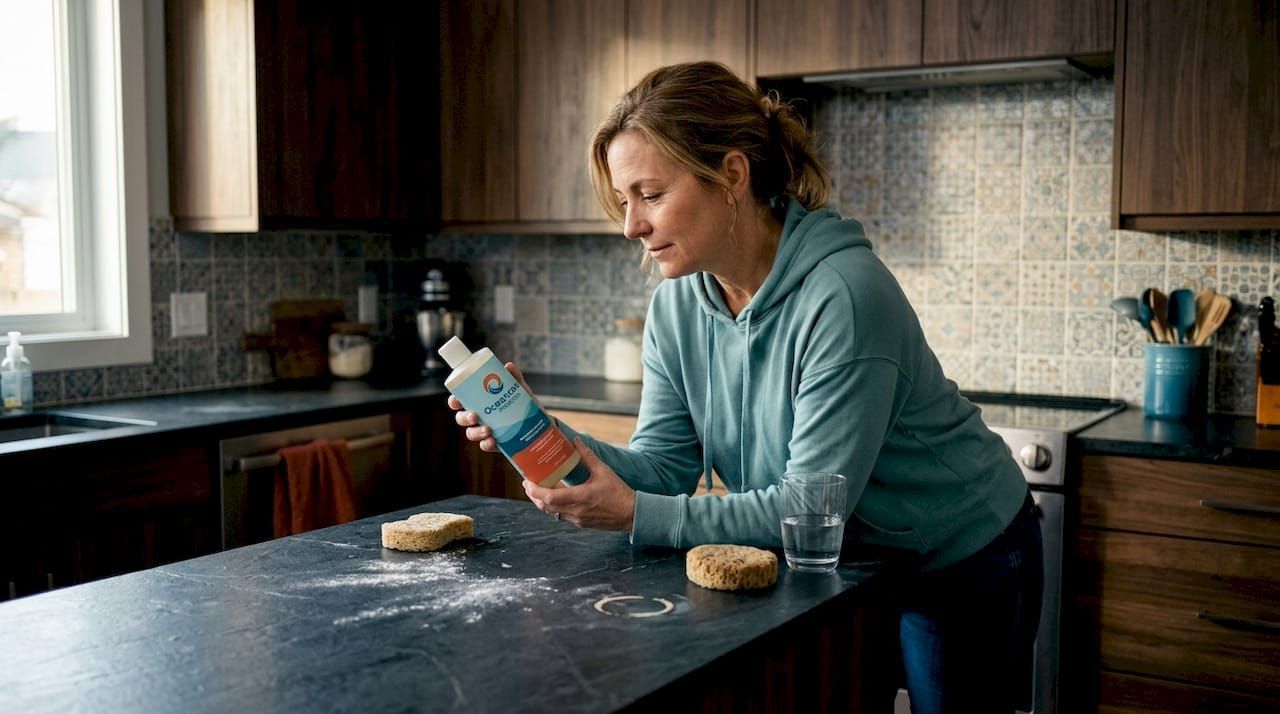
Table of Contents
- Key takeaways
- Biodegradable cleaner application guide: what to do before you start
- Step-by-step application for maximum effectiveness
- Common mistakes that undermine results
- Checking results and building a sustainable routine
- My honest take on why most people get biodegradable cleaners wrong
- Eco-friendly cleaning products built for hard surfaces
- FAQ
Key takeaways
| Point | Details |
|---|---|
| Certification beats marketing | Look for EPA Safer Choice or DfE labels to confirm genuine safety, not just vague "eco-friendly" claims. |
| Dwell time is non-negotiable | Surfaces must stay visibly wet during contact time or the cleaner loses its effectiveness before it can work. |
| Dilution varies by surface | What works on ceramic tile can damage natural stone — always adjust concentration to match the surface. |
| Pre-cleaning is not optional | Visible soil blocks active ingredients from reaching the surface, so remove debris before applying any cleaner. |
| Sustainable maintenance extends surface life | Regular biodegradable cleaning prevents buildup that leads to costly restoration work down the road. |
Biodegradable cleaner application guide: what to do before you start
Getting the application right starts well before you open the bottle. The single biggest mistake homeowners make is buying a product that looks green without verifying it actually is. The word "natural" on a label means nothing without independent certification behind it.
Choosing certified products
EPA Safer Choice and DfE certifications are the two most reliable benchmarks in the U.S. market. Both require manufacturers to meet stringent ingredient safety standards, which means you can trust the chemistry without reading a doctoral thesis on surfactants. Beyond that, verified ecolabels are a far more reliable signal than vague marketing claims or short ingredient lists used as proof of purity.
Here is a quick comparison of the labels you will encounter:
| Ecolabel | What it certifies | Best for |
|---|---|---|
| EPA Safer Choice | Ingredient safety, performance, packaging | All-purpose and specialty cleaners |
| Design for Environment (DfE) | Chemical formulation safety | Industrial and commercial cleaners |
| Green Seal | Broader environmental impact, packaging | Institutional cleaning products |
| EWG Verified | Ingredient transparency and toxicity | Consumer household products |
Tools and materials you will need
Having the right setup before you start prevents mid-job mistakes. Gather these before mixing anything:
- A calibrated spray bottle or pump sprayer rated for your product's dilution
- Measuring tools (a syringe or marked cup) for accurate concentration
- Soft-bristle brushes for grout and textured surfaces
- Microfiber cloths or mop heads that will not scratch sealed stone
- Protective gloves, especially for concentrated formulas
- A clean bucket for diluting and a second one for rinsing
Pro Tip: Store your concentrated biodegradable cleaner in a cool, dry location away from direct sunlight. Heat and UV exposure degrade plant-based surfactants faster than synthetic ones, shortening shelf life and reducing cleaning power.
Proper training and chemical management apply even to non-toxic products. Concentrated formulas can still irritate skin or eyes, and safe storage habits protect both people and surfaces.
Step-by-step application for maximum effectiveness
Once you have the right product and tools, execution is everything. Follow these steps for consistent, professional results across tile, grout, stone, and outdoor surfaces.
- Read the label completely. Not the front panel. The full directions. Dilution ratios, surface compatibility, and dwell time are all product-specific, and label directions for disinfecting cleaners carry legal weight in commercial settings.
- Pre-clean visibly soiled surfaces. Remove loose debris, grit, and heavy organic buildup before applying your cleaner. Soil physically blocks active ingredients from contacting the surface. Visibly soiled surfaces must be pre-cleaned for any cleaner to work at full strength, biodegradable or not.
- Mix your dilution precisely. Use your measuring tools, not eyeballing. For general tile and grout, most biodegradable cleaners work at a ratio of one to two ounces per gallon of water. For delicate surfaces like hardwood or polished marble, dilution as mild as 1/8 teaspoon per gallon prevents finish damage while still cleaning effectively.
- Pre-wet the surface. Apply a light water mist before the cleaner on porous or highly textured surfaces. This prevents the product from absorbing too quickly into the substrate rather than cleaning the top layer.
- Apply from 6 to 8 inches away. Spray at a consistent distance to get uniform coverage. Closer application saturates one spot while missing adjacent areas. Consistent distance means consistent dwell.
- Let it dwell. Do not touch it. For standard cleaning, two to three minutes is sufficient for most biodegradable formulas, as demonstrated by application guidelines for pre-wetting and dwell times. For disinfecting on hard, non-porous surfaces, surfaces must remain visibly wet for 5 minutes to meet EPA efficacy standards.
- Agitate where needed. For grout lines and heavily textured tile, use a soft-bristle brush in a circular motion during the dwell window.
- Rinse thoroughly. Biodegradable cleaners can leave a slight film if not fully rinsed. Use clean water and wipe or mop from the farthest point back toward your exit.
Pro Tip: If you are working in a warm or breezy environment, apply cleaner in smaller sections rather than covering the whole floor at once. Moving air causes premature drying, which cuts off the chemical reaction before it completes. Work in four-foot sections if needed.
Managing evaporation and ventilation during dwell time is a nuance most green cleaning guides skip entirely. It is the difference between a product that works and one that seems ineffective on the shelf.
Common mistakes that undermine results
Even with good products and good intentions, these errors consistently reduce performance across a range of surfaces:
- Skipping pre-cleaning. If you apply cleaner over a dusty or greasy substrate, you are cleaning the dirt, not the surface. Always sweep, rinse, or wipe first.
- Under-diluting to compensate for doubts about effectiveness. Using a stronger concentration than recommended does not improve results. It risks surface damage and wastes product. Overconcentration can damage finishes, particularly on sealed stone and hardwood.
- Letting the product dry on the surface. This is the most common failure point with eco-friendly cleaners. Once the product dries, the surfactants stop working and you are left with residue that requires a second application to remove.
- Using the same dilution ratio on every surface. Ceramic, natural stone, grout, and pool tile each respond differently to the same cleaner. Dilution and application that work on one surface may damage another, particularly with acid-sensitive materials like travertine or marble.
- Not testing in an inconspicuous spot. Even certified, pH-neutral biodegradable cleaners can react with certain sealers or finishes. Test a two-square-inch patch and wait 10 minutes before committing to the whole surface.
For stubborn stains like calcium deposits on pool tile or mineral buildup on outdoor stone, a second application with slightly increased dwell time is more effective than increasing concentration. Patience beats brute force when you want to preserve the surface.
You can find detailed guidance on hard surface biodegradable cleaning that covers specific surface types and common problem scenarios.
Checking results and building a sustainable routine
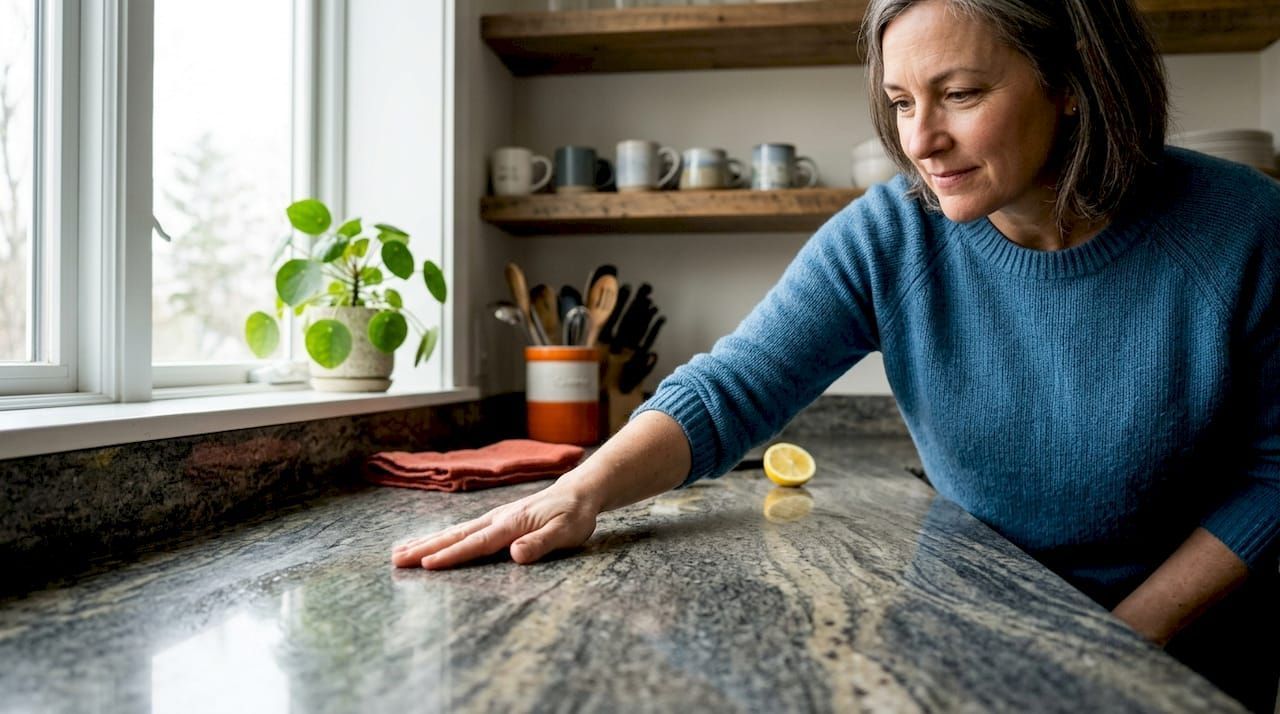
After you rinse, do not just move on. Taking two minutes to inspect your work tells you whether the product worked at the right concentration and helps you refine your process for next time.
Run your hand lightly over the cleaned surface after it dries. A slightly tacky or sticky feel usually means residue from insufficient rinsing. A streaked appearance on tile typically indicates the product dried before it was agitated or rinsed. Clean again with plain water if you feel anything other than smooth, dry stone or tile.
Pro Tip: After cleaning pool tile or outdoor stone, allow the surface to dry completely before applying any sealer. Moisture trapped under a sealer layer causes cloudiness and adhesion failure, which means the whole job has to be redone.
Building a sustainable maintenance routine is where eco-conscious cleaning really pays off. Consider this rhythm for most residential surfaces:
- Weekly: Light spray-and-wipe with a diluted biodegradable cleaner on kitchen tile, bathroom surfaces, and counters
- Monthly: Full application with dwell time on grout lines, pool tile waterlines, and outdoor stone
- Seasonally: Deep clean followed by resealing on natural stone, pool tile, and high-traffic grout areas
For disposal, pour any unused diluted solution down a drain connected to a municipal sewer system. Do not pour concentrated formula down storm drains. Most biodegradable cleaners are designed to break down safely in water treatment facilities, not in open waterways. Check your product label for specific disposal guidance.
Recycling the packaging matters too. Eco-friendly cleaning extends surface life when combined with proper product disposal and packaging recycling as part of a complete sustainable maintenance cycle.
My honest take on why most people get biodegradable cleaners wrong
I have worked with a lot of homeowners and property managers who switched to green cleaning products and then quietly switched back after a month, convinced that biodegradable meant weaker. In my experience, that conclusion almost always traces back to one of two things: they let the product dry too soon, or they used the wrong dilution for the surface.
What I have learned is that biodegradable cleaners operate on tighter margins than their conventional counterparts. Conventional cleaners often contain stronger acids or synthetic solvents that work fast, even if misapplied. Plant-based formulas are gentler and more precise. They reward correct technique instead of compensating for it.
The other thing worth saying plainly: just because something carries a green label does not mean you can treat it carelessly. Following strict label directions for disinfection is not optional, especially for property managers managing commercial spaces or multi-unit properties with public-facing surfaces. Compliance and effectiveness go hand in hand here.
My recommendation is to pick one surface, do the full process correctly once, and observe the results before scaling up. That one clean job will tell you more about how your specific product works on your specific surface than any guide, including this one.
Eco-friendly cleaning products built for hard surfaces
If you are ready to put this guide into practice with products that are actually formulated for the surfaces you are maintaining, Oceancarestore has you covered. Every product in their lineup is biodegradable, plant-based, and built around the kind of surface-specific chemistry that makes this guide work in the real world. Whether you are dealing with calcium buildup, stained grout, or weathered pool tile, the right formula makes the difference. Start with their pool tile restoration products for a proven, eco-conscious solution that handles one of the most demanding cleaning jobs a homeowner faces. For ongoing care, explore their full range of pool tile maintenance solutions designed to clean, protect, and preserve surfaces without harsh acids or toxic residue.
FAQ
What does a biodegradable cleaner actually mean?
A biodegradable cleaner contains ingredients that break down naturally in the environment through microbial action, reducing long-term chemical accumulation in water and soil. Look for EPA Safer Choice or DfE certification to confirm the claim is legitimate.
How long should a biodegradable cleaner sit on a surface?
For general cleaning, two to three minutes is typically sufficient. For disinfecting hard, non-porous surfaces, surfaces must stay visibly wet for 5 minutes per EPA guidance to achieve effective results.
Can I use the same biodegradable cleaner on natural stone and ceramic tile?
Not always. Dilution ratios and pH tolerance differ by surface, and what is safe on ceramic can etch or dull natural stone. Always check surface compatibility on the product label before applying.
Why does my biodegradable cleaner leave a film?
A film usually means the product dried before rinsing, or the dilution was too concentrated for the surface. Rinse with clean water immediately after dwell time and reduce concentration slightly on your next application.
Do I need to pre-clean surfaces before using a biodegradable cleaner?
Yes. Loose soil and debris block active ingredients from reaching the surface. Pre-cleaning visibly soiled surfaces is a standard requirement for any cleaner to work at full efficacy.

