
Avoid Etching, Homeowners: Remove Sealer Residue From Tile With Low‑VOC Methods
Most sealer haze comes off by testing a small area, then trying mild agitation with soap and water, and escalating to a resin-safe stripper only if the residue is fully cured and won't budge. Wear gloves and eye protection, work in a ventilated space, and stop and call a stone professional if the surface starts to change color or sheen.
TL;DR:
- Fresh haze can often be removed with a mild detergent wash and reapplication of the same sealer, reducing the need for stronger chemicals.
- Cured, plasticky residue on natural stone requires a compatible stripper and should be tested in a small, inconspicuous area first to prevent surface damage.
- Acidic cleaners and abrasive pads must be avoided on marble and limestone, and professional help is recommended if gentle methods fail.
- Use simple tools such as nylon scrub pads, soft brushes, and biodegradable cleaners to minimize surface etching and environmental impact.
- Always test in a small patch, escalate treatment gradually, and document results with photos to prevent over-treatment and ensure proper removal.
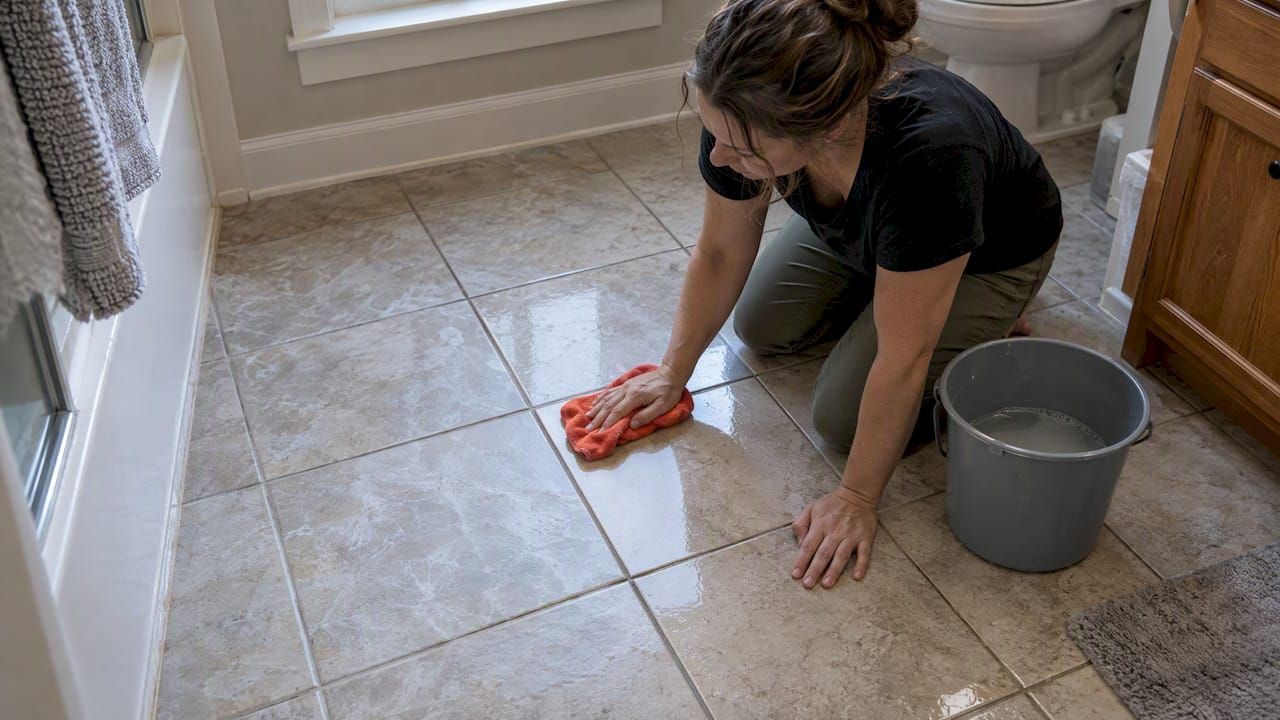
Table of Contents
- Should you clean, reapply sealer, or strip it off?
- Step-by-step sealer residue removal you can follow at home
- Surface-specific cautions that prevent etching and scratches
- Tools and cleaner types that get the job done safely
- What experience teaches about residue removal
- Oceancare Store: eco-friendly cleaners for safer residue removal
- FAQ
- Sources
Should you clean, reapply sealer, or strip it off?
The right method depends almost entirely on how long the residue has been sitting. Fresh haze, the kind that appears hours after sealing, is usually just a thin film that hasn't fully cross-linked yet. Cured residue, left for days or weeks, turns plasticky and bonds much harder to the surface.
Look closely before you pick a method. A light, cloudy film that wipes smeared usually means fresh haze. A hard, slightly raised coating that resists a fingernail scratch means it's cured.
Surface type changes the risk calculus too. Polished stone shows haze and scratches more visibly than honed or textured finishes, so the margin for error is smaller.
- Fresh haze on any surface: try a mild detergent wash first.
- Fresh haze specifically: a thin reapplication of the same sealer can soften and lift it, a trick practitioners call like-dissolves-like.
- Cured, plasticky residue: plan on a dedicated stripper formulated for your surface type.
- Polished or honed stone: test in the least visible spot first, since haze and etching show up fast on these finishes.
Step-by-step sealer residue removal you can follow at home
Work through these steps in order and stop as soon as the residue clears. Skipping ahead to a stronger product increases the odds of etching or dulling the finish.
Preparation
- Put on nylon or rubber gloves and eye protection, and open windows or run a fan since some cleaners and strippers release strong fumes.
- Clear the work area of furniture and rugs, and decide whether the surface needs to stay dry (for sealer reapplication) or wet (for detergent cleaning).
- Choose a small, inconspicuous test patch, ideally a few inches square in a corner or under a cabinet edge.
Test and clean
- Apply your first method to the test patch, wait the recommended time, then check for color change, dulling, or increased scratching before treating the whole surface.
- For general haze, mix warm water with a dye-free dish soap, apply with a white nylon pad, and agitate in small circles.
- Rinse thoroughly with clean water and inspect while the surface dries, since haze often looks worse wet and clears as it dries.
- Repeat the mild wash two or three times before moving to anything stronger. Industry guidance on stone and tile maintenance recommends this stepwise approach specifically to avoid unnecessary chemical exposure.
Escalate only if needed
- For fresh haze that survives a mild wash, try the like-dissolves-like method: apply a thin, even coat of the same sealer you originally used, let it sit for the product's open time, then wipe and buff with a clean microfiber towel before it cures.
- For tougher, partly cured residue, dilute a heavy-duty tile and grout cleaner according to the label, apply with a soft brush, let it dwell briefly, then rinse thoroughly. Retailer how-to guidance walks through this type of product application and dilution.
- For fully cured sealer that resists both of the above, use a stripper labeled compatible with your specific surface, following label dwell times, then neutralize and rinse as instructed. Never use an acidic stripper on marble, limestone, or travertine.
Verify and finish
- Once the surface is dry, run a water-drop test: water that beads means sealer is still present, while water that soaks in quickly means the surface is clean and ready for a fresh seal or a final rinse.
Pro Tip: Photograph the test patch before and after each step so you have a record of what worked if you need to repeat the process on a larger area.
Surface-specific cautions that prevent etching and scratches
Marble, limestone, and other calcareous stones react to acid almost instantly, leaving dull spots that no amount of polishing fixes easily. Skip acidic cleaners and abrasive pads entirely on these surfaces, and if a mild detergent wash and the reapplication trick don't clear cured residue, bring in a stone restoration professional rather than risk a stripper.
Polished stone carries the same acid sensitivity as marble, plus a second risk: altered sheen. A spot that looks clean can still read as duller or glossier than the surrounding area, so test in the smallest, least visible patch you can find and check it under the same light you'll use to judge the finished job.
Glazed porcelain and ceramic tolerate stronger cleaners and more aggressive scrubbing than natural stone, but they can still haze if sealer was accidentally applied to the glaze itself. Mechanical agitation with a nylon pad usually clears this without chemicals.
- Marble and limestone: non-acidic cleaners only, gentle hand agitation, professional help for cured residue.
- Polished stone: test small, check sheen under consistent light, avoid abrasive pads.
- Glazed porcelain or ceramic: mechanical cleaning with a nylon pad is often enough.
- Textured stone: residue hides in pores, so plan on repeat rinsing and a soft rotary brush or a low-RPM machine with a soft pad for larger areas.
Tools and cleaner types that get the job done safely
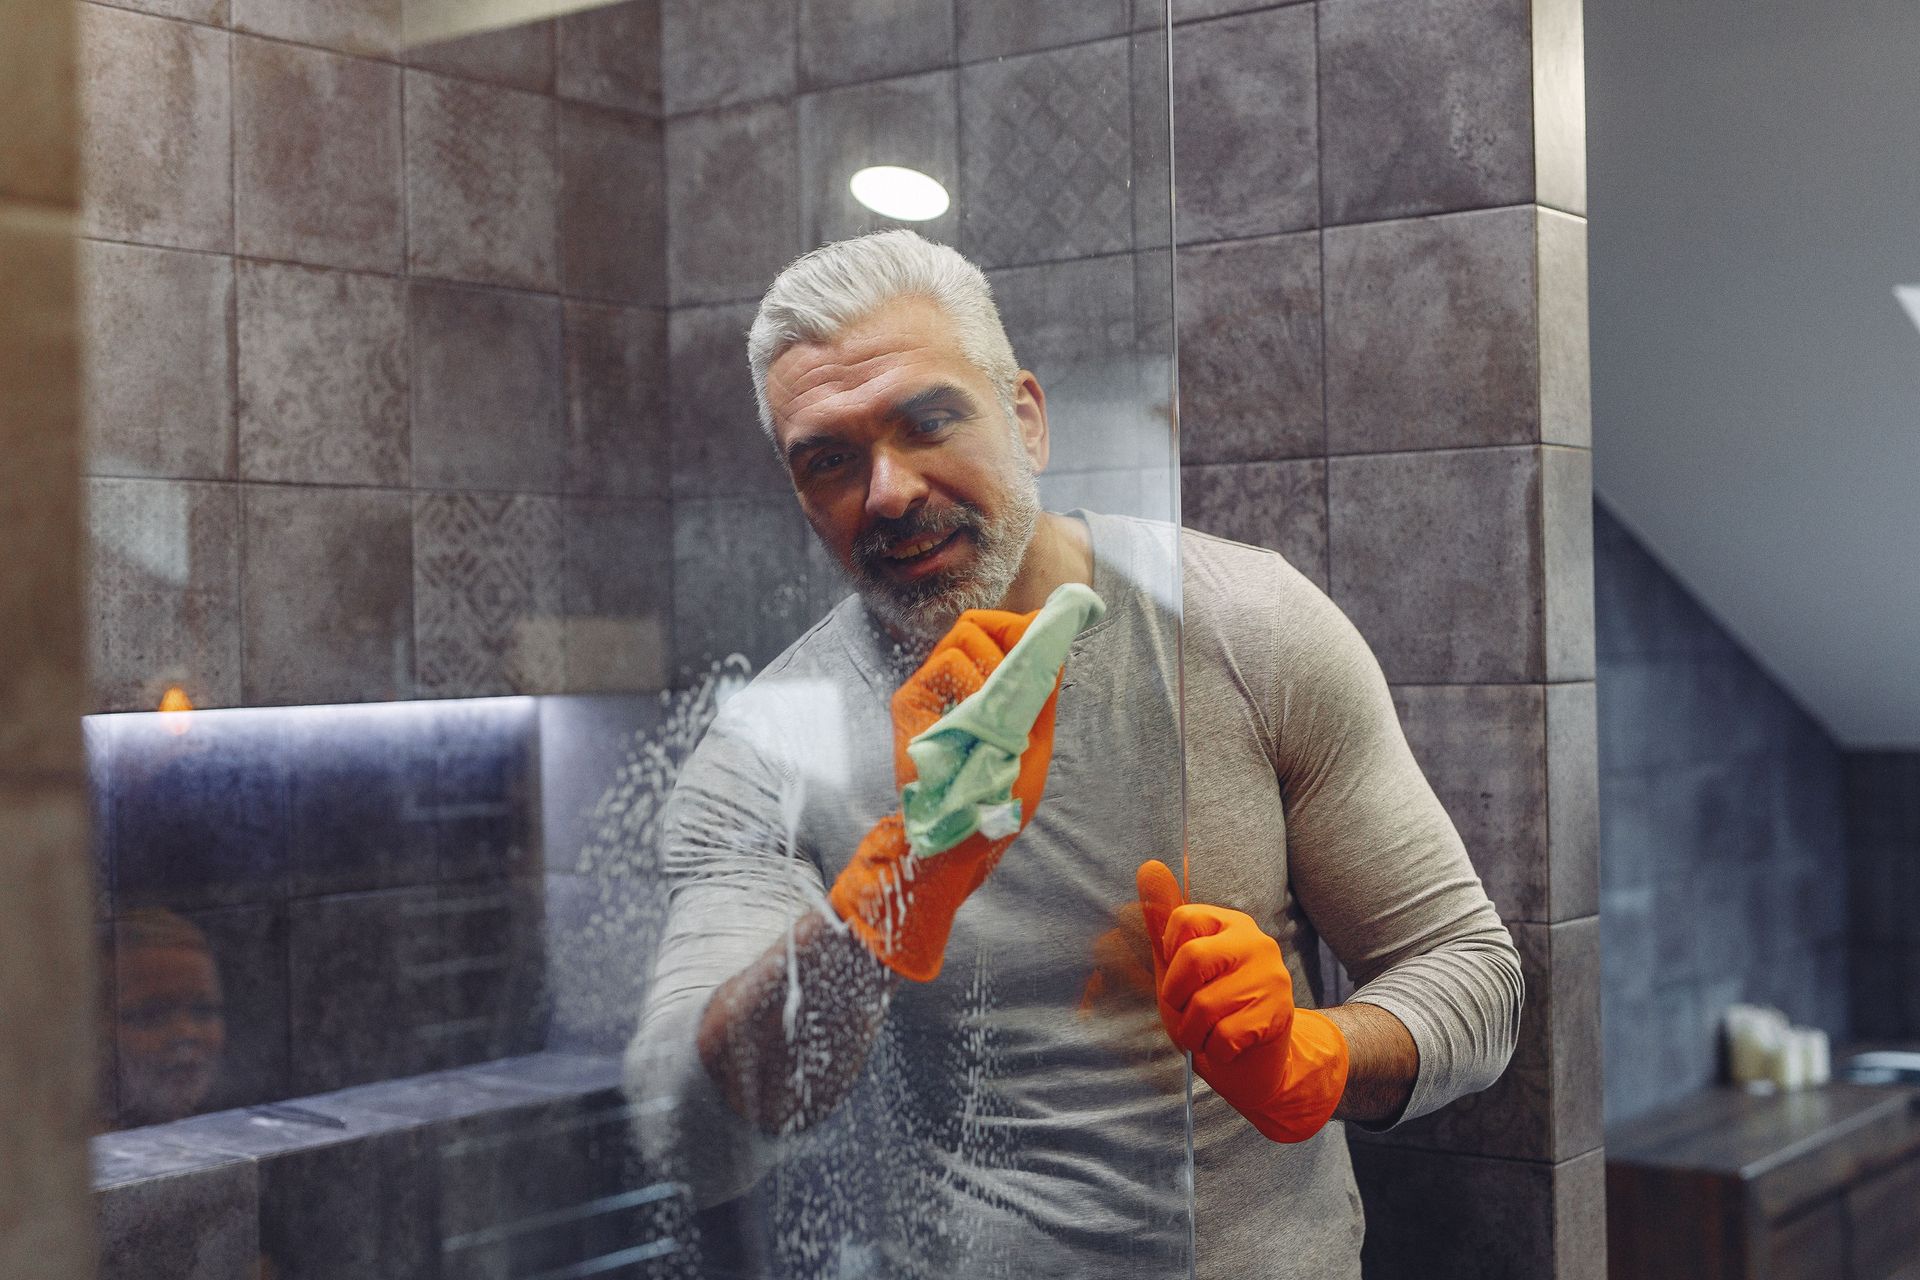
Keep the toolkit simple: white nylon scrub pads, a soft-bristle nylon brush, microfiber towels, a mop or wet-vac for rinsing, and for large textured installations, a low-RPM floor machine fitted with a soft pad.
Match the product to the residue. A mild dye-free detergent handles fresh haze and routine grime. A heavy-duty tile and grout cleaner, diluted per the label, steps up for partly cured film. A dedicated sealer stripper is the last resort for fully cured coatings, and it always needs a thorough rinse or a neutralizing step afterward so no residue of the stripper itself is left behind.
- White nylon pads and soft brushes avoid the scratching that steel wool or stiff bristles cause.
- Mild detergents and heavy-duty tile and grout cleaners cover most jobs without acid.
- A dedicated stripper is reserved for cured residue on compatible surfaces only.
- Low-VOC, biodegradable cleaners cut down on fumes and runoff, which matters most in enclosed bathrooms or near pools.
Low-VOC and plant-based formulations reduce both fume exposure and the risk of surface damage compared with harsher acid-based strippers , a tradeoff worth weighing before reaching for the strongest product on the shelf. Our grout haze remover and cleaner is built around that same biodegradable, low-VOC approach for homeowners who want effective cleaning without a harsh chemical smell.
What experience teaches about residue removal
The whole process comes down to three moves: test a small patch, escalate one step at a time, and stop the moment the surface changes color, sheen, or texture. Most failures happen when someone skips the mild steps and reaches straight for a stripper.
Cured residue on polished stone, epoxy grout haze, or any sealer blended with epoxy are the cases where we'd pick up the phone and call a stone restoration pro instead of pushing further on our own. Document each test patch with a quick photo before and after, since that record saves guesswork if the job stretches over several days.
Oceancare Store: eco-friendly cleaners for safer residue removal
We formulate our cleaning and sealing products to be biodegradable, plant-based, low VOC, and acid-free, which matters most on sensitive surfaces like marble, limestone, and polished stone where a single wrong product can leave a permanent mark. For the cleaning stage, our Home Essential Cleaners line covers the mild-detergent step without the fumes of conventional degreasers. Once residue is gone and the surface is ready for protection again, our Stone & Grout Sealers give you a plant-based option for resealing.
- Start with a test patch on any product, ours included, before treating the full surface.
- Follow label directions and dwell times exactly, especially on calcareous stone.
- Reach out to our team if you're unsure which product fits your specific tile or stone.
Browse our full pool tile and stone care lineup to find the right match for your project.
FAQ
What is the best tile sealer remover?
The best remover depends on how cured the residue is: a mild dye-free detergent works for fresh haze, while fully cured sealer typically needs a dedicated stripper labeled compatible with your tile or stone. Always test a small area first, since the "best" product varies by surface type and finish.
What removes sealer from stone?
For fresh haze, a warm water and mild detergent wash with a white nylon pad often clears it, and reapplying a thin coat of the same sealer can soften very recent film enough to wipe away, a method described in practitioner guidance on sealer residue. For cured sealer, a surface-compatible stripper is usually needed, with acids avoided entirely on marble, limestone, and other calcareous stone.
What happens if grout sealer dries on tile?
Dried sealer leaves a cloudy film or a hard, slightly raised coating that's harder to remove the longer it sits. Cement grout is best cleaned up within 24 hours and epoxy grout within about an hour of installation to avoid this kind of stubborn residue.
How can I remove sealer from marble?
Avoid acidic cleaners and abrasive pads on marble, since both can etch or dull the surface permanently. Start with a non-acidic mild detergent and gentle hand agitation, test a small area first, and call a stone restoration professional if cured residue doesn't respond to gentle methods.
Sources

