
Hard Surface Restoration Steps for Homeowners in 2026
TL;DR:
- Proper hard surface restoration involves sequential cleaning, repair, sealing, and careful drying to ensure long-term durability. Different surfaces like pools, stone, and grout require specific methods, timing, and professional tools to prevent damage and maintain appearance. Regular maintenance with pH-neutral cleaners and timely re-sealing is essential to prolong restored surfaces' lifespan.
Hard surface restoration is defined as the process of cleaning, repairing, polishing, and sealing surfaces like natural stone, tile, grout, and pool plaster to recover their original appearance and structural integrity. Whether you manage a residential property or maintain a single-family home, following the right hard surface restoration steps prevents premature wear, costly replacements, and the kind of slow deterioration that sneaks up on you. This guide covers the full process across three of the most common surface types: pool tiles and plaster, natural stone floors, and ceramic or porcelain tile with grout. You will also find specific product guidance, safety notes, and maintenance routines that keep restored surfaces looking sharp for years.
What are the essential preparation steps before restoring hard surfaces?
Preparation is the phase most homeowners skip or rush, and it is the single biggest reason restorations fail. No sealer, polish, or acid wash performs correctly on a dirty or damp surface. The stepwise cleaning process for neglected floors requires chemical application, mechanical agitation, and full extraction before any restoration product touches the surface.
Start with these preparation steps in order:
- Clear the area completely. Remove furniture, rugs, and any objects from the surface zone.
- Sweep and vacuum thoroughly to remove loose debris, grit, and dust.
- Apply a pH-neutral cleaner to stone and grout surfaces. Acidic or alkaline cleaners strip existing sealers and damage porous stone before you even begin.
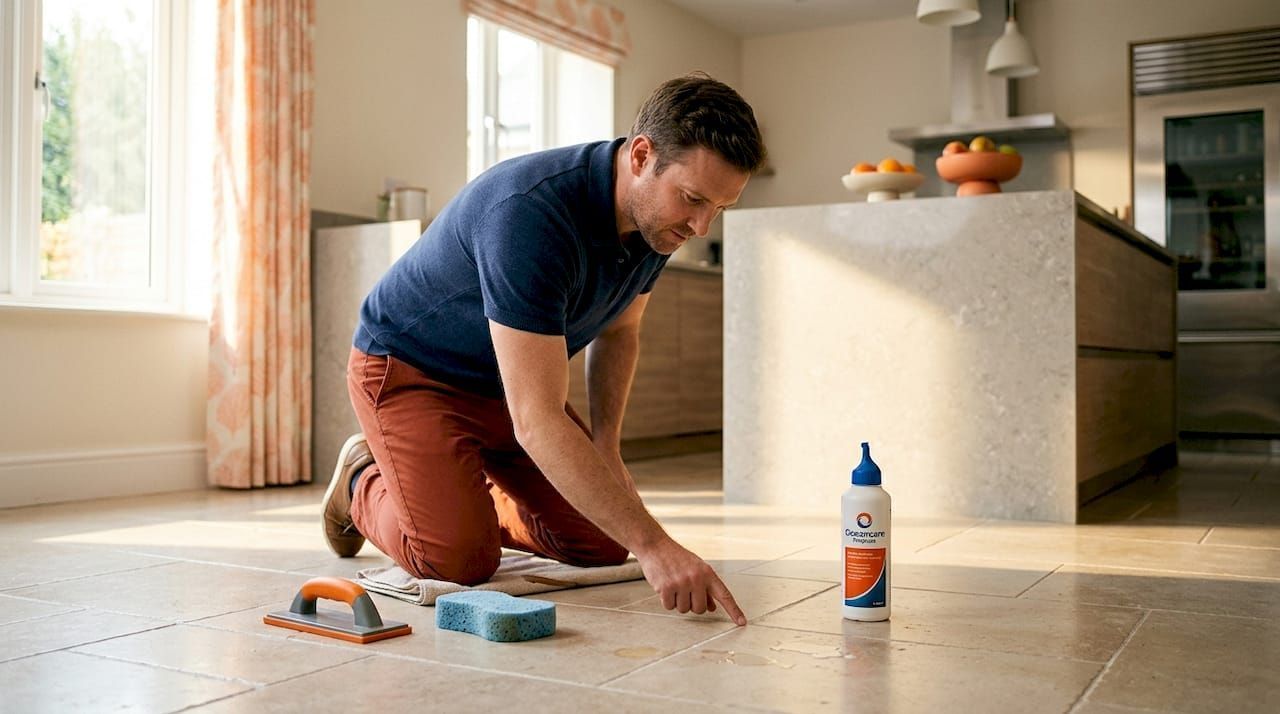
- For tile and grout, degrease the surface with a dedicated tile cleaner to remove soap scum, body oils, and mineral deposits. Sealant will not bond to a greasy substrate.
- For pools, drain the water completely and pre-rinse the shell with a garden hose to remove algae and loose calcium scale before any chemical treatment.
- Allow surfaces to dry fully. Stone and grout must reach ambient moisture levels before sealing. Rushing this step traps moisture under the sealer and causes clouding or peeling.
Pro Tip: Test grout moisture before sealing by taping a small piece of plastic sheeting over the grout line and leaving it for one hour. If condensation forms underneath, the surface is not dry enough to seal.
Drying times vary by climate and surface porosity. In humid conditions, allow 48 to 72 hours after cleaning before moving to the repair or sealing phase. Running a dehumidifier in enclosed spaces speeds this up significantly.
How to repair and restore pools, natural stone, and tile grout
Restoration methods differ sharply by surface type. Applying the wrong technique to the wrong material causes damage that is expensive to reverse. Here is how to approach each surface correctly.
Pool acid washing
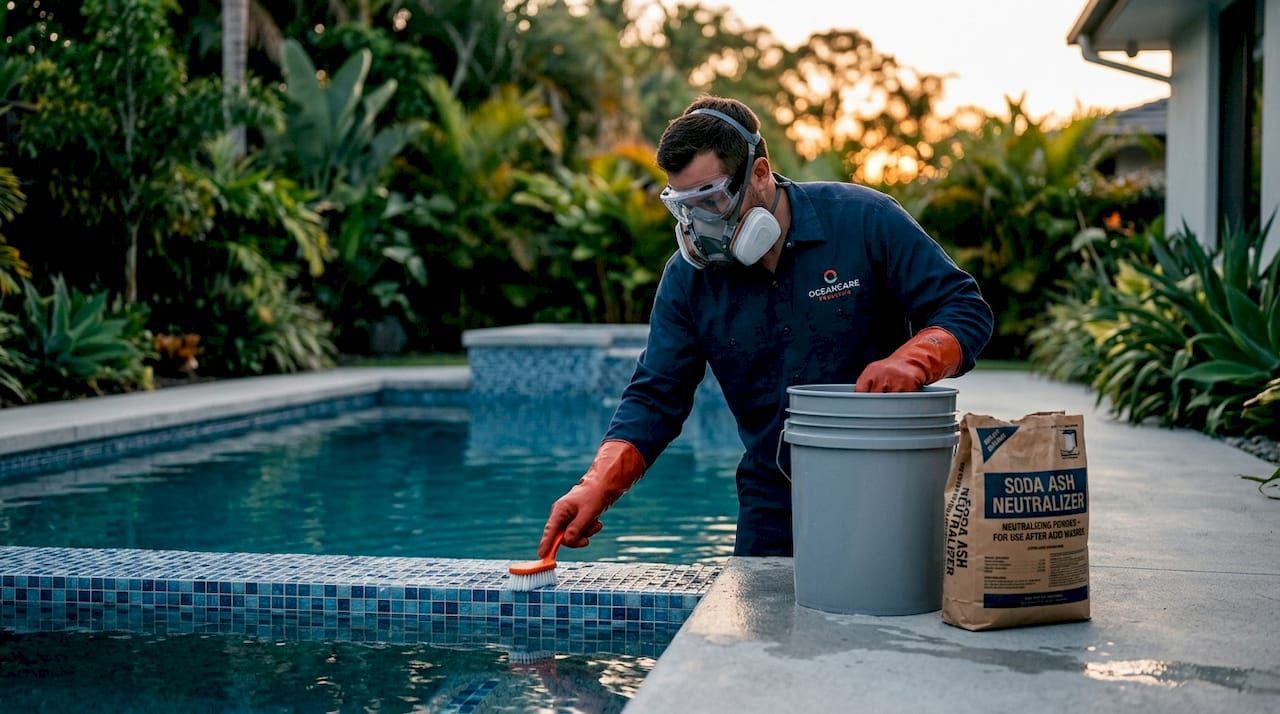
Acid washing pool surfaces uses a 1:1 muriatic acid-to-water mix applied in small sections with controlled dwell times between 30 and 90 seconds. Longer contact etches the plaster permanently. Work in sections no larger than 10 square feet, apply the solution with a long-handled brush, watch the dwell time carefully, then rinse immediately with clean water.
Neutralize all runoff with soda ash before it enters drains or landscaping. Wear a respirator, chemical-resistant gloves, goggles, and rubber boots throughout. Pool acid washing is a surface removal process, not routine cleaning, so frequency matters. Each wash removes a thin layer of plaster, and overdoing it shortens the life of your pool finish significantly.
Pro Tip: Always add acid to water, never water to acid. Reversing this order causes a violent exothermic reaction that can splash concentrated acid onto your skin or eyes.
Natural stone restoration
Professional stone restoration follows a multi-phase process: grinding at 50 to 120 grit removes lippage and unevenness, honing progresses through 100, 200, 400, and 800 grit diamond pads, and polishing uses 1500 to 3000 grit diamond followed by 6000 to 12000 grit resin pads. Sealing with a penetrating impregnator is the final step before use.
Lippage correction comes first. Polishing alone will not fix structural unevenness between tiles or stone slabs. Visible ledges remain and catch light in ways that make the floor look worse after polishing than before. Acceptable lippage on new floors is up to 1/32 inch. Older or shifted floors need diamond grinding to level before any honing begins. This is the step that separates a professional result from a DIY disappointment. For a full walkthrough of the eco-friendly approach, the natural stone restoration guide from Oceancarestore covers each phase in detail.
Tile and grout restoration
Grout repair comes before sealing. Remove crumbling or cracked grout with a grout saw or oscillating tool, vacuum out the debris, and regrout with a color-matched product. Once the new grout cures for at least 72 hours, clean the entire tile surface with a grout haze remover to eliminate any residue from the regrouting process.
Common mistakes to avoid during this phase:
- Skipping the haze removal step before sealing, which traps residue under the sealer
- Using bleach-based cleaners on colored grout, which fades the pigment
- Applying sealer to damp grout, which prevents proper penetration and bonding
- Overworking the sealer into the tile face rather than keeping it on the grout line
What sealing and finishing steps improve durability and appearance?
Sealing is where restoration becomes protection. A surface that has been cleaned and repaired but left unsealed will degrade faster than it did before, because the cleaning process opens pores and removes whatever residual protection existed.
For natural stone, penetrating impregnators are the correct choice. They absorb into the stone's pore structure rather than sitting on top, so they do not alter the surface sheen or create a plastic-looking film. Stone sealer problems like clouding, peeling, or uneven sheen almost always trace back to applying sealer on a damp surface or using a topical coating on a stone that needs an impregnator.
For grout, timing during application is the critical variable. Wiping off excess sealant within 10 minutes prevents a sticky haze from curing on the tile face. If you miss that window, the cured residue requires specialized solvents to remove safely. Work in small sections, apply with a small brush or roller directly on the grout line, and wipe the tile face clean before moving to the next section.
| Sealing type | Surface | Dry time | Full cure time |
|---|---|---|---|
| Penetrating impregnator | Natural stone | 1 to 4 hours | 24 to 48 hours |
| Grout sealant (water-based) | Tile grout | 1 to 2 hours | 24 to 72 hours |
| Grout sealant (solvent-based) | Tile grout | 30 to 60 minutes | 24 to 48 hours |
| Pool surface protector | Pool plaster or tile | Varies by product | 24 to 48 hours |
After acid washing a pool, refill and rebalance chemistry within 24 to 48 hours. Target pH between 7.2 and 7.6, alkalinity at 80 to 120 ppm, calcium hardness at 200 to 400 ppm, and chlorine at 1 to 3 ppm. Run the filter pump continuously during this stabilization period. Leaving a freshly acid-washed pool empty or chemically unbalanced causes new staining and etching within days.
Pro Tip: For grout sealing, do a water bead test 30 days after application. Drop a few water droplets on the grout line. If they absorb within 30 seconds, the sealer has worn down and reapplication is due.
What routine maintenance tips help prolong the life of restored hard surfaces?
Restoration is an investment. Maintenance is how you protect it. The most common reason homeowners repeat full restorations every few years is not surface wear. It is neglected routine care that undoes the sealing and cleaning work done during restoration.
Follow these maintenance practices to extend the life of any restored hard surface:
- Sweep stone and tile floors daily or every other day to prevent grit from acting as an abrasive underfoot.
- Clean with pH-neutral products only. Vinegar, bleach, and ammonia-based cleaners degrade sealers on both stone and grout, stripping protection with every use.
- Mop stone floors with a damp mop rather than a wet one. Excess water sits in grout joints and slowly breaks down the sealer bond.
- Brush pool surfaces weekly with a pool brush to prevent algae and calcium from bonding to the plaster or tile.
- Monitor pool water chemistry weekly after restoration. Imbalanced water is the leading cause of calcium scale buildup on pool tiles.
- Avoid dragging furniture across stone or tile floors. Use felt pads on all chair and table legs.
For tile floors specifically, the maintenance guide for sealed tiles from Oceancarestore outlines which cleaners are safe and which accelerate sealer breakdown. Knowing the difference saves you a full resealing job every year.
Call a professional when you notice lippage returning on stone floors, when grout crumbles in multiple areas simultaneously, or when pool plaster shows pitting or rough patches that brushing does not resolve. These are signs that surface-level maintenance has reached its limit and a deeper restoration cycle is needed. Post-renovation surface care from professionals typically includes a full assessment of grinding, honing, and sealing needs before recommending a course of action.
Key takeaways
Proper hard surface restoration requires correct sequencing: preparation and drying before repair, repair before sealing, and sealing before any traffic or chemical exposure.
| Point | Details |
|---|---|
| Preparation determines success | Clean, dry, and degrease every surface before applying any repair product or sealer. |
| Surface type dictates method | Stone needs grinding and impregnators; grout needs timed wipe-back; pools need acid control and chemistry rebalancing. |
| Sealer timing is critical | Grout sealant must be wiped back within 10 minutes; stone and pool surfaces need 24 to 72 hours to fully cure. |
| Maintenance preserves restoration | pH-neutral cleaners, regular sweeping, and periodic bead tests extend the life of any sealed surface. |
| Know when to call a professional | Lippage, widespread grout failure, and pitted pool plaster require professional-grade equipment to fix correctly. |
What I have learned from years of watching restorations go wrong
The most expensive mistake I see homeowners make is treating restoration as a single event rather than a system. They acid wash the pool, reseal the grout, polish the stone, and then go back to using the same harsh cleaners that degraded the surface in the first place. Within 18 months, they are back to square one.
The second mistake is impatience with drying and curing times. I have watched people seal grout that was still damp from cleaning, then wonder why the sealer peeled off in sheets three weeks later. Curing times are not suggestions. They are the chemistry doing its job.
What actually changes long-term maintenance needs is correct sealing with the right product for the surface. A penetrating impregnator on marble or travertine means you are cleaning the surface, not fighting to protect it. A properly timed grout sealant means your grout stays clean with a damp mop instead of requiring a scrub brush every week.
Safety deserves more respect than most DIY guides give it. Muriatic acid fumes are genuinely dangerous in enclosed spaces. Diamond grinding equipment on stone floors can cause serious injury without proper technique. If you are not confident with a step, the cost of hiring a professional for that phase is far lower than the cost of fixing a mistake.
Start small. Test every product and technique on an inconspicuous area first. The 10 minutes you spend testing saves you from discovering a problem across your entire kitchen floor.
Restore your surfaces with the right products from Oceancarestore
Every restoration project depends on using products matched to the surface and the problem. Oceancarestore carries a full range of eco-friendly, plant-based, and low VOC solutions designed specifically for pool tiles, natural stone, and grout. The pool tile restorer targets calcium scale and mineral buildup that standard cleaners cannot touch, while the stone and grout sealers provide penetrating protection without harsh chemicals that damage sensitive surfaces or create health concerns indoors. For pool tile calcium deposits, the calcium removal solutions at Oceancarestore offer acid-free options that protect your pool finish while delivering professional-grade results.
FAQ
What are the basic hard surface restoration steps?
The core steps are preparation and cleaning, surface repair, polishing or treatment, sealing, and curing. Each phase must be completed in sequence, with full drying between cleaning and sealing.
How long does grout sealant take to cure fully?
Grout sealant requires avoiding foot traffic for 24 hours and moisture exposure for 72 hours after application to cure correctly.
How often should you acid wash a pool?
Pool acid washing should happen every 3 to 5 years at most, since each wash removes plaster and excessive frequency shortens the life of the pool finish.
Can you polish natural stone without professional equipment?
Light oxidation and minor etching can be addressed with stone polish cream or powder using a soft cloth or low-speed buffer at 200 to 500 RPM. Lippage and deep scratches require professional diamond grinding.
What cleaners are safe for sealed stone and grout?
pH-neutral cleaners are the only safe option for sealed stone and grout. Vinegar, bleach, and ammonia-based products degrade sealers and should never be used on restored surfaces.

