
Protect Tile Finishes: Acid Free Calcium Removers for Homeowners
Yes: properly formulated acid-free calcium removers clear many waterline and surface calcium deposits while minimizing surface etching. Patch-test a hidden spot first, follow the label's dwell time exactly, and expect to repeat the application with light agitation on thicker buildup. A calcium remover product following this approach exists and may provide step-by-step how-to guidance for getting there.
TL;DR:
- Acid-free calcium removers work best on fresh, light-to-moderate buildup, but thick crusts or heavily stained surfaces may require stronger acids or professional help.
- Most glazed ceramic, porcelain, and glass tile surfaces tolerate these gentler products, but natural stone and polished calcareous surfaces require careful patch testing to avoid etching or dulling.
- Proper application includes a detailed patch test, exact dwell time, gentle agitation, and repeated rounds for layered deposits, with safety precautions to prevent chemical mixing hazards.
- Keeping detailed logs of product use and results helps determine whether the removal process is effective or if escalation to a professional or stronger chemicals is necessary.
- Products should be chosen based on explicit surface compatibility, clear instructions, and available safety data sheets; persistent deposits after a few attempts indicate professional intervention is advisable.
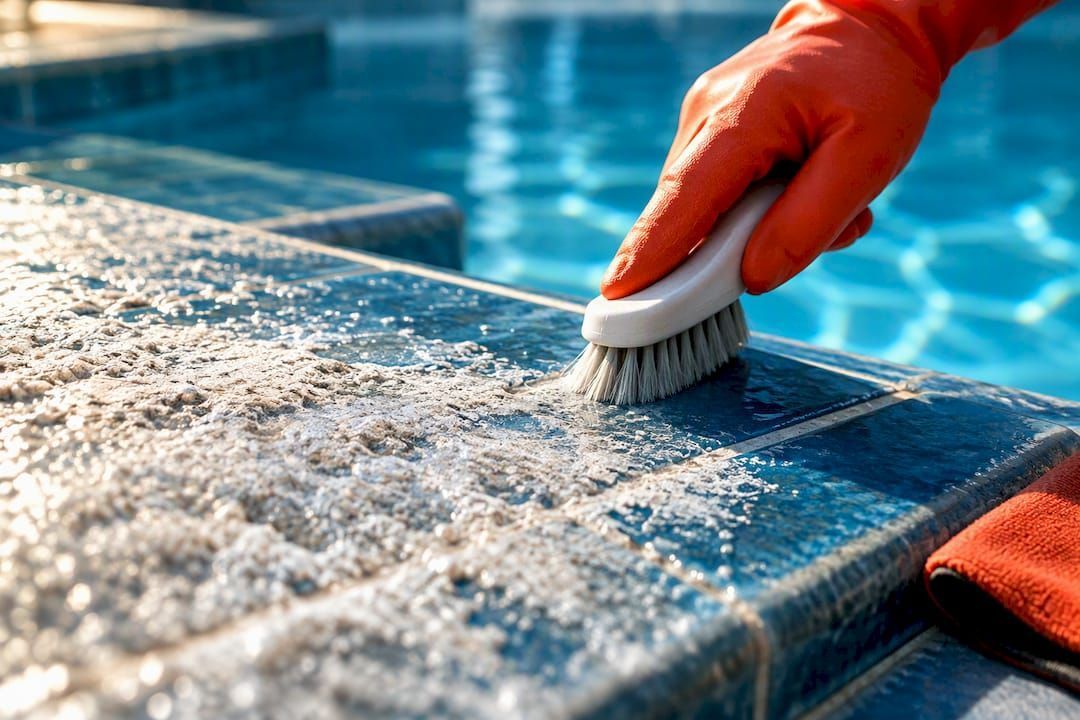
Table of Contents
- What an acid-free calcium remover is and when to use one
- Which surfaces are safe, which need caution, and how to patch test
- Step-by-step: using an acid-free calcium remover safely and effectively
- Safety, pool-chemical interactions, storage, and PPE
- How these cleaners work and what results to expect
- Choosing a product or calling in a restoration professional
- What years of pool and tile maintenance taught me about calcium removal
- Where to find an acid-free Calcium Releaser and what to pair it with
- Sources
- FAQ
What an acid-free calcium remover is and when to use one
An acid-free calcium remover breaks down mineral scale without the mineral acids found in muriatic or hydrochloric cleaners. Most rely on chelating agents that bind to calcium ions, surfactants that lift loosened mineral film, or acid-mimicking compounds that dissolve scale gradually rather than reacting instantly. That gentler chemistry is what makes them a reasonable first choice on finishes that scratch or etch easily.
These products are built for a specific job: waterline scale on pool tile, light-to-moderate calcium film, and the chalky efflorescence that shows up on grout and glazed surfaces after water evaporates and leaves minerals behind. Eco-friendly calcium remover formulas tend to work best within this middle ground, between routine wiping and full acid treatment.
They are not always the right tool. Heavy, years-thick crusts, historic or already-damaged stone, and deep staining that has penetrated below the surface usually call for either a stronger acid-based process or a restoration professional.
- Good fit: waterline scale, light film, fresh efflorescence on tile or grout.
- Marginal fit: moderate, layered buildup that has accumulated over a season or more.
- Poor fit: thick calcium crusts, pitted or already-etched stone, staining that has soaked into a porous surface.
Which surfaces are safe, which need caution, and how to patch test
Most glazed ceramic, porcelain, glass tile, and standard pool tile finishes tolerate acid-free removers well, as do many grout types. That range covers the majority of residential waterline scale jobs, which is why an acid-free approach is worth trying before anything stronger.
Some materials deserve more caution. Polished marble, limestone, and other calcareous natural stone are chemically similar to the calcium deposits themselves, so any cleaner strong enough to dissolve scale can also dull or etch the stone underneath. Certain metal trims and older or hand-painted glazes fall into the same cautious category.
- Choose a hidden or low-visibility section of the surface, at least a few inches square.
- Run the full application, dwell, and rinse cycle exactly as the label describes, timing it.
- Inspect the spot wet, then again once fully dry, and check it under both direct and indirect light before treating the whole area.
Pro Tip: Photograph the patch-test area before and after. A side-by-side comparison catches subtle dulling that's easy to miss in the moment. For glass tile specifically, see this patch test guidance for scale removal before treating a full wall.
Step-by-step: using an acid-free calcium remover safely and effectively
Preparation determines most of the outcome. Put on chemical-resistant gloves and eye protection, clear the area of people and pets, and brush away loose debris or dirt so the product reaches the mineral deposit directly. If the label calls for pre-wetting, do it, since a dry surface can pull the product in unevenly and cause patchy results.
- Patch test first. Run the procedure below on a hidden section and write down the exact dwell time you used; don't skip this step even if you're confident about the surface.
- Apply the product. Spray or gel-apply according to the label, covering the deposit evenly and keeping the surface visibly wet through the dwell period.
- Hold the dwell time. Follow the label's stated minutes exactly. Cutting it short wastes product; stretching it doesn't speed things up and can stress sensitive finishes.
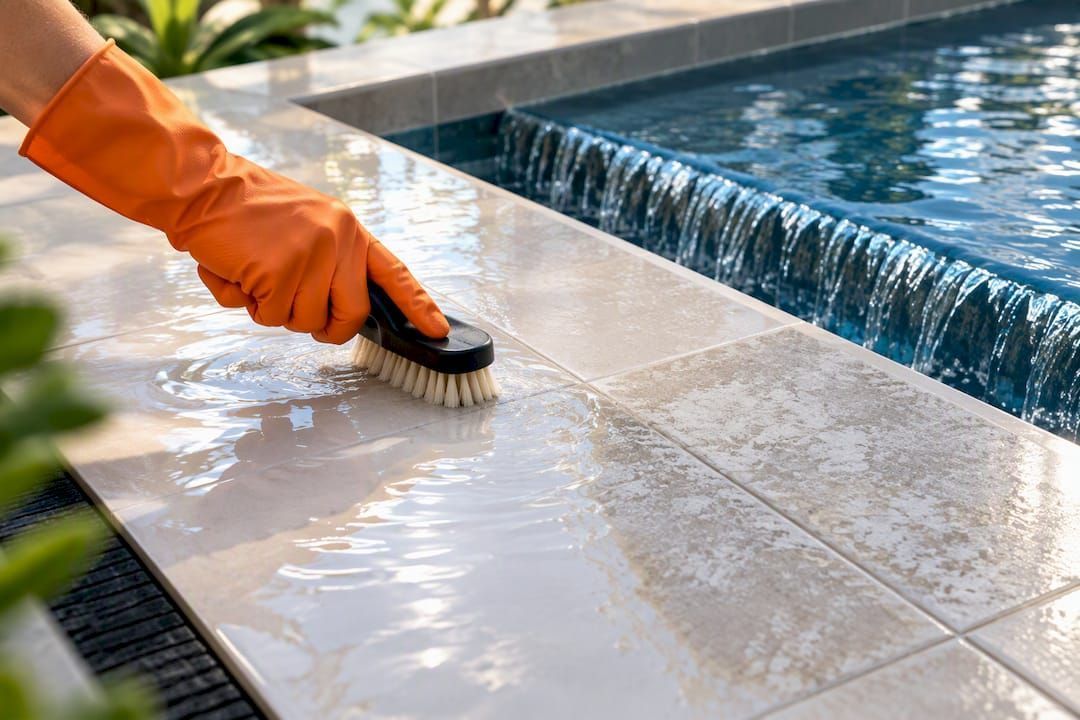
- Agitate gently. Work a soft nylon brush or non-abrasive pad over the treated area between applications to lift loosened mineral film without scratching the glaze.
- Rinse and inspect. Rinse thoroughly, let the surface dry, then check for remaining haze or texture. Calcium often sits in layers, so one pass rarely finishes the job on established buildup.
- Repeat or escalate. Reapply using the same documented dwell time and agitation if residue remains. If two or three careful rounds make no visible progress, that's your signal to consider a stronger acid-based method or a professional.
- Clean up. Dispose of rinse water and used pads according to the product's safety data sheet, and return the product to its own labeled container away from pool chemicals.
Keeping a simple log of the product, dwell time, and agitation used for each attempt makes it much easier to know whether you're actually making progress or just repeating a step that isn't working. Property managers running multiple pools or units especially benefit from this kind of record, since it turns a one-off cleaning into a repeatable playbook. For broader upkeep after the calcium is gone, general pool tile cleaning tips cover the routine side of things, and a rundown of common calcium releaser mistakes is worth a read before your first attempt.
Pro Tip: Work in small sections rather than the whole wall at once. Wet dwell time is easier to maintain, and you can rinse before the product dries into a film.
Safety, pool-chemical interactions, storage, and PPE
The single biggest hazard in this whole process has nothing to do with the calcium: it's mixing cleaning products with pool sanitizers. Chlorine and other sanitizers can react with cleaning chemicals to create hazardous gases, and the CDC's pool chemical safety guidance treats proper labeling, dedicated storage, and protective equipment as the foundation of safe handling, warning specifically against accidental mixing.
- Never combine a calcium remover with chlorine, bromine, or any other pool sanitizer, even briefly in the same bucket.
- Store cleaning products in their original, labeled containers, kept separate from pool chemicals on a different shelf or cabinet.
- Never repurpose an empty product bottle to hold a different chemical, even one you think is compatible.
- Work in a ventilated space, wear chemical-resistant gloves and eye protection, and keep clean water or an eyewash station within reach.
A product labeled "acid-free" or "non-toxic" is still a concentrated chemical , and the CDC is clear that safe handling and PPE matter just as much with gentle formulas as with strong acids. Separately, the CDC's healthy swimming toolkit recommends keeping pool water pH in the 7.0 to 7.8 range and keeping cleaning chemicals away from sanitizers entirely, guidance worth following even for a home pool.
How these cleaners work and what results to expect
Calcium deposits build in layers as water evaporates and leaves minerals behind, and acid-free formulas generally work through those layers sequentially rather than dissolving a thick crust in one pass. That's the trade-off for gentleness: these products tend to move slower than muriatic acid, but they're far less likely to etch glaze or stone while they work.
Expect to repeat the application, especially on buildup that's been there for a season or more, and plan on light mechanical agitation between rounds rather than a longer soak. The NPS technical notes on masonry cleaning describe the same layered logic for stronger acid treatments: keeping the surface moist and working in controlled stages reduces secondary mineral deposition and gets a cleaner result than one aggressive application. Overapplying or extending dwell time past the label's recommendation doesn't speed up removal, and it raises the odds of dulling a sensitive finish. Understanding the difference between acid-free cleaning and acid washing helps set expectations before you start.
Choosing a product or calling in a restoration professional
A good acid-free product should make a few things easy to verify before you buy: explicit surface compatibility, clear dwell-time directions, an accessible safety data sheet, and published how-to guidance rather than vague marketing claims.
- Check that the label names your specific surface, glazed tile, porcelain, glass, or grout, rather than a generic "hard surfaces" claim.
- Look for a stated dwell time range, not just "apply and rinse."
- Confirm the safety data sheet is easy to find on the manufacturer's site.
- Favor brands that publish step-by-step application guidance rather than just a product description.
If a deposit resists two or three careful, documented attempts, or if the surface is historic, highly porous, or otherwise valuable, that's the point to bring in a restoration professional rather than escalating to stronger acids yourself. Small, routine waterline scale on a home pool is a reasonable DIY job. Large commercial pools, extensive natural stone features, or anything with real replacement cost usually justify the extra cost of a professional assessment.
What years of pool and tile maintenance taught me about calcium removal
The homeowners who get the best results are the ones who treat calcium removal as a repeatable process, not a one-shot fix. Write down what you used, how long you let it sit, and whether you agitated between rounds. That record is what tells you whether round three is actually working or just wasting product.
If you're staring at a stone feature or a tile finish you're not sure about, stop before you apply anything. A professional assessment costs less than a stone panel you can't undo. Acid-free options exist precisely to lower that risk on the first attempt, and starting there instead of reaching for a stronger acid is usually the more conservative, more reversible choice.
Where to find an acid-free Calcium Releaser and what to pair it with
A calcium releaser product built around the same acid-free approach covered here uses a mineral acid-free formula designed to clear calcium deposits and efflorescence from pool tile, glass, porcelain, and ceramic surfaces without the etching risk that comes with muriatic acid.
The Calcium Releaser product page includes application guidance and safety data sheet access, and it's worth pairing with a soft nylon scrub pad and basic PPE from the Home Essential Cleaners line for the agitation step. For a broader look at ongoing tile upkeep once the calcium is gone, the Pool Tile Maintenance Products collection covers the rest of the routine.
- Calcium Releaser : acid-free treatment for waterline scale and efflorescence.
- Soft scrub pads and PPE : for the agitation and safety steps described above.
- Pool Tile Maintenance Products : for ongoing care once deposits are cleared.
Sources
FAQ
What's the best cleaner to remove calcium buildup?
For waterline scale on pool tile, glass, porcelain, or ceramic, an acid-free calcium remover like Calcium Releaser is generally the safer starting point because it clears mineral deposits without the etching risk of mineral acids. Heavier, long-standing crusts may still need repeat treatment or a stronger acid-based process.
Will muriatic acid remove calcium?
Muriatic acid does dissolve calcium deposits, and the NPS technical notes on masonry cleaning document it as an effective but higher-risk method that requires pre-wetting, tightly controlled dwell times, and immediate rinsing to avoid etching or leaving salts behind. That risk is why many homeowners try an acid-free option first.
What is the best pool tile cleaner for removing calcium deposits?
The right choice depends on the tile's glaze and how thick the buildup is: light-to-moderate scale on glazed tile responds well to acid-free formulas, while thick, long-standing crusts may need mechanical agitation or professional restoration. Patch-testing any cleaner on a hidden section first is the safest way to confirm it won't dull the finish.
Does vinegar take off calcium buildup?
Vinegar can loosen light, fresh calcium film on some surfaces, but it's a mild acid and works far slower than dedicated calcium removers, and it isn't reliable on established scale. It also carries the same patch-test and surface-compatibility cautions as any acid, so check safe vinegar use on pool tile before relying on it.
How do I know if a calcium deposit needs a professional instead of a DIY product?
If two or three careful, documented attempts with an acid-free remover leave the deposit largely unchanged, or if the surface is historic, highly porous, or costly to replace, it's time to bring in a restoration professional. Small residential waterline scale is usually a reasonable DIY job, while large commercial surfaces or valuable natural stone are not.

