
Why Old Grout Crumbles During Renovation
TL;DR:
- Old grout crumbles during renovation mainly due to subfloor movement, moisture intrusion, chemical erosion, or poor installation. Addressing underlying structural issues and using proper materials and techniques prevent early failure of regrouted surfaces. Proper assessment, preparation, and maintenance are essential for long-lasting grout.
Grout crumbles during renovation when it loses adhesion due to subfloor movement, moisture penetration, chemical erosion, or poor installation practices. These are not cosmetic problems. They are structural signals. Understanding why old grout crumbles during renovation tells you whether a simple regrout will hold or whether you need to address a deeper issue first. The industry term for this failure pattern is grout deterioration , and it follows predictable causes that every homeowner can learn to recognize. Skipping that diagnosis is exactly why so many regrout jobs fail within months.
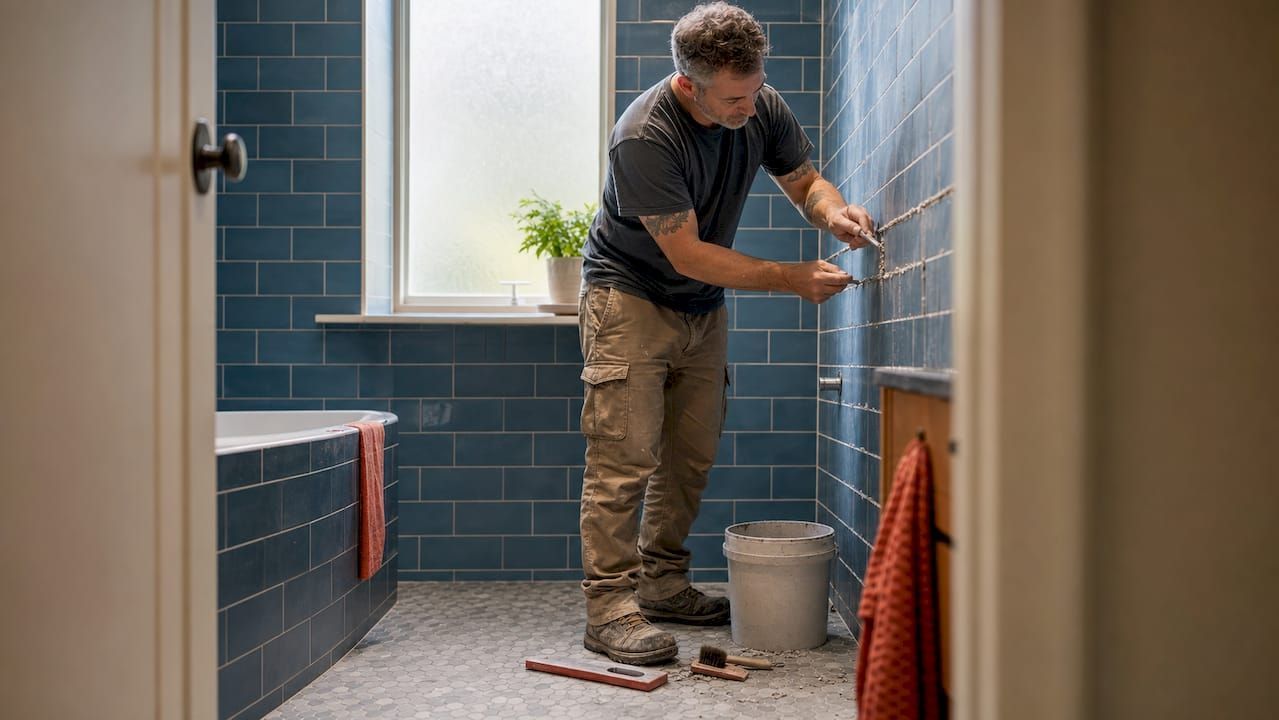
Why does old grout crumble during renovation?
Grout deterioration begins long before you pick up a chisel. The Tile Council of North America identifies subfloor flex as the primary cause of grout failure. Tile and grout are rigid materials. When the subfloor beneath them moves even slightly, the grout joint absorbs that stress and eventually cracks.
Structural movement causes grout failure in a predictable sequence: the subfloor deflects, the tile shifts, and the grout joint fractures. That fracture then lets moisture in, which accelerates the breakdown. By the time you see crumbling grout during a renovation, the damage has usually been building for years.
Moisture and chemical exposure compound the structural problem. Cement-based grout is porous by nature. Water soaks in, weakens the binder, and creates conditions for mold. Harsh cleaners speed up that process by chemically attacking the grout matrix. The result is the sandy, hollow, or missing grout you find when you pull up old tile.
How does structural movement cause grout to crack?
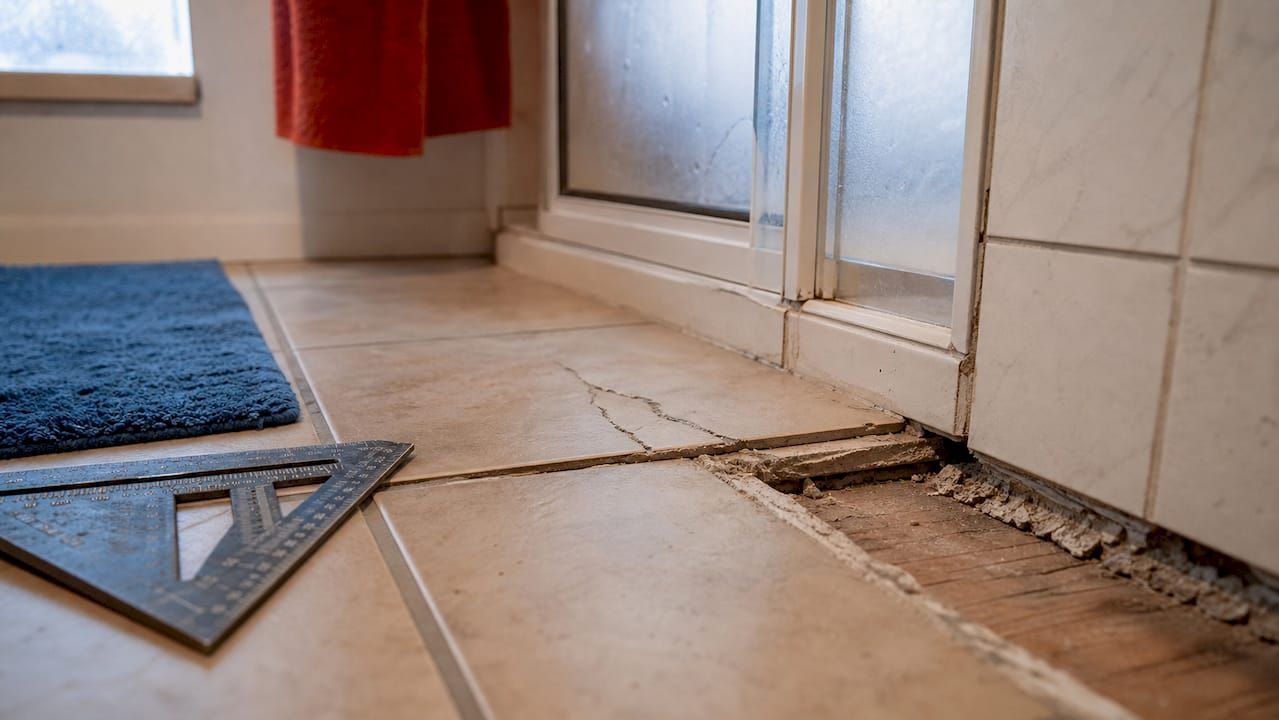
Subfloor deflection is the single most underestimated cause of renovation grout problems. When a floor bounces or flexes underfoot, the tile assembly cannot move with it. The grout joint takes the full force of that movement and cracks. Subfloor flex breaks grout joints regardless of how well the grout was mixed or applied.
Homes also settle naturally over time. Foundation shifts, seasonal wood expansion, and joist fatigue all create stress at grout joints. Older homes are especially prone to this because their subfloors were often built to standards that predate modern tile installation requirements.
Large-format tiles make the problem worse. A 24-by-24-inch tile spans a wider area and amplifies any subfloor irregularity. Large tiles require rigid subfloors with very tight flatness tolerances. When those conditions are not met, grout failure is not a question of if but when.
Expansion joints are the most commonly skipped solution. These are gaps filled with flexible silicone caulk rather than rigid grout. They allow the tile assembly to breathe with building movement. Without them, the stress concentrates at the nearest grout joint and cracks it.
Key signs that structural movement is your root cause:
- Grout cracks follow a consistent diagonal or linear pattern across the floor
- Multiple tiles feel hollow when tapped
- Grout fails repeatedly in the same spots after repair
- The floor has visible bounce or flex when you walk across it
Pro Tip: Before regrouting any floor, press firmly on the tile surface and watch for flex. If the tile moves, fix the subfloor first. Regrouting over a moving subfloor guarantees the same failure within months.
If you detect flex or bounce, mechanical correction is required before any grout work begins. Options include joist bracing, adding a layer of cement board, or installing an uncoupling membrane that absorbs movement without transferring it to the tile.
What role does moisture and chemical exposure play in grout deterioration?
Moisture is grout's most persistent enemy. Cement-based grout absorbs water in continuously wet zones, which leads to cracking, staining, erosion, and mold growth. This is why bathroom and kitchen grout deteriorates faster than grout in dry areas. The water does not just sit on the surface. It works its way into the porous structure and weakens the binder from the inside.
Chemical cleaners accelerate that process significantly. Acidic cleaners and bleach erode grout binders over time, breaking down the cement matrix that holds the grout together. Many homeowners use these products weekly without realizing the cumulative damage they cause. The grout looks clean but becomes structurally weaker with each application.
The consequences of unchecked moisture intrusion include:
- Mold and mildew growth beneath tile surfaces
- Loosened tiles as the adhesive bond degrades
- Discoloration that penetrates deep into the grout body
- Accelerated crumbling at grout edges and corners
Protecting grout from moisture starts with the right cleaning products. A pH-neutral tile cleaner cleans effectively without attacking the grout binder. Avoid anything labeled as acidic or bleach-based for routine grout maintenance. For a full breakdown of how common cleaners damage grout over time, the guide on how cleaning agents drive discoloration covers the chemistry in plain terms.
Pro Tip: Switch to a plant-based, pH-neutral cleaner for weekly grout maintenance. It removes grime without stripping the grout's protective surface. Your grout will last years longer.
Experts recommend polymer-modified grouts for wet zones because they handle thermal expansion and water exposure far better than standard cement-based formulas. Polymer-modified grouts outperform standard cement grout in bathrooms, showers, and pool surrounds.
What installation mistakes lead to grout crumbling?
Poor installation is responsible for a large share of renovation grout problems. The mistakes are predictable, and most are avoidable with basic preparation.
The wrong removal depth
Removing too little old grout is the most common error. Removing at least 1/8 inch of old grout is the industry standard minimum, with two-thirds of the joint depth as the preferred target. New grout applied over a shallow channel loses adhesion rapidly. In some cases, it crumbles within weeks.
Oscillating tools with carbide-grit blades are the professional standard for clean grout removal without damaging surrounding tile. Angle grinders and manual tools often undercut the joint unevenly, leaving a surface that new grout cannot bond to properly.
Wrong grout type for the joint width
Sanded grout is required for joints wider than 1/8 inch. Unsanded grout is for joints 1/8 inch or narrower. Using the wrong type causes cracking because the grout shrinks or expands at a rate the joint cannot accommodate. This is one of the most overlooked grout deterioration causes among DIY renovators.
Mixing and application errors
Excess water in grout mix increases porosity and reduces bond strength. Inadequate compaction during application leaves air pockets that become weak points. Both errors are invisible until the grout starts to fail.
| Mistake | Effect | Correct Practice |
|---|---|---|
| Shallow grout removal | New grout loses adhesion quickly | Remove at least 1/8 inch or two-thirds of joint depth |
| Wrong grout type | Cracking from shrinkage or expansion | Match grout type to joint width |
| Excess water in mix | Increased porosity, weak bond | Follow manufacturer's water ratio exactly |
| Grouting corners and angles | Rapid cracking at high-movement zones | Use silicone caulk at all corners and inside angles |
| Premature water exposure | Bond failure before cure completes | Wait 72 hours before any water contact |
Corners and inside angles are high-movement zones that require flexible silicone caulk, not rigid grout. Grouting these areas is one of the most common professional contractor warnings for DIY renovators. The joint cracks within weeks because the building movement concentrates at those points.
How do you assess and properly replace crumbled grout?
Effective grout replacement starts with an honest assessment of what caused the failure. Skipping this step means repeating the same mistake.
Follow this process before applying any new grout:
- Test the subfloor. Walk the area and press on tiles. Any flex or hollow sound means the subfloor needs attention before regrouting.
- Remove all damaged grout thoroughly. Use an oscillating tool with a carbide-grit blade to reach the minimum 1/8-inch removal depth. Partial removal guarantees early failure.
- Dry the substrate completely. Moisture trapped beneath new grout prevents proper bonding. Allow at least 24 hours of drying time after cleaning the joint.
- Select the right grout for the zone. Use polymer-modified grout in wet areas. Match sanded or unsanded grout to your joint width.
- Fill corners with silicone caulk. Never use rigid grout at inside corners, floor-to-wall transitions, or expansion joints.
- Cure before water exposure. Wait 72 hours before any water contact. Wait 7 days before sealing the grout to allow full cure.
For bathroom renovations specifically, working with an experienced contractor who understands subfloor preparation can save significant rework costs. Bathroom remodeling specialists in your area can assess subfloor conditions and recommend the right tile assembly before you commit to new grout.
Pro Tip: Seal new grout on day 7, not day 1. Sealing too early traps moisture inside the grout body and weakens the cure. A quality penetrating sealer applied at the right time extends grout life by years.
The grout renewal checklist from Oceancarestore walks through removal, application, curing, and sealing timelines in a single reference. It is worth reviewing before you start any regrout project.
Key Takeaways
Old grout crumbles during renovation because subfloor movement, moisture intrusion, chemical erosion, and installation errors destroy the grout's bond and structural integrity before the renovation even begins.
| Point | Details |
|---|---|
| Subfloor movement is the root cause | Fix subfloor flex before regrouting or the new grout will fail in the same spots. |
| Moisture destroys cement-based grout | Use polymer-modified grout in wet zones and seal after a full 7-day cure. |
| Chemical cleaners erode grout binders | Switch to pH-neutral cleaners to protect grout integrity during routine maintenance. |
| Removal depth determines bond strength | Remove at least 1/8 inch of old grout so new grout has a surface it can bond to. |
| Corners need caulk, not grout | Fill all inside angles and expansion joints with silicone caulk to prevent cracking. |
What I've learned from watching grout fail the same way twice
Grout is almost never the real problem. It is the symptom. After seeing dozens of regrout jobs fail within a season, the pattern is always the same: the homeowner fixed the grout but ignored what caused it to fail in the first place.
The most expensive mistake I see is grouting over a moving subfloor. The new grout looks perfect for three months. Then the cracks return in exactly the same places. At that point, the homeowner has spent money twice and still has the original structural problem. A proper subfloor assessment before any tile work costs far less than two rounds of regrout.
Material choice matters more than most homeowners realize. Standard cement grout in a shower or pool surround is a short-term solution. Polymer-modified grout costs more upfront but performs in a completely different category when moisture is constant. The signs of crumbling grout in wet areas almost always trace back to the wrong grout type being used at installation.
My honest advice: treat every regrout project as a diagnostic exercise first. Ask why the grout failed before you decide how to fix it. The answer changes everything about your material selection, your preparation steps, and whether you need a contractor or can handle it yourself.
Protect your grout with the right products from Oceancarestore
Replacing crumbled grout is only half the job. Keeping new grout intact requires the right maintenance products from day one.
Oceancarestore carries stone and grout sealers formulated to penetrate and protect grout in kitchens, bathrooms, and pool surrounds. These are low-VOC, plant-based options that protect without harsh chemistry. For daily cleaning, the pH-neutral tile and stone cleaner removes grime without attacking the grout binder that keeps your tile assembly intact. Pair the right sealer with the right cleaner, and your newly restored grout stays in good condition for years instead of months.
FAQ
Why does grout crumble when I start removing tiles?
Grout crumbles during tile removal because it has already lost adhesion from subfloor movement, moisture damage, or age-related deterioration. The renovation process simply reveals failure that was already present beneath the surface.
How deep do I need to remove old grout before regrouting?
Best practices require removing at least 1/8 inch of old grout, with two-thirds of the joint depth as the preferred target. Shallower removal leaves a surface that new grout cannot bond to reliably.
What are the signs of crumbling grout I should watch for?
Signs of crumbling grout include sandy or hollow-sounding joints, visible cracks following a consistent pattern, discoloration that does not clean off, and grout that crumbles to powder when pressed. Multiple hollow tiles in the same area signal subfloor movement.
Can I regrout without fixing the subfloor?
Regrouting over a moving subfloor causes the new grout to crack in the same locations within months. Subfloor correction must precede any regrouting when flex or bounce is detected.
How long should I wait before sealing new grout?
Wait 72 hours before exposing new grout to water, and wait 7 days before sealing. Sealing too early traps moisture inside the grout body and weakens the bond before it fully cures.

