
Surface Restoration Methods for Homeowners in 2026
TL;DR:
- Proper surface preparation is critical to successful restoration, as improper cleaning can cause premature failure.
- Choosing the appropriate method and sealer for each material ensures durability and minimizes long-term maintenance costs.
Hard surfaces in and around your home take a beating. Pool tiles accumulate calcium scale, marble counters etch from wine spills, concrete floors crack under heavy furniture, and natural stone patios fade from UV and weather. Choosing the right surface restoration methods, known in the industry as surface treatment processes or refinishing protocols, determines whether you spend a weekend with the right product or months managing a botched repair. This guide breaks down the most practical options available to you, from basic surface prep to advanced techniques, so you can match the method to the material and get it right the first time.
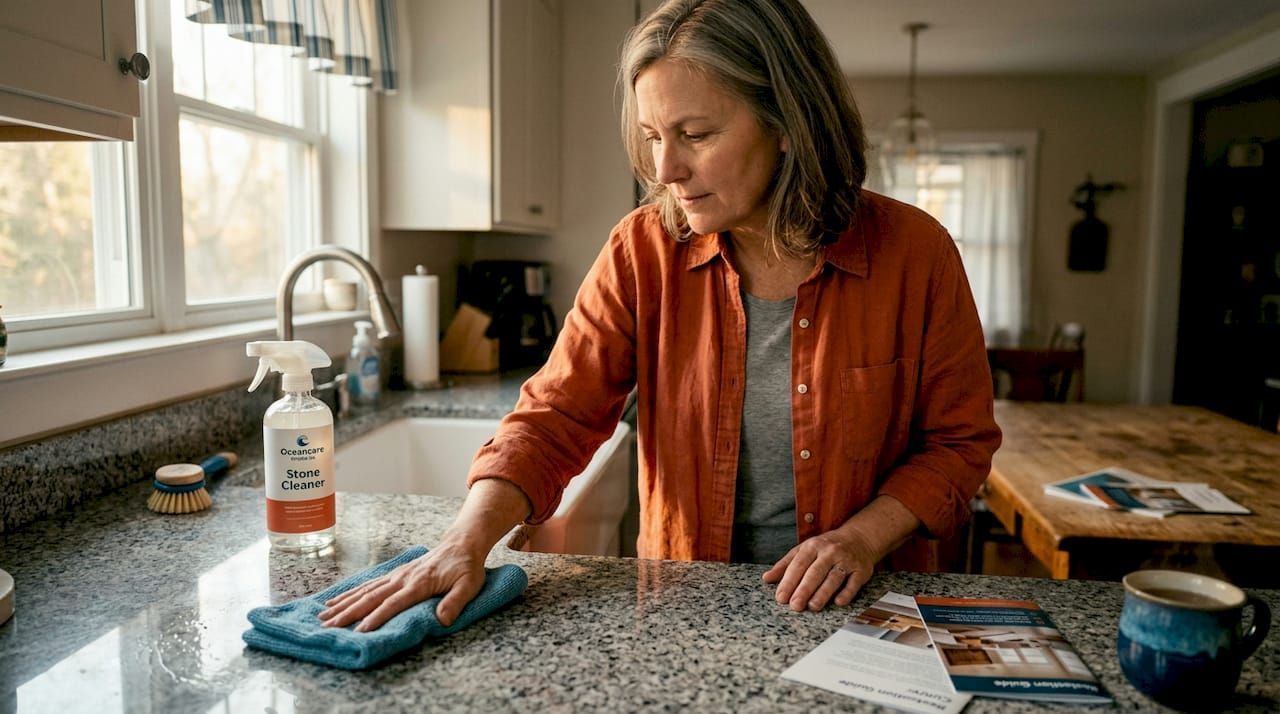
Table of Contents
- Key takeaways
- 1. Mechanical and chemical cleaning as the foundation of surface restoration methods
- 2. Advanced laser-based techniques for precision surface repair
- 3. Concrete surface restoration and floor refinishing options
- 4. Natural stone restoration methods: honing, polishing, and sealing
- 5. Pool tile calcium removal and surface restoration
- 6. Quick restoration methods for recreational and specialty surfaces
- 7. Comparing surface restoration methods: choosing the right approach
- What I've learned from watching too many restoration projects go sideways
- Products that make restoration and maintenance easier
- FAQ
Key takeaways
| Point | Details |
|---|---|
| Prep determines success | Surface preparation, not the finish coat, is the single step most likely to make or break your restoration. |
| Match method to material | Marble, concrete, pool tile, and wood each require distinct surface repair techniques and abrasive levels. |
| Sealing extends results | Restored surfaces without a quality sealer often degrade within months, undoing your investment. |
| Staged restoration saves time | For managed properties, phased restoration approaches can be completed in 24 to 48 hours , minimizing tenant disruption. |
| Maintenance beats re-restoration | Routine cleaning and resealing costs far less than full surface refinishing methods repeated every few years. |
1. Mechanical and chemical cleaning as the foundation of surface restoration methods
Before any coating, sealer, or refinish goes on, the surface needs to be properly prepared. Skipping or rushing this step is the most expensive mistake you can make, and the most common one.
Mechanical cleaning options include:
- Pressure washing for outdoor concrete, pool surrounds, and pavers to remove algae, mineral deposits, and loose debris
- Abrasive blasting for heavily contaminated or pitted surfaces that need more aggressive texture removal
- Grinding for concrete floors with deep stains, old coatings, or uneven leveling issues
On the chemical side, you have options depending on contamination type. Different cleaning techniques suit different surface sensitivities, so using an acid-based cleaner on polished marble, for example, will etch the surface further and create new damage. Calcium buildup on pool tiles requires a targeted calcium releaser, not a general degreaser. Spray cleaning, damp wiping, and wet wiping work well for lighter maintenance before a restoration coat.
The reason prep matters so much is adhesion. Improper surface cleanliness prevents mechanical interlock between the surface and any bonding or coating layer applied on top. A sealer applied to a dirty or still-contaminated surface won't bond properly and will peel, bubble, or fail within weeks.
Pro Tip: Match your grit range and cleaning agent to the surface you're working on before you start. For natural stone, always use pH-neutral or alkaline cleaners. For pool tiles with calcium scale, use a purpose-built calcium releaser and rinse thoroughly before applying any sealer or coating.
2. Advanced laser-based techniques for precision surface repair
Laser-based surface treatment processes are not something most homeowners will do themselves. But if you manage commercial properties, have specialty stone or metalwork, or are working with a professional restoration company, understanding these methods helps you ask better questions and approve the right scope of work.
Laser surface modification works through controlled melting, plastic deformation, and ablation to reduce roughness and refine grain structure at the material's surface layer. The four main methods each address different damage profiles:
- Laser polishing uses a shallow melt-pool reflow to smooth micro-roughness without deep penetration
- Laser remelting fully melts the surface layer, sealing pores and refining the microstructure for added density
- Laser shock peening induces compressive stress beneath the surface without any melting, which extends fatigue life and reduces crack formation in materials like titanium
- Laser surface texturing creates deliberate patterns in the surface to control friction, adhesion, or water channeling
The decision between these methods depends entirely on what kind of damage you're addressing. Shallow micro-scratches suit laser polishing. Porosity or corrosion penetration calls for laser remelting. Surfaces under repeated mechanical stress benefit from shock peening.
Pro Tip: When consulting a restoration contractor who offers laser services, ask them to specify which laser mechanism they're using and why it matches your surface damage type. Vague answers are a red flag.
3. Concrete surface restoration and floor refinishing options
Concrete is one of the most forgiving surfaces to restore, but only if you follow the right sequence. Concrete surface refinishing uses four main steps: cleaning and prep, crack and spall repair, grinding or honing, and then protective coatings or overlays.
Mechanical grinding with diamond abrasives levels the slab, removes old coatings, and exposes fresh aggregate. It's the standard starting point for any floor restoration option that involves applying a new coating or overlay.
Overlay types give you flexibility on both appearance and function:
- Self-leveling overlays fill low spots and create a smooth, uniform base
- Microtoppings go on thin (sometimes under 1mm) and work well when the slab is structurally sound but cosmetically damaged
- Stamped overlays add texture and pattern to replicate stone, brick, or tile at a fraction of replacement cost
For protective coatings, epoxy and polyurea are the most widely used options. Epoxy and polyurea coatings require careful surface prep but deliver abrasion-resistant, chemically resistant finishes built for high-traffic indoor spaces like garages, commercial kitchens, and pool decks.
Combining restoration methods often yields the best results. Grinding followed by staining and sealing, for instance, lets you customize appearance and durability simultaneously.
| Method | Best for | Approximate cost range | Downtime |
|---|---|---|---|
| Diamond grinding | Uneven slabs, coating removal | $2–$5 per sq ft | 1 day |
| Microtopping overlay | Cosmetic damage, light cracks | $3–$7 per sq ft | 1–2 days |
| Epoxy coating | High-traffic floors, garages | $3–$12 per sq ft | 1–2 days |
| Polyurea coating | Faster cure, flexible finish | $4–$15 per sq ft | Hours |
4. Natural stone restoration methods: honing, polishing, and sealing
Stone surfaces require the most nuanced approach of any material on this list. The restoration of wood surfaces might tolerate some trial and error, but marble and limestone will show every wrong move permanently.
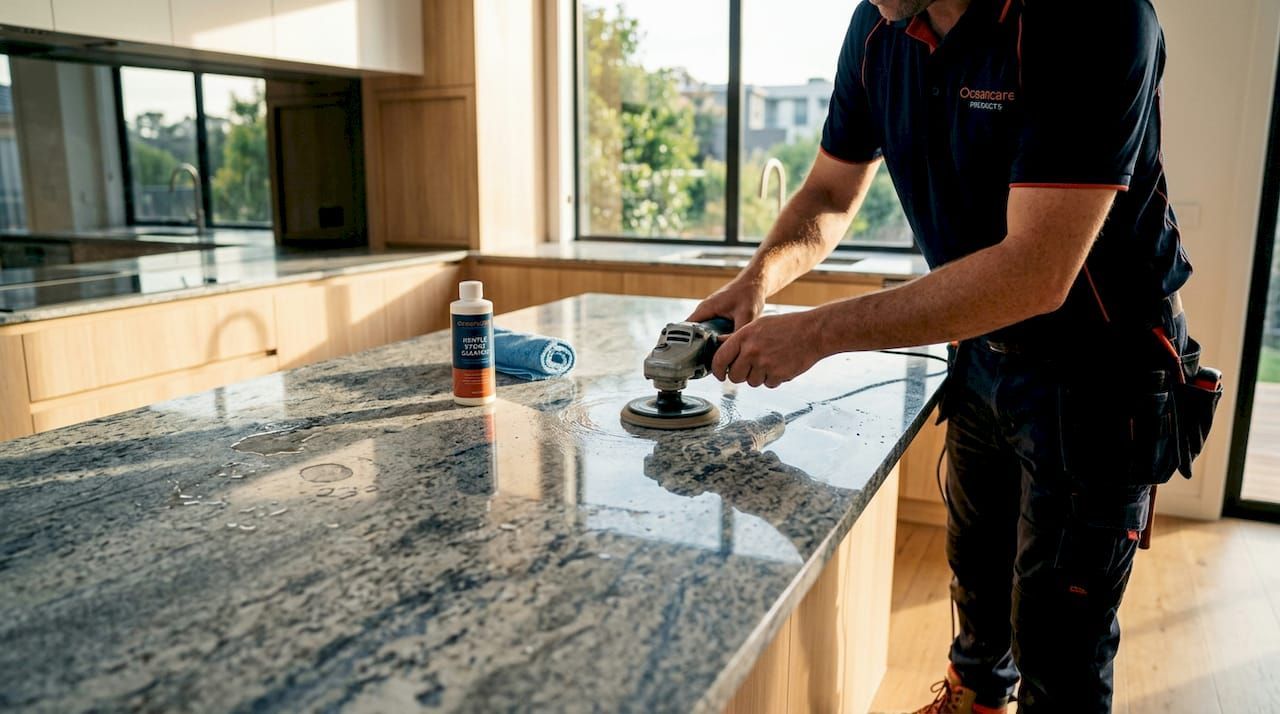
Natural stone restoration follows a clear progression: honing first, then polishing, then sealing. Each step serves a different purpose, and they cannot be swapped or skipped.
Honing uses diamond abrasives to remove the top layer of damaged stone, eliminating scratches, etch marks, and dull patches. This is the correction phase.
Polishing rebuilds the sheen from a matte or honed finish back up to a reflective or mirror surface. This is the aesthetic phase.
Diamond abrasive resurfacing handles deeper imperfections that honing alone can't address, working through progressively finer grits to reshape the surface profile.
Sealing protects the restored surface from staining and moisture penetration. However, sealing doesn't reverse etching. If your marble counter has acid etching from a lemon or vinegar spill, sealing without honing first just traps the damage under a protective layer.
The risks with sealers go both ways. Wrong sealers can trap moisture or degrade prematurely if the mineral composition of the stone isn't accounted for. Penetrating sealers generally work better for polished stone because they don't affect the surface sheen, while topical sealers create a film that may alter the look and require more frequent reapplication.
Pro Tip: For kitchen counters and bathroom vanities in natural stone, use a pH-neutral stone cleaner for weekly maintenance and plan to reseal every 12 to 24 months. High-traffic stone areas need resealing more frequently, sometimes every six months.
For more on why sealing is worth prioritizing from the start, see Oceancarestore's guide on protecting natural stone.
5. Pool tile calcium removal and surface restoration
Pool tiles present a specific challenge that general surface restoration guides often skip. The combination of hard water, evaporation cycles, and fluctuating pH levels creates calcium carbonate and calcium silicate scale that bonds firmly to the tile surface. It won't come off with regular scrubbing.
Effective pool tile restoration involves:
- Calcium releaser application to dissolve mineral scale without etching the tile glaze
- Low-pressure washing to rinse loosened deposits without driving them into grout lines
- Grout inspection to identify cracks or missing grout that will allow water intrusion after cleaning
- Sealing the tile and grout to reduce future mineral adhesion and simplify ongoing maintenance
Sealers for pool tile and stone dramatically improve moisture resistance when selected correctly for the surface type. A penetrating sealer applied after a thorough calcium removal treatment gives the tile a hydrophobic layer that causes water to bead and mineral-laden water to run off rather than deposit.
For property managers, the practical advantage here is speed. Surface restoration on multi-family properties can often be completed in 24 to 48 hours when the right staged approach is used, avoiding full drain-and-replace pool renovation.
Pro Tip: Test your pool tile sealer in a small, inconspicuous area first. Some sealers can slightly alter the color or sheen of darker tiles, and you want to confirm the result before treating the entire waterline.
6. Quick restoration methods for recreational and specialty surfaces
Not every restoration project involves a floor or a wall. Sports equipment surfaces degrade with use just like architectural surfaces do, and the same principle applies: restore the surface to restore the performance.
Pickleball paddle performance is a clear example. Paddle surface friction degrades after one to three months of regular play. Micro-reconditioning sprays can restore 95% to 99% of factory performance and improve friction by 13% to 27% compared to an unrestored worn surface. The mechanism is similar to stone restoration in one respect: a surface treatment process penetrates the material to reconstitute the functional layer rather than just coating the top.
For eco-conscious homeowners and property managers, Oceancarestore's approach to sustainable surface restoration also applies to specialty surfaces. Plant-based, low VOC formulas can clean and restore without introducing harmful chemicals into the surrounding environment, which matters especially near pools, children's play areas, and food preparation spaces.
7. Comparing surface restoration methods: choosing the right approach
When you're deciding how to restore surfaces on your property, three factors consistently determine the right answer: the material type, the severity of the damage, and your tolerance for downtime. Cost matters too, but it usually follows naturally from those three.
| Surface type | Recommended method | Skill level | Relative cost | Maintenance interval |
|---|---|---|---|---|
| Concrete floor | Grind + epoxy or polyurea coat | Professional | Medium to high | 5 to 10 years |
| Natural stone | Hone + polish + seal | Professional | High | Reseal every 1 to 2 years |
| Pool tile | Calcium removal + seal | DIY to professional | Low to medium | Annually |
| Specialty surfaces | Reconditioning spray | DIY | Low | Every 1 to 3 months |
A few patterns worth knowing:
- DIY cleaning and resealing works well for pool tiles, grout lines, and outdoor stone pavers when the damage is surface-level
- Honing and polishing stone requires professional equipment unless you're working on a very small area
- Concrete overlays and coatings are not forgiving of prep shortcuts, so unless you have experience with diamond grinding, hire it out
Common mistakes to avoid: applying a sealer to a surface that still has calcium or mineral contamination on it, using an acidic cleaner on polished marble, and assuming that a new coating will hide structural cracks in concrete without filling them first.
For a practical, cost-effective approach to DIY surface refinishing methods, Oceancarestore's guide on eco-friendly restoration steps is a solid starting point.
What I've learned from watching too many restoration projects go sideways
I've reviewed hundreds of restoration jobs over the years, and the pattern is almost always the same. The surface work itself is fine. The preparation was not.
In my experience, homeowners tend to undervalue prep because it's invisible once the project is done. You don't see the grinding marks under the epoxy coat. You don't see the calcium-free tile surface under the sealer. But those invisible steps determine whether the finish lasts three months or three years.
The other thing I've noticed: people reach for the most advanced solution when a simpler one would have worked. Laser remelting is genuinely impressive technology, and it has real applications. But most residential stone and tile problems are solved with the right abrasive, the right cleaner, and the right sealer, in that order.
What I'd tell any property manager balancing aesthetics and downtime is this: plan for two phases. Clean and restore in one visit. Seal and protect in the next. You get better adhesion, better results, and you don't risk contaminating a fresh seal coat with surface moisture from the cleaning step.
Restoration isn't glamorous work. But when it's done right, it extends surface life significantly and saves you from replacement costs that are almost always avoidable.
Products that make restoration and maintenance easier
Knowing the right method is half the work. Having the right products to back it up is the other half.
Oceancarestore carries a focused range of cleaning and maintenance products built specifically for pool tiles, natural stone, and grout. The pool tile restorer is designed to tackle calcium scale and surface degradation while being safe for the surrounding water and environment. For stone floors and counters, the stone and grout sealers collection includes penetrating sealers matched to specific stone types, with options that are biodegradable, low VOC, and acid-free.
If you're not sure which sealer fits your floor, the stone sealer selection guide walks you through the decision by surface type, finish, and traffic level.
FAQ
What are the most effective surface restoration methods for natural stone?
Honing removes scratches and etch marks, polishing rebuilds sheen, and sealing protects against future staining. The sequence matters: sealing doesn't reverse etching, so honing must come first when damage is present.
How often should restored surfaces be resealed?
Most natural stone surfaces need resealing every 12 to 24 months. High-traffic areas like kitchen counters and pool tiles may need attention every six to twelve months to maintain protection.
Can I restore pool tiles without draining the pool?
Many calcium removal and surface treatment processes can be done at the waterline without a full drain. For a complete restoration or grout repair, a partial or full drain may be required depending on access.
What's the biggest mistake homeowners make with surface restoration?
Applying a sealer or coating to a surface that hasn't been fully cleaned and prepared. Contamination under a sealer prevents proper adhesion and shortens the life of the entire restoration significantly.
When should I hire a professional instead of doing it myself?
For natural stone honing and polishing, concrete grinding, or any project involving structural cracks or damage below the surface layer, professional equipment and expertise deliver results that DIY products simply can't match.

