
Surface Restoration Best Practices for Homeowners
TL;DR:
- Proper surface assessment, cleaning, mechanical preparation, sealing, and polishing are crucial for effective restoration. Skipping these steps or rushing curing times often leads to failure, emphasizing the importance of patience and testing. Eco-friendly products provide safe, high-quality results when used correctly on all residential surfaces.
Surface restoration best practices separate a lasting result from a repair that fails within a year. Whether you're dealing with etched marble, crumbling grout, stained pool tile, or a pitted concrete patio, the gap between cosmetic fixes and real restoration comes down to process. Most homeowners underestimate how much the sequence matters: clean wrong and you damage the substrate; seal without proper prep and the coating peels. This guide walks you through the proven framework professionals use, adapted for the homeowner who wants to do it right the first time.
Key takeaways
| Point | Details |
|---|---|
| Assess before you act | Identify surface material, damage type, and prior treatments before choosing any restoration method. |
| Test panels prevent mistakes | Always spot test cleaning products and dilutions before full application to avoid permanent damage. |
| Prep drives adhesion | Substrate tensile strength and moisture control determine whether coatings and repairs actually hold. |
| Seal after every restoration | Apply an appropriate sealer after cleaning and repair to lock in results and protect longevity. |
| Eco-friendly products perform | Plant-based, low VOC cleaners and sealers deliver professional results without harmful side effects. |
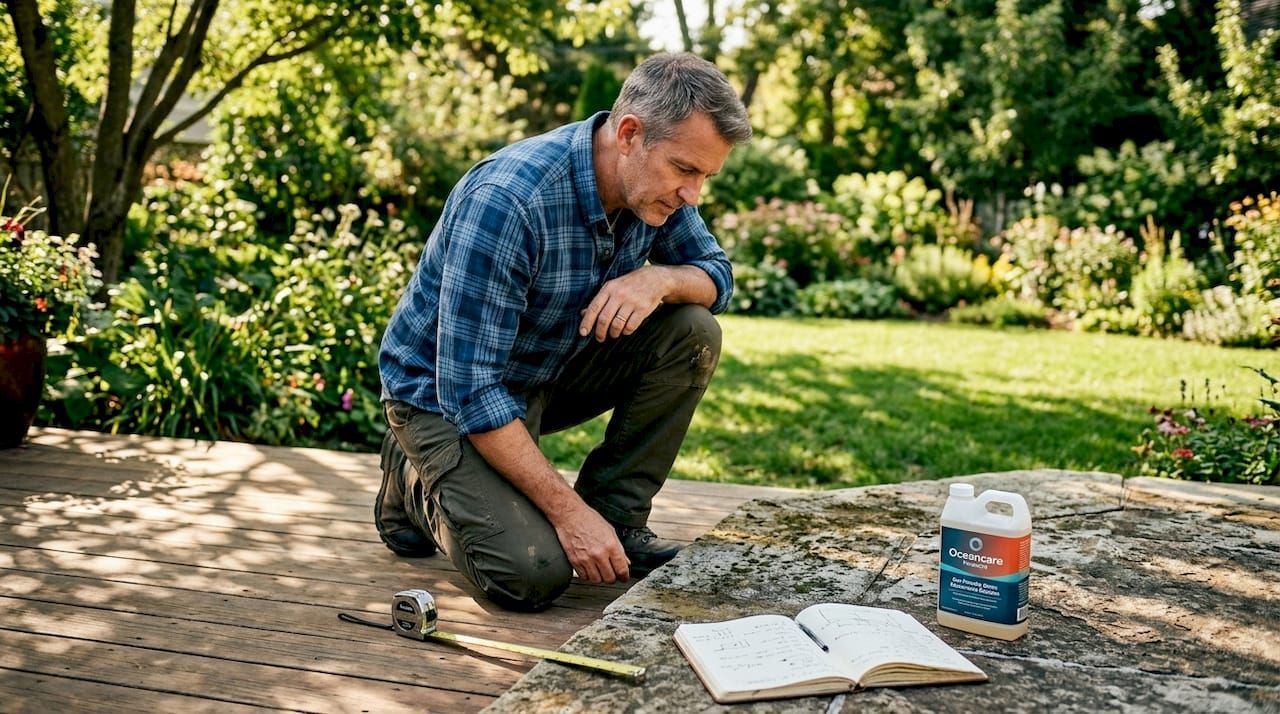
1. Assess the surface condition before anything else
The most costly mistake in surface restoration is skipping a thorough assessment. Applying the wrong product to the wrong surface, or using a technique designed for concrete on natural stone, causes damage that is harder to fix than the original problem. The industry term for this phase is pre-restoration survey , and it covers material type, damage classification, prior treatments, and environmental exposure.
Start with a visual inspection in good lighting. Look for cracks, spalling, staining, efflorescence, or biological growth. On tile and grout, check for grout that is soft, crumbling, or hollow-sounding when tapped. On natural stone, note whether damage is surface-level (scratches, dull finish) or structural (chips, deep etching).
Key assessment checkpoints include:
- Material type: Marble, limestone, porcelain, concrete, and terracotta each require different products and methods.
- Prior treatments: Existing sealers, waxes, or coatings can block new products from bonding.
- Moisture levels: Wet substrates cause coatings to fail. Test for moisture before sealing or patching.
- Damage cause: Restoration failures often occur when repairs address symptoms instead of underlying issues.
Pro Tip: If you find soft or hollow areas in concrete or stone that extend more than a few inches, bring in a professional for a pull-off test before attempting any repair. Guessing on structural soundness is expensive.
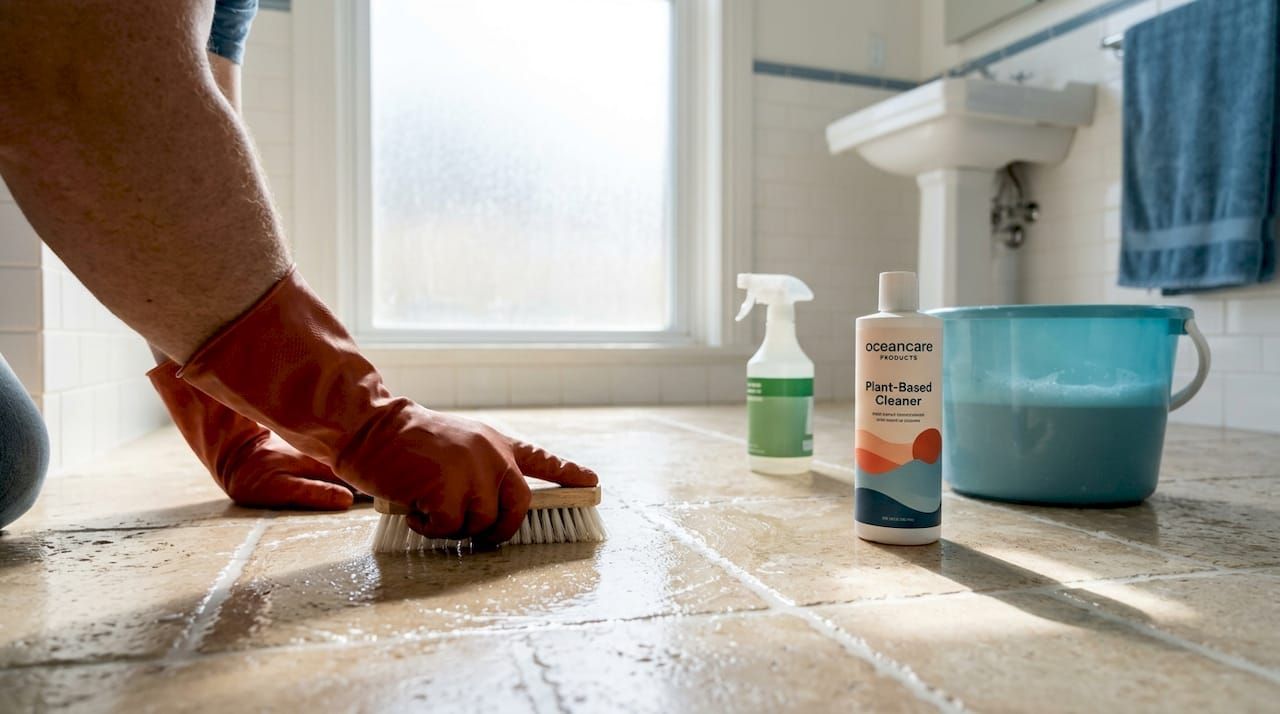
2. Clean surfaces the right way for the material
Cleaning is the foundation of every successful restoration. The industry approach, known as restorative cleaning , treats this as a controlled, expert-led process with defined target conditions, not just scrubbing until something looks cleaner. Defining your target condition first, meaning what "clean" actually looks like for your specific surface, keeps you from over-cleaning or using unnecessarily aggressive methods.
Here is a practical sequence for cleaning hard surfaces before restoration:
- Pre-wet the surface. Saturating porous materials like stone or grout before applying any cleaner prevents the chemical from absorbing too fast and causing uneven reactions.
- Choose the right cleaner for the substrate. Acid-based products strip calcium deposits from pool tiles but will etch marble. Alkaline cleaners handle organic staining on grout without damaging stone.
- Dilute correctly and respect dwell time. Stronger is not better. Concentrated products applied too long cause etching, color alteration, and re-depositing of dissolved material. Follow manufacturer guidance and err toward dilution.
- Never apply acid-based cleaners under pressure. Chemical cleaners applied under pressure force product into the substrate and make thorough rinsing nearly impossible.
- Rinse thoroughly. Residue left behind from cleaners continues reacting with the surface. Multiple rinse passes are not overkill; they are standard.
- Spot test before full application. Even professional restorers cannot reliably predict results on every surface. Test panels confirm dilution, dwell time, and rinsing procedures without risking the whole area.
Eco-friendly, plant-based cleaners work exceptionally well for routine pre-restoration cleaning. They are non-toxic, safe for sensitive stone, and reduce the risk of chemical damage. For a full checklist of steps to follow, the hard surface cleaning guide from Oceancarestore covers the sequence in practical detail.
Pro Tip: For grout cleaning before resealing, a stiff nylon brush with an alkaline cleaner outperforms a pressure washer on indoor tile. Pressure washing indoors spreads contamination and risks saturating the substrate.
3. Use mechanical preparation to get surfaces truly ready
Cleaning removes surface contamination. Mechanical preparation removes weak or failed material and creates the surface profile necessary for new coatings and repairs to bond. These are two different things, and confusing them is one of the most common surface repair guidelines that gets ignored.
Common mechanical methods and what they accomplish:
- Grinding: Removes high spots, thin coatings, and carbonation layers on concrete. Creates a consistent surface profile.
- Scarifying: More aggressive than grinding; used on heavily contaminated or deteriorated concrete floors.
- Shot blasting: Projects steel shot at high velocity to clean and profile simultaneously. Excellent for large outdoor areas like driveways and pool surrounds.
- Hand tools (chisels, wire brushes): Appropriate for localized repairs on stone and tile where power tools would cause collateral damage.
Adhesion strength is the critical metric here. Minimum substrate tensile pull-off strength before structural repair application is 1.5 MPa. Repairs applied without confirming this threshold commonly fail within a few years. For homeowners, this translates to a simple rule: if the surface sounds hollow when you tap it, or if material comes away easily when you scrape it, mechanical prep is required before any repair product goes down.
| Preparation method | Best for | Key limitation |
|---|---|---|
| Grinding | Concrete, large tile areas | Not suitable for soft stone |
| Shot blasting | Driveways, patios, pool decks | Requires professional equipment |
| Scarifying | Heavily failed concrete coatings | Very aggressive; easy to over-process |
| Hand tool preparation | Stone, grout, localized repairs | Time-intensive on large areas |
For crack filling and patching, match the repair material to the substrate. Cement-based patching compounds for concrete. Epoxy fillers for non-porous surfaces. Surface coating adhesion requires both proper surface profile and moisture control; neither alone is enough.
4. Follow a precise sealing process after restoration
Sealing locks in everything you have done. A cleaned, repaired surface that is not sealed will degrade faster than before. The sealer type must match the surface: penetrating sealers for natural stone and grout, topical coatings for concrete floors and tile, and specialized pool-safe formulas for submerged or wet-area tile.
Here is the process that delivers reliable results:
- Confirm the surface is fully dry. For grout specifically, grout must be clean and dry before sealing. Moisture trapped under a sealer causes cloudiness, peeling, and failed adhesion.
- Apply in thin, even coats. Over-application leaves a sticky film that attracts dirt. Two thin coats outperform one thick one every time.
- Respect cure times. Keep sealed grout areas dry for 72 hours post-application and avoid heavy traffic for the first 24 hours. Rushing this step is where most DIY sealing jobs fall apart.
- Test effectiveness with water. The water drop test is straightforward: water beading on the surface means the sealer is active. Water soaking in means it is time to reseal.
For natural stone, understanding why sealing matters for long-term value is worth reading before you choose a product. The Oceancarestore guide on why seal natural stone explains the difference between film-forming and penetrating options clearly.
Pro Tip: In bathrooms and pool areas, plan to reseal grout every 12 to 18 months rather than waiting for visible deterioration. By the time you can see the sealer failing, moisture has likely already penetrated.
5. Use progressive grit sequences for stone polishing and honing
This one surprises most homeowners. When marble or limestone looks dull or scratched after cleaning, the temptation is to go straight to a fine polishing pad. That approach almost always fails. Professional stone restoration, known as honing and polishing , works on the same principle as sanding wood: you must work through progressive grits in sequence.
Skipping grit steps in marble restoration leaves scratches that remain visible after polishing. The standard progression runs from 200 to 400 to 800 to 1500 to 3000 grit. Each stage removes the scratches left by the previous one. Starting at 800 grit on a heavily scratched surface means those deep scratches are still there when you reach 3000; they are just surrounded by finer scratches.
Honing removes the damaged layer, which polishing cannot do on its own. If your stone looks hazy despite repeated polishing attempts, honing is likely the step you have been skipping. For a complete walkthrough of this process adapted for home use, the Oceancarestore step-by-step stone restoration guide covers grit selection and eco-friendly finishing products.
6. Compare restoration techniques and match them to your situation
Not every surface problem requires the most intensive method. Choosing the right approach based on damage severity, surface type, and budget is what separates effective surface maintenance practices from expensive overengineering.
Key factors for deciding which method to use:
- Damage severity: Light surface staining responds to chemical cleaning alone. Deep etching, cracking, or coating failure requires mechanical preparation plus repair before any protective finish.
- Surface sensitivity: Soft stone like marble and limestone cannot tolerate abrasive methods or acid-based cleaners. Concrete and ceramic tile are much more tolerant of aggressive treatment.
- Budget and time: Chemical cleaning is the most accessible starting point. Mechanical preparation and professional-grade coatings cost more but deliver longer-lasting results.
- Environmental considerations: Plant-based and low VOC products reduce chemical exposure for your household and are safe for surfaces near water features, gardens, and pools.
| Method | Best for | Pros | Cons |
|---|---|---|---|
| Chemical cleaning | Staining, biological growth | Low cost, accessible | Risk of damage if misapplied |
| Mechanical preparation | Failed coatings, weak substrates | Strong adhesion, thorough | Equipment-intensive |
| Honing and polishing | Scratched or dull stone | Restores original finish | Multi-step, time-consuming |
| Sealing and coating | All surfaces post-restoration | Long-term protection | Requires clean, dry substrate |
The best outcomes typically come from combining methods. Clean chemically, prepare mechanically where needed, make targeted repairs, and then seal. That sequence is consistent across home cleaning best practices for residential surfaces and aligns with how professional restorers approach every project.
What I've actually learned from watching restoration projects go wrong
I've reviewed a lot of surface restoration projects over the years, and the pattern I keep seeing is this: most failures happen at the assessment stage, not the application stage. Homeowners buy the right product and apply it correctly. They just apply it to a surface that was never properly evaluated or prepared.
The second mistake I see constantly is impatience with drying and curing times. Forty-eight hours feels like a long time when you want your bathroom back. But sealing over a surface that is not fully dry is one of those decisions that costs you twice: once to redo the sealing job, and again in substrate repair if moisture was trapped.
My honest take on the eco-friendly product question: plant-based and low VOC cleaners are not a compromise. They perform just as well on most residential surfaces, and they remove the risk of chemical burns, toxic fumes, and accidental damage to sensitive materials. The eco-friendly restoration approach is not just better for your household. It also gives you more margin for error, because gentler chemistry is less likely to cause irreversible damage if something goes slightly wrong.
Patience and testing are not optional steps. They are the entire foundation of work that actually lasts.
Restore smarter with Oceancarestore products
If this article gave you a clearer picture of how surface restoration actually works, the next step is having the right products to back it up. Oceancarestore specializes in eco-friendly, plant-based cleaners and sealers built specifically for tile, natural stone, grout, and pool surfaces. The stone and grout sealers collection covers penetrating and topical options for every surface type covered here, with low VOC formulas safe for indoor and outdoor use. For daily cleaning and pre-restoration prep, the home essential cleaners range handles everything from calcium deposits on pool tile to organic staining on bathroom grout. Professional results start with products built for the job.
FAQ
What are the first steps in surface restoration?
Start with a pre-restoration survey to identify the material type, damage severity, and any prior treatments. Cleaning and mechanical preparation follow before any repair or sealing work begins.
How do I know if my sealer is still working?
Use the water drop test. If water beads on the surface, the sealer is active. If water soaks in within a few minutes, the surface needs resealing.
Why do repairs fail even when applied correctly?
Repairs fail most often when the underlying cause is not addressed or when substrate tensile strength is below the required minimum before the repair material is applied.
Can I use eco-friendly cleaners for full surface restoration?
Yes. Plant-based and low VOC cleaners perform well for pre-restoration cleaning on most residential surfaces and reduce the risk of chemical damage to sensitive materials like marble and natural stone.
How often should I reseal grout in wet areas?
In bathrooms and pool surrounds, plan to reseal grout every 12 to 18 months. Higher humidity and traffic accelerate sealer breakdown, so the water drop test is the most reliable indicator of when resealing is needed.

