
Surface Protection Process: A Homeowner's Complete Guide
TL;DR:
- Proper surface protection requires thorough preparation, correct method selection, and regular maintenance to prevent failure. Applying the right protection depends on matching the method to the surface type and environment. Consistent cleaning and reapplication of sealants ensure long-lasting surface durability.
The surface protection process is the sequence of steps used to shield floors, countertops, tiles, stone, and other hard surfaces from stains, damage, and premature wear. Homeowners and property managers who follow a structured approach get longer-lasting results than those who apply products without preparation. The process covers three phases: surface preparation, product application, and ongoing maintenance. Each phase depends on the one before it, so skipping steps creates compounding problems. Oceancarestore specializes in eco-friendly sealers, cleaners, and protectors designed to fit this exact process for residential and commercial hard surfaces.
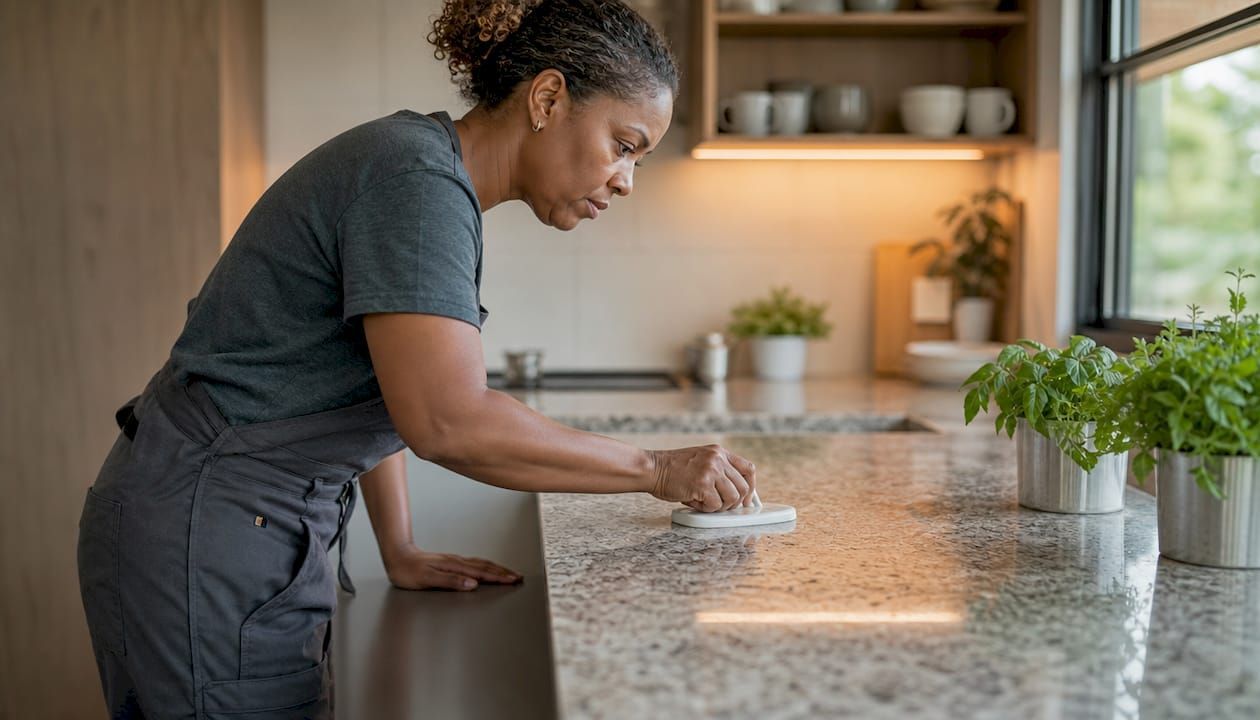
What are the most effective surface protection methods?
The surface protection process starts with choosing the right method for your surface type. The two fundamental categories are surface treatments and coatings, and they work very differently. Surface treatments chemically or physically modify the existing surface material, while coatings add a new protective layer on top. Choosing the wrong category causes bonding failures or changes the surface appearance in ways that are difficult to reverse.
The most common surface protection methods for homes and properties include:
- Protective films. Surface protection films are typically polyethylene with pressure-sensitive adhesives, designed for easy application and residue-free removal. They work well on stainless steel, glass, tile, and smooth stone during construction or renovation.
- Penetrating sealants. These absorb into porous surfaces like natural stone, grout, and concrete. They repel water and oil without changing the surface color or texture.
- Topical coatings. Applied over the surface rather than into it, topical coatings form a visible protective film. They work well on pool tiles, polished stone, and glazed ceramic.
- Temporary coverings. Canvas drop cloths, foam padding, and corrugated panels protect floors and countertops during high-traffic renovation work. Counter protection materials include adhesive films, foam padding, and waterproof coverings, each suited to different protection needs.
- Nano-coatings. These are ultra-thin barrier layers. Nano-coatings as thin as 65.62 nm can significantly improve corrosion resistance and wear protection, making them a strong option for metal fixtures and high-contact surfaces.
Matching the method to the surface type is the most important decision you make. A penetrating sealant is the right call for unsealed travertine around a pool. A protective film is the right call for a new granite countertop during a kitchen renovation. Using a topical coating on a surface that needs a penetrating treatment traps moisture and causes long-term damage.
How to properly prepare surfaces before applying protection
Preparation is the single biggest factor in whether surface protection lasts. Preparation phase failures are the most common cause of protective film or coating failure. Improperly cleaned or unstable surfaces cause peeling, trapped debris, and uneven bonding. No product, regardless of quality, performs well on a dirty or damp surface.
Follow these steps before applying any protective material:
- Remove all debris and loose material. Sweep, vacuum, or blow off the surface completely. Any grit left behind will show through films and compromise adhesive contact.
- Clean the surface with a compatible cleaner. Use a product matched to your surface type. Acid-free, pH-neutral cleaners work safely on natural stone, pool tile, and grout without etching the material.
- Address stains and mineral deposits. Calcium buildup on pool tiles, grease on kitchen stone, and rust on concrete all need targeted treatment before sealing. Sealing over stains locks them in permanently.
- Allow the surface to dry completely. Moisture under a coating or film causes bubbling and adhesion failure. Check that the surface is dry to the touch and that ambient humidity is within the product's recommended range.
- Inspect for cracks, chips, or instability. Repair damage before applying protection. A sealer applied over a crack will not bond correctly and will peel at the edges.
- Control the environment. Concrete surface protection, for example, requires preparation following SSPC SP 13 / NACE 6 standards for durable chemical resistance. Temperature and humidity affect adhesion for most products, so check conditions before you start.
Pro Tip: Run your hand across the cleaned surface before application. If you feel any grit, dust, or tackiness, clean it again. One extra pass at this stage prevents hours of rework later.
For kitchen and bathroom cabinetry, removing grease before any protective application is non-negotiable. Grease creates a barrier that prevents adhesion, even when the surface looks clean to the eye.
Step-by-step guide to applying surface protection materials
Correct application technique determines whether your protection holds for months or years. The sequence matters as much as the product itself.
Start by reading the product's technical sheet and confirming environmental conditions. Most sealants and coatings require temperatures between 50°F and 90°F and relative humidity below 80%. Apply outside those ranges and you risk poor curing.
For protective films, apply immediately after surface installation and cleaning to get the best adhesion. Peel back a small section of the liner, align the film to one edge, and press down gradually to push air out. Work in one direction to avoid trapping bubbles. Trim edges with a sharp blade rather than tearing, which leaves ragged edges that lift.
For sealants and coatings, apply in thin, even layers rather than one thick coat. Thick coats trap solvents, cause uneven curing, and leave a cloudy finish. Use a foam applicator or microfiber pad for smooth surfaces, and a brush for grout lines and textured stone. Overlap each pass by about 20% to avoid missed spots.
| Application variable | Low-tack film | High-adhesion film | Penetrating sealant | Topical coating |
|---|---|---|---|---|
| Best surface type | Delicate tile, glass, painted surfaces | Rough stone, concrete, construction materials | Porous stone, grout, unglazed tile | Glazed tile, polished stone, pool surfaces |
| Application tool | Squeegee or hand | Roller or hand pressure | Foam pad or brush | Foam pad or microfiber |
| Drying or cure time | Immediate | Immediate | 2–4 hours | 4–24 hours |
| Removal method | Peel cleanly | Peel with care | Not removable (absorbed) | Strip with appropriate solvent |
Edges and seams are where most applications fail. Press film edges down firmly and seal seams with compatible tape. For coatings, apply a second pass along grout lines and corners where the first coat tends to thin out. Proper edge and seam sealing is the step most homeowners skip, and it is where damage enters first.
Pro Tip: For floors during renovation, never rely on plastic sheeting alone. Plastic sheeting alone is unsafe for floor protection. Layer a waterproof plastic base with a canvas drop cloth on top for traction and absorbency.
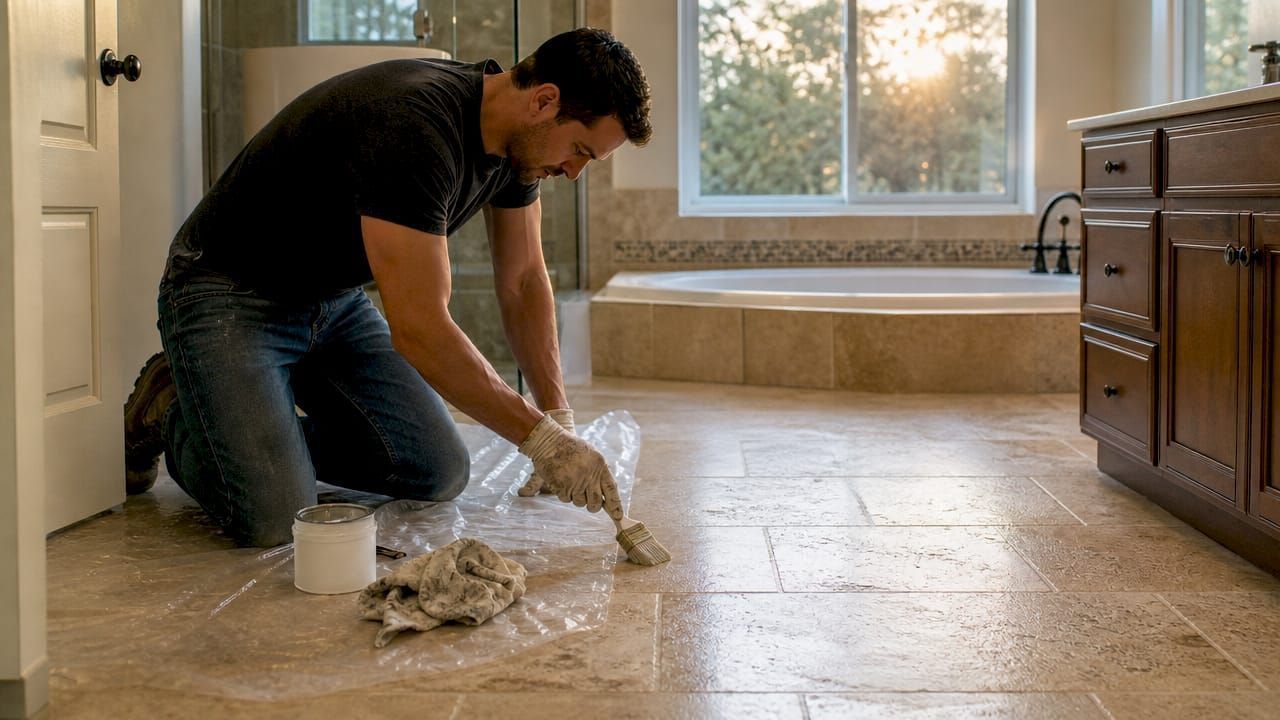
How to maintain protected surfaces for long-term results
Maintenance keeps your protection working long after application day. The best surface finish solutions fail prematurely when homeowners use the wrong cleaning products on top of them.
Key maintenance practices for protected surfaces include:
- Use pH-neutral cleaners. Acidic or alkaline cleaners degrade sealants and coatings over time. Stick to cleaners specifically formulated for sealed stone, tile, or grout. Oceancarestore's plant-based, acid-free cleaners are designed to clean without stripping the protective layer underneath.
- Schedule regular inspections. Check high-traffic areas every three to six months for signs of wear, lifting, or discoloration. Catching a small area of film edge lift early prevents a much larger repair.
- Remove temporary films on schedule. Films left too long become harder to remove cleanly. Adhesive incompatibility causes residue or permanent damage on sensitive surfaces when films overstay their rated duration. Peel at a low angle, slowly, to avoid tearing.
- Reapply sealants on a set schedule. Penetrating sealants on pool tile and natural stone typically need reapplication every one to three years depending on exposure. Outdoor surfaces in direct sun or pool chemical contact need more frequent attention. For guidance on sealing frequency and protection strategies, Oceancarestore's maintenance guides cover pool tile specifically.
- Layer protection in high-traffic zones. For entryways, pool decks, and commercial properties, combine a penetrating sealant with a topical coating for double-barrier protection. A layered system with canvas drop cloths is best practice for durability during renovation, and the same layering logic applies to permanent protection strategies.
UV exposure, pool chemicals, and freeze-thaw cycles all accelerate wear on protective layers. Outdoor stone and pool tile face the harshest conditions. Factor those environmental stressors into your maintenance schedule and reapply before visible wear appears, not after. For a deeper look at protecting pool tiles and stone from environmental wear, the approach differs meaningfully from indoor surfaces.
Key Takeaways
A complete surface protection process requires preparation, correct method selection, proper application, and scheduled maintenance to deliver lasting results.
| Point | Details |
|---|---|
| Method selection matters most | Match the protection type (film, sealant, or coating) to your specific surface material and use case. |
| Preparation drives success | Clean, dry, and stable surfaces are the foundation; skipping prep is the leading cause of protection failure. |
| Application sequence is fixed | Apply in thin layers, seal edges first, and confirm environmental conditions before starting. |
| Maintenance extends protection | Use pH-neutral cleaners, inspect every three to six months, and reapply sealants before visible wear appears. |
| Layer for high-traffic areas | Combining a penetrating sealant with a topical coating gives double-barrier protection where surfaces take the most abuse. |
What I've learned from watching surface protection go wrong
Most protection failures I see come down to one of two mistakes: skipping preparation or choosing the wrong method for the surface. Homeowners buy a quality product, apply it to a surface that was not fully clean or dry, and then blame the product when it peels within weeks. The product was never the problem.
The second mistake is treating all hard surfaces as interchangeable. Glazed pool tile, unsealed travertine, and polished concrete each need a different approach. A topical coating that looks great on pool tile will sit on top of travertine without penetrating, leaving a sticky film that traps dirt. Understanding the difference between surface treatments and coatings is not a technical detail. It is the decision that determines whether your protection works at all.
My honest recommendation: build a simple protection plan before you buy anything. Write down each surface type in your home or property, note its porosity and exposure level, and then match a method to each one. That five-minute exercise prevents expensive mistakes. For outdoor stone and pool surfaces, I also recommend reading up on surface restoration best practices before you start, because restoration and protection are two different jobs that often get confused.
The homeowners who get the best results are not the ones who buy the most expensive products. They are the ones who prepare thoroughly, apply correctly, and maintain consistently.
Oceancarestore's products for every step of the process
Putting this guide into practice is straightforward when you have the right products for each phase.
Oceancarestore carries eco-friendly, plant-based sealers, cleaners, and protectors built specifically for pool tiles, natural stone, grout, and other hard surfaces. Every product is low VOC, acid-free, and safe for sensitive surfaces and household members. The pool tile maintenance collection covers cleaning, protecting, and renewing pool tile surfaces with products designed for the chemical and UV exposure pools face year-round. For homeowners working through the full process, the surface stain prevention guide on the Oceancarestore blog walks through preparation and cleaning procedures in detail. The right product for your surface is already there.
FAQ
What is the surface protection process?
The surface protection process is the sequence of steps used to guard surfaces from stains, damage, and wear. It covers preparation, method selection, application, and ongoing maintenance.
What is the difference between a surface treatment and a coating?
A surface treatment chemically or physically modifies the existing material, while a coating adds a new protective layer on top. Choosing the wrong type for your surface causes bonding failure or aesthetic damage.
How do I know when to reapply a sealant?
Reapply when water no longer beads on the surface or when you see visible wear or discoloration. Most penetrating sealants on pool tile and natural stone need reapplication every one to three years.
Why does my protective film keep lifting at the edges?
Edge lifting is caused by dust, residue, or adhesive incompatibility with the surface material. Clean the substrate completely before application and press edges down firmly to prevent lifting.
Can I use any cleaner on a sealed surface?
No. Acidic or alkaline cleaners degrade sealants and coatings over time. Use only pH-neutral, surface-compatible cleaners to preserve the protective layer underneath.

