
Step by Step Surface Sealing: A Complete DIY Guide
TL;DR:
- Proper surface sealing depends on thorough preparation, correct sealer choice, and disciplined application.
- Regular testing with the water bead method and resealing every 1 to 5 years maintains protection effectively.
Surface sealing is the process of applying a protective coating to hard surfaces like concrete, natural stone, tile, and grout to block moisture, stains, and wear. Done correctly, a step by step surface sealing approach extends the life of your floors, countertops, and outdoor surfaces by years. Skip a step, and you risk peeling, haze, or a seal that fails within months. This guide covers every stage, from prep to final cure, so you get lasting results the first time.
What preparation steps are essential before beginning surface sealing?
Surface preparation accounts for about 80% of whether a seal job lasts. That single fact changes how you should think about the whole process. The sealer itself matters far less than the condition of the surface beneath it.
Clean the surface thoroughly
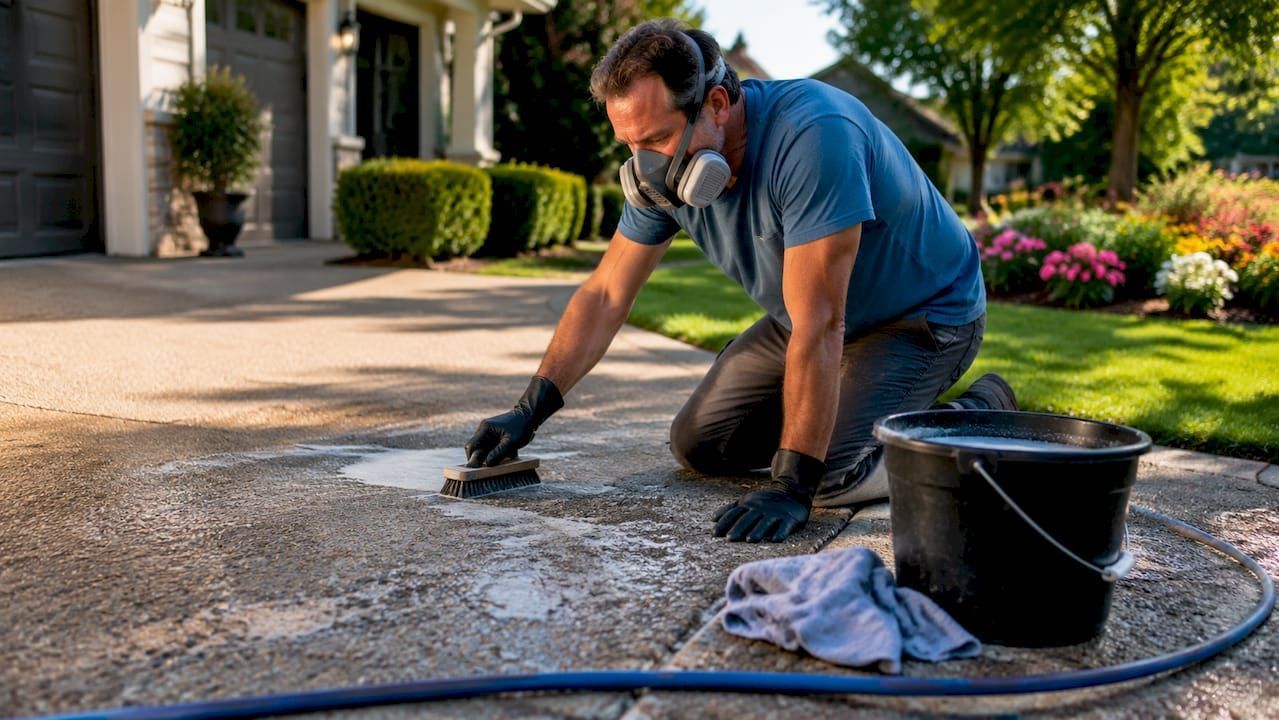
Start by removing all dirt, grease, old sealer, and stains. For concrete, pressure washing at 2,000–3,000 PSI strips loose debris and opens the pores. For natural stone and tile, use a pH-neutral cleaner to avoid etching the surface. Grout lines need a stiff brush and a dedicated stone and grout cleaner to pull out embedded grime before any sealer touches them.
Old sealer must come off completely. A chemical stripper or mechanical grinder works for concrete. For tile and stone, a solvent-based remover applied with a brush and then scraped away does the job. Residual sealer prevents new product from bonding and causes peeling.
Repair cracks and damage
Fill cracks in concrete with a polyurethane or epoxy filler before sealing. On stone, use a color-matched grout or filler to address chips. Sealing over damage locks the problem in and makes future repairs harder.
Test for moisture
The plastic-sheet test is the standard method for concrete: tape a 12x12-inch plastic sheet flat to the surface and leave it for 24 hours. Moisture condensing beneath the sheet means the slab is too wet to seal. For tile, a simple water droplet test works. Drop a few beads of water on the surface. If they absorb within a minute, the tile is porous and ready for sealer.
Pro Tip: Never seal new concrete before it has cured for at least 28 days. Sealing too early traps moisture inside the slab and causes bubbling, cloudiness, and adhesion failure.
Environmental conditions checklist
| Condition | Requirement |
|---|---|
| Temperature | 50–90°F during application and curing |
| Humidity | Low to moderate; avoid high-humidity days |
| Rain forecast | No rain expected for at least 24 hours |
| Surface moisture | Completely dry to the touch |
| Direct sunlight | Avoid sealing in direct sun; work in shade when possible |
Applying sealer outside the 50–90°F range causes improper adhesion, cloudiness, and peeling. Temperature and humidity affect how fast the sealer cures and whether it bonds evenly.
How do you apply sealer step by step on concrete, stone, tile, and grout?
The sealing process varies by surface type. Each material has different porosity, texture, and chemical sensitivity. Using the wrong method on the wrong surface wastes product and risks damage.
Choosing the right sealer type
Penetrating sealers absorb into the pores of the surface and allow vapor to pass through. Film-forming sealers sit on top and create a visible coating. Each has a distinct use case.
| Sealer type | How it works | Best for | Maintenance |
|---|---|---|---|
| Penetrating | Absorbs into pores; invisible finish | Natural stone, exterior concrete, grout | Low; reapply every 2–5 years |
| Film-forming | Coats the surface; glossy or matte finish | Interior concrete, decorative tile | Higher; can yellow or peel over time |
Penetrating sealers are the preferred choice for natural stone and any exterior surface exposed to freeze-thaw cycles. Film-forming sealers work well on interior concrete floors where a polished look is the goal.
Sealing concrete: step by step
- Confirm the surface is clean, dry, and repaired.
- Pour sealer into a paint tray or pump sprayer.
- Apply a thin, even first coat using a roller or sprayer, working in 4-foot-wide strips.
- Overlap each pass by 50% to avoid missed spots and lap marks.
- Allow the first coat to dry fully before applying a second coat (typically 1–4 hours depending on the product).
- Apply the second coat in the opposite direction for uniform coverage.
- Allow 24–72 hours before foot traffic, depending on sealer type and conditions.
Working in small sections, overlapping evenly, and maintaining a wet edge produces more consistent results than product cost alone. Discipline in application is the real differentiator.
Sealing natural stone
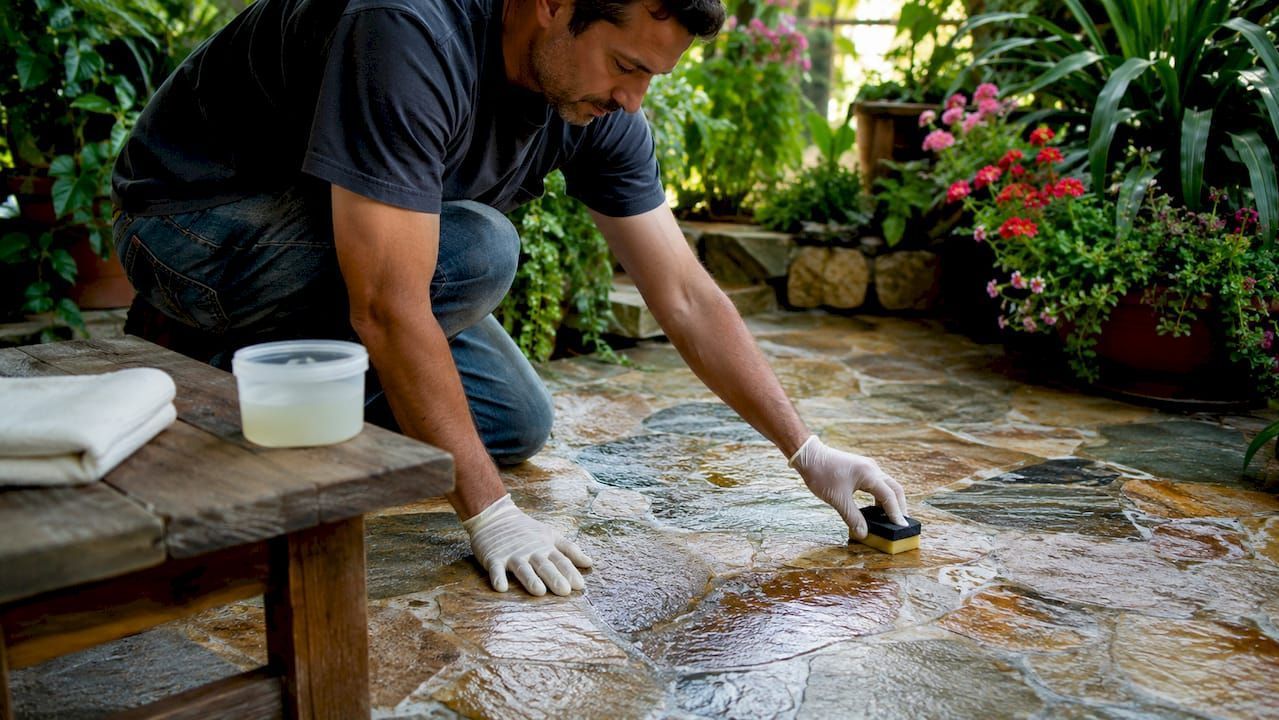
Work in 4 to 6 square-foot sections and keep the surface visibly wet with sealer for 5–15 minutes of dwell time. This allows the sealer to penetrate fully into the stone's pores. After dwell time, wipe away all excess with a clean, dry cloth. Any sealer left on the surface will dry into a hazy film.
Pro Tip: Buff hazy spots immediately with a clean cloth before the sealer dries. Once it cures, removing the haze requires a solvent and extra labor.
Dwell time is the step most homeowners rush. Professional applicators identify it as the key to even absorption and a blotch-free finish on porous stone like travertine, slate, and limestone. You can read more about why stone sealing matters for preserving both appearance and value.
Sealing tile and grout
Tile sealing depends on the tile type. Glazed ceramic and porcelain tiles are non-porous and rarely need sealing. Unglazed stone tiles, terracotta, and cement tiles are porous and require a penetrating sealer. Grout always needs sealing regardless of tile type.
Grout must be fully dry for 24–72 hours before sealing. Apply sealer directly to grout lines using a small brush or applicator bottle. Work in 3x3-foot sections for control. Wipe excess sealer off the tile surface immediately with a clean cloth. Leaving sealer on glazed tile causes a residue haze that is difficult to remove once dry.
What common mistakes should you avoid when sealing surfaces?
Most sealing failures trace back to a short list of repeatable errors. Knowing them before you start saves significant time and money.
Common mistakes and how to fix them:
- Sealing wet or new surfaces. Moisture trapped under the sealer causes bubbling and adhesion failure. Always confirm the surface is dry and, for new concrete, fully cured.
- Applying thick coats. Thick coats cause pooling and visible lap marks. Thin, even coats always outperform a single heavy application.
- Skipping surface prep. Most sealing failures come from shortcuts in preparation. A poorly cleaned surface prevents proper bonding.
- Reworking areas that are starting to skin over. Once a coat begins to set, going back over it creates streaks and texture. Work in manageable sections and keep a wet edge.
- Ignoring safety with solvent-based products. Solvent-based sealers release fumes. Always wear chemical-resistant gloves, work in a ventilated area, and keep open flames away.
Sealing problems are almost always preparation problems in disguise. A premium sealer applied to a poorly prepped surface will fail faster than a basic sealer applied correctly.
Pro Tip: Always test your sealer on a small, inconspicuous area first. This confirms compatibility with the surface and lets you check the finish before committing to the full job.
For a deeper look at what can go wrong, Oceancarestore covers frequent sealing mistakes and how to correct them before they become permanent.
How often should you reseal surfaces and maintain them?
Resealing frequency depends on the surface type, the sealer used, and how much traffic or exposure the area receives. There is no single universal schedule, but general benchmarks apply.
Typical resealing intervals:
- Concrete floors (interior): Every 2–5 years for penetrating sealers; every 1–3 years for film-forming sealers.
- Natural stone (interior): Every 1–3 years for high-traffic areas like kitchen countertops; every 3–5 years for low-traffic areas.
- Natural stone (exterior): Every 1–2 years due to UV exposure, rain, and temperature cycles.
- Grout: Every 1–2 years in wet areas like showers and pool surrounds; every 3–5 years in dry areas.
- Tile (porous, unglazed): Every 2–3 years depending on use.
The water bead test is the simplest way to check seal integrity. Drip water onto the surface. If it beads up and sits on top, the seal is intact. If it absorbs within 30 seconds, the surface needs resealing. Appearance changes like dullness, staining, or discoloration also signal that protection has worn down.
Routine maintenance between resealing extends the seal's life significantly. Use a pH-neutral cleaner for regular cleaning. Avoid bleach, vinegar, or ammonia-based products on sealed stone and grout. These chemicals break down the sealer over time. For exterior surfaces, rinse off debris regularly and avoid using high-pressure washing directly on sealed grout lines. Eco-friendly, plant-based cleaners are the safest choice for maintaining sealed surfaces without degrading the protective layer. Oceancarestore's approach to sealing outdoor surfaces covers maintenance for residential hard surfaces in detail.
Key Takeaways
Proper surface sealing requires thorough preparation, correct sealer selection, and disciplined application technique to deliver lasting protection on concrete, stone, tile, and grout.
| Point | Details |
|---|---|
| Preparation is the priority | Surface prep accounts for 80% of seal job success; clean, dry, and repair before applying anything. |
| Match sealer to surface | Use penetrating sealers for natural stone and exterior surfaces; film-forming for interior decorative concrete. |
| Apply thin, even coats | Thick coats cause pooling and lap marks; multiple thin coats always produce better results. |
| Respect cure times | Allow 24–72 hours before foot traffic; full cure depends on sealer type, temperature, and humidity. |
| Reseal on schedule | Test with the water bead method and reseal every 1–5 years based on surface type and traffic. |
What I've learned from sealing surfaces the hard way
The first time I sealed a natural stone patio, I rushed the prep. The surface looked clean enough, so I skipped the moisture test and went straight to applying sealer. Within a week, I had white haze across half the stone and patches where the sealer had lifted. Stripping it back and starting over took three times longer than the original job.
That experience taught me something no product label fully communicates: patience is the actual skill in surface sealing. The sealer is just chemistry. What you bring to the job is judgment, and judgment means slowing down at every step where speed feels tempting.
My honest recommendation for homeowners tackling this for the first time: choose a penetrating sealer over a film-forming one. Penetrating sealers are far more forgiving. They do not show lap marks, they do not peel, and if you miss a spot, a second pass fixes it without visible evidence. Film-forming sealers look impressive in product photos, but they punish every application error with a visible flaw.
The other thing I tell every DIYer: do the water bead test before you buy anything. If water still beads on your stone or tile, you may not need to reseal yet. Unnecessary resealing wastes money and can build up layers that eventually need stripping. Test first, then decide.
Oceancarestore's sealers for every surface you're protecting
Choosing the right sealer matters, and having a reliable source for quality products matters just as much.
Oceancarestore carries a full range of stone and grout sealers designed for homeowners who want professional results without professional prices. The selection covers penetrating sealers for natural stone and grout, along with surface protectors for tile and pool surrounds. Every product in the range is formulated to be low VOC and safe for household use, so you are not trading surface protection for indoor air quality. Whether you are sealing a kitchen backsplash, a bathroom floor, or an outdoor stone feature, Oceancarestore has the right product for the job. Explore the full range and find the sealer that fits your surface and your project.
FAQ
How long does surface sealing take from start to finish?
A typical DIY sealing project takes one to two days. Surface prep and drying take the most time, while actual sealer application usually takes a few hours.
Can you seal tile and grout at the same time?
Grout always needs sealing, but glazed tile does not. Apply sealer to grout lines only and wipe any excess off glazed tile immediately to prevent haze.
What happens if you seal a surface that is still wet?
Sealing a wet surface traps moisture beneath the coating, causing bubbling, cloudiness, and adhesion failure. Always confirm the surface is completely dry and use the plastic-sheet moisture test on concrete.
Is one coat of sealer enough?
One coat is rarely sufficient. Most surfaces benefit from two thin coats applied in opposite directions for even, complete coverage and better protection.
How do you know when a sealed surface needs resealing?
The water bead test is the most reliable method. If water absorbs into the surface within 30 seconds instead of beading up, the seal has worn down and resealing is needed.

