
Kitchen Stone Protection Steps for Lasting Countertops
TL;DR:
- Proper sealing and daily maintenance are essential to prevent stains and damage on porous kitchen stone surfaces. Regularly perform the water drop test to check if resealing is necessary, and always use pH-neutral cleaners and impregnating sealers for effective protection. Consistent habits like immediate spill cleanup and scheduled resealing extend the appearance and durability of natural stone countertops.
Kitchen stone protection is defined as the process of sealing, cleaning, and maintaining natural stone surfaces to prevent stains, etching, and structural wear. Granite, marble, limestone, and travertine are all porous materials. That porosity means liquids, oils, and acids can penetrate the surface within minutes if no barrier exists. Following the right kitchen stone protection steps makes the difference between a countertop that looks new after a decade and one that shows damage within a year. Oceancarestore offers eco-friendly, food-safe sealers and pH-neutral cleaners designed specifically for this purpose, giving homeowners a practical starting point for any stone care routine.
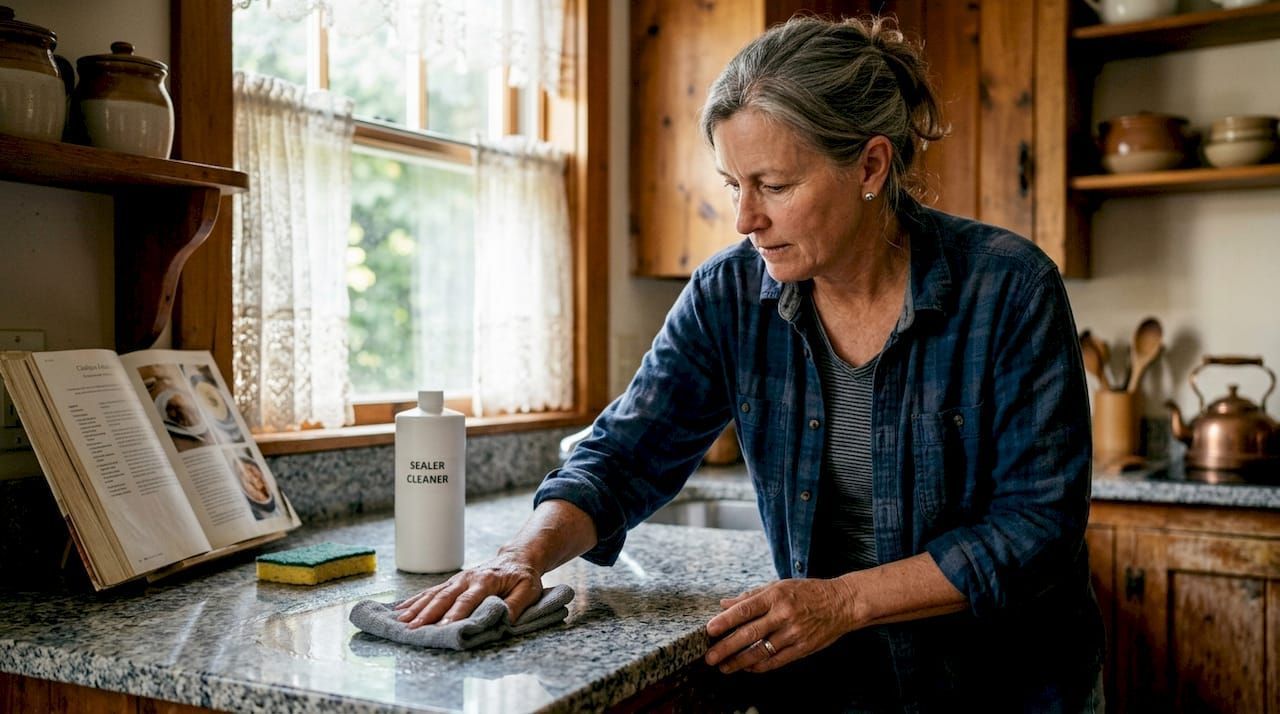
What tools and prep work do kitchen stone protection steps require?
Effective stone protection starts before you open a single bottle. The right tools and a clean surface determine whether your sealer bonds properly or fails within months.
The core toolkit for protecting kitchen stone surfaces includes:
- pH-neutral stone cleaner: Strips grease and residue without damaging the stone or stripping existing sealers. Harsh products strip sealers and leave the surface vulnerable to staining.
- Impregnating sealer: Penetrates the stone's pores from within rather than forming a film on top. Impregnating sealers offer more durable protection than topical coatings, which are prone to peeling and yellowing.
- Microfiber cloths: Non-abrasive and lint-free, ideal for both cleaning and buffing excess sealer.
- Applicator pad or foam brush: Distributes sealer evenly across the surface without streaking.
- Gloves and ventilation: Required for safe application of any sealer product.
Proper prep avoids hazy results and uneven sealing. Clean the surface with a pH-neutral cleaner, remove any old wax or residue, and let the stone dry completely before applying anything new.
| Tool or Product | Purpose | Usage Note |
|---|---|---|
| pH-neutral stone cleaner | Removes grease, residue, and old wax | Apply before sealing and for daily cleaning |
| Impregnating sealer | Fills pores to repel liquids from within | Do not use topical sealers on kitchen stone |
| Microfiber cloths | Cleaning and buffing | Use separate cloths for cleaning and sealing |
| Applicator pad | Fills pores to repel liquids from within | Work in small sections to avoid overlap |
| Gloves and eye protection | Personal safety | Required during sealing application |
Pro Tip: Drop a few water beads on your countertop before you start. If the water soaks in or darkens the stone within 4–5 minutes, the surface needs sealing immediately. This simple water drop test is the standard DIY method for checking sealer effectiveness.
How do you apply a sealer to protect kitchen stone countertops?
Sealing protects stone by filling its pores so liquids bead on the surface instead of soaking in. The process takes about two hours from start to finish, and getting each step right prevents problems like ghosting or uneven coverage.
Step-by-step sealing process:
- Clean the entire surface with a pH-neutral stone cleaner and let it dry fully. Any moisture trapped under the sealer will block penetration.
- Perform the water drop test. If water absorbs within 4–5 minutes, proceed with sealing.
- Apply the impregnating sealer in small sections using an applicator pad. Work in the direction of the stone's grain or veining.
- Let the sealer sit for the time specified on the product label, typically 5–15 minutes.
- Buff away all excess sealer with a clean microfiber cloth before it dries on the surface.
- Apply a second coat if the stone is highly porous, such as marble or limestone.
- Allow the surface to cure for at least 24 hours before using it for food prep or placing wet items on it.
Excess sealer left on the surface causes ghosting, a hazy or streaky appearance that is difficult to remove once it dries. Buffing thoroughly after each coat prevents this entirely.
| Stone Type | Resealing Frequency |
|---|---|
| Marble and limestone | Every 6 months |
| Granite | Every 12 months |
| Quartzite and travertine | Every 1–2 years |
| Dense igneous stones | Every 2–3 years |
Pro Tip: Always choose a food-safe certified sealer for kitchen countertops. Open windows and run ventilation during application. Sealers release fumes as they cure, and a well-ventilated space protects both you and your household.
Safety first: Apply sealers only in well-ventilated spaces. Wear gloves and eye protection throughout the process. Keep children and pets out of the kitchen until the sealer has fully cured. Never apply sealer over a damp or dirty surface, as trapped moisture and debris prevent proper bonding and reduce protection life significantly.
For a deeper look at sealer types, Oceancarestore's stone sealer guide explains the difference between impregnating and topical options in plain language.
What daily habits protect kitchen stone surfaces long-term?
Prevention and consistent maintenance habits are the most important part of any stone care routine. Good habits prevent etching and staining better than sealers alone, and the daily choices you make in your kitchen determine how long your stone stays protected.
The non-negotiables for everyday stone care:
Do these:
- Wipe up spills immediately, especially wine, citrus juice, tomato sauce, and coffee. Immediate wipe-up of acidic spills prevents permanent etching that no sealer can reverse.
- Use coasters under glasses, trivets under hot pans, and cutting boards for food prep.
- Clean daily with a stone-specific pH-neutral cleaner. Using a stone-specific pH-neutral cleaner for daily maintenance optimizes sealant performance and extends stone longevity.
- Dry the surface after cleaning to prevent water spots and mineral deposits.
Avoid these:
- Generic all-purpose sprays, bleach-based cleaners, and vinegar. These strip sealers and etch the stone surface.
- Abrasive scrubbing pads or steel wool, which scratch polished finishes permanently.
- Placing hot pans directly on stone. Thermal shock can cause micro-fractures over time.
- Leaving standing water near grout lines or edges, which promotes mineral buildup.
Oceancarestore's eco-friendly cleaning solutions are formulated to be safe for natural stone, biodegradable, and free from acids and harsh chemicals. They work for both daily wipe-downs and deeper weekly cleans without compromising the sealer layer.
Pro Tip: Keep a dedicated stone cleaner spray bottle on your counter. When it's within reach, you're far more likely to wipe up spills immediately rather than reaching for whatever's closest, which is usually something that will damage your stone.
Choosing the right flooring and surface materials for your kitchen also affects long-term maintenance. Kitchen flooring decisions interact with stone care routines, especially in high-traffic areas where cleaning products can migrate between surfaces.
How do you know when kitchen stone needs resealing?
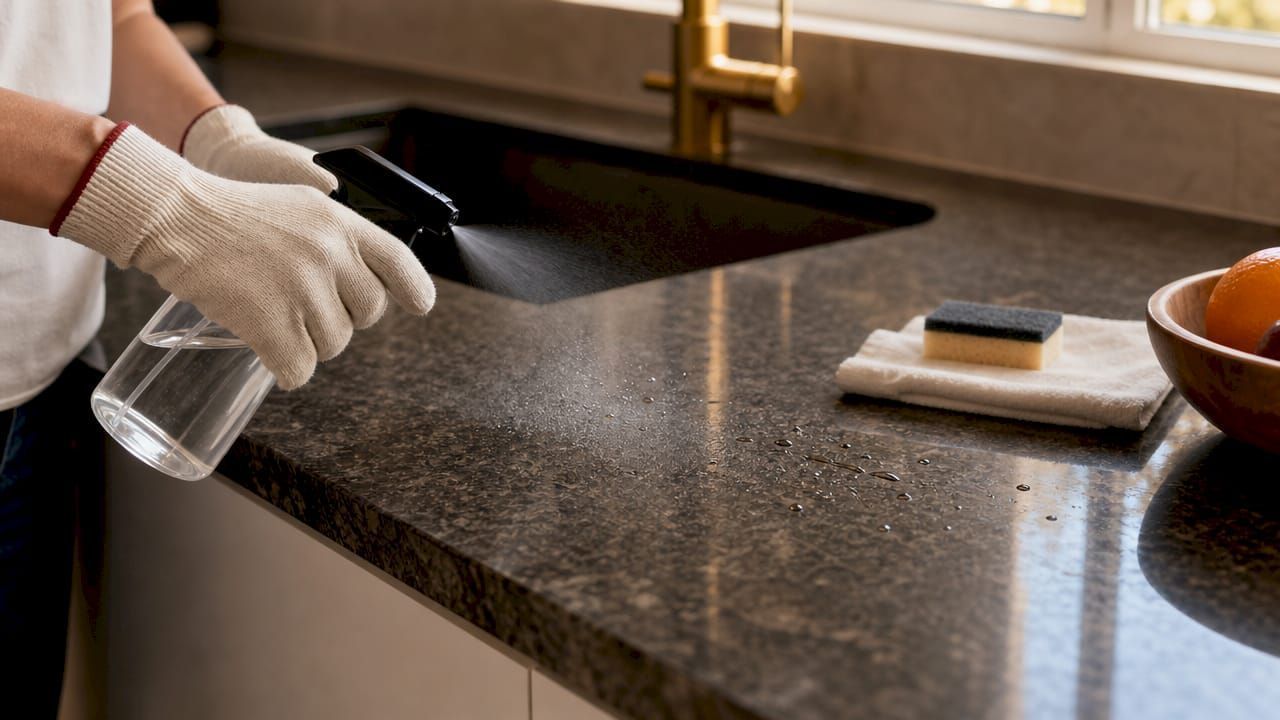
The water drop test is the go-to home method for checking whether your sealer is still working. Place a few drops of water on the countertop and watch for 4–5 minutes. If the water beads up and sits on the surface, the sealer is intact. If it absorbs or darkens the stone, resealing is due.
Signs your stone has lost its protection:
- Water no longer beads on the surface
- The stone darkens when wet and stays dark longer than usual
- New stains appear despite quick cleanup
- Dull patches or etching marks visible in natural light
- The surface feels rough or gritty in areas of heavy use
Common sealing mistakes to avoid:
- Sealing over a dirty or damp surface, which traps debris and blocks penetration
- Applying too much sealer at once, which causes ghosting
- Using a topical sealer instead of an impregnating sealer on kitchen stone
- Skipping the second coat on highly porous stones like marble
Resealing readiness checklist:
- Perform the water drop test in three different areas of the countertop.
- Check for visible staining or etching near the sink and cooking zones.
- Note how long the surface has been since its last sealing.
- Inspect grout lines for discoloration or crumbling, which signals moisture penetration.
- Clean the surface thoroughly before deciding whether to reseal.
Resealing frequency varies by stone type: marble and limestone need attention every 6 months, granite every 12 months, and denser stones can go 1–3 years between treatments. Sticking to these intervals keeps your protection layer consistent.
Pro Tip: Always spot-test a new sealer on a hidden area, such as the underside of a countertop overhang or inside a cabinet. This confirms the product won't alter the stone's color or finish before you commit to the full surface.
Key Takeaways
Protecting kitchen stone surfaces requires consistent sealing, daily pH-neutral cleaning, and immediate spill response to maintain both appearance and structural integrity.
| Point | Details |
|---|---|
| Use impregnating sealers | Penetrating sealers protect from within and won't peel or yellow like topical coatings. |
| Prep before sealing | Clean with a pH-neutral product and dry fully before applying any sealer. |
| Reseal on schedule | Marble needs resealing every 6 months; granite every 12 months; denser stones every 1–3 years. |
| Daily habits matter most | Coasters, trivets, immediate spill cleanup, and pH-neutral cleaners do more than sealers alone. |
| Watch for warning signs | Use the water drop test regularly to catch sealer failure before stains set in. |
What I've learned from years of watching stone go wrong
Homeowners consistently overestimate what a sealer can do. A sealer is not a permanent shield. It's a time buffer. It gives you a few minutes to wipe up a spill before the stone absorbs it. That's a meaningful advantage, but only if you actually wipe the spill up.
The kitchens I've seen hold up best over time share one thing: discipline in daily habits. The owners use coasters. They wipe spills within seconds. They never reach for a generic spray. Their sealers also last longer because pH-neutral cleaners don't degrade the protection layer the way acidic or alkaline products do.
The biggest DIY mistake I see is sealing over a surface that wasn't fully cleaned or dried. The sealer bonds to the residue instead of the stone, and the protection fails within weeks. Prep is not optional. It's the step that determines whether everything else works.
My honest advice: set a calendar reminder for your resealing schedule based on your stone type. Do the water drop test every few months. And buy products that are formulated for stone, not repurposed from another surface category. The right product used consistently beats the best product used once.
Stone care products from Oceancarestore for your kitchen
Protecting your kitchen stone surfaces gets significantly easier when you're working with products built for the job.
Oceancarestore carries a full range of impregnating sealers and pH-neutral stone cleaners formulated for residential kitchen use. Every product in the range is eco-friendly, biodegradable, and low VOC, so they're safe for food-prep surfaces and households with children or pets. The sealers penetrate deeply without altering stone color or finish, and the cleaners maintain the protection layer rather than stripping it. Whether you're sealing for the first time or refreshing an existing treatment, Oceancarestore's kitchen stone care range gives you what you need to do the job right the first time.
FAQ
What is the best type of sealer for kitchen stone countertops?
Impregnating sealers are the best choice for kitchen stone. They penetrate the stone's pores to protect from within and won't peel, yellow, or alter the surface appearance the way topical sealers can.
How often should I reseal my kitchen stone countertops?
Resealing frequency depends on the stone type: marble and limestone need resealing every 6 months, granite every 12 months, and denser stones every 1–3 years. Use the water drop test to check between scheduled treatments.
Can I use regular household cleaners on natural stone?
Regular household cleaners, including vinegar, bleach, and all-purpose sprays, strip sealers and etch natural stone surfaces. Always use a pH-neutral cleaner formulated specifically for stone.
What causes etching on kitchen stone, and can it be prevented?
Etching is caused by acidic substances like wine, citrus juice, and tomato sauce reacting with the stone's minerals. Wiping up acidic spills immediately and using a proper sealer significantly reduces etching risk.
How do I know if my stone countertop needs resealing?
Place a few drops of water on the surface and wait 4–5 minutes. If the water soaks in or the stone darkens, the sealer has worn down and resealing is needed.

