
How to Protect Sensitive Surfaces: A 2026 Guide
TL;DR:
- Protecting sensitive surfaces involves applying appropriate sealants, barriers, and delicate cleaning routines to prevent damage. Proper preparation, such as cleaning thoroughly and choosing suitable products, is essential for effective surface protection. Using the correct protective materials and methods reduces the risk of scratches, stains, and structural damage on vulnerable surfaces.
Protecting sensitive surfaces is defined as applying the right cleaning methods, physical barriers, and chemical sealants to prevent scratches, stains, and structural damage on delicate materials. Marble, hardwood, glass, stainless steel, and natural stone all share one trait: they look great until one wrong product ruins them permanently. The good news is that proper surface protection does not require professional training. It requires the right knowledge, the right materials, and a consistent routine. This guide covers all three.
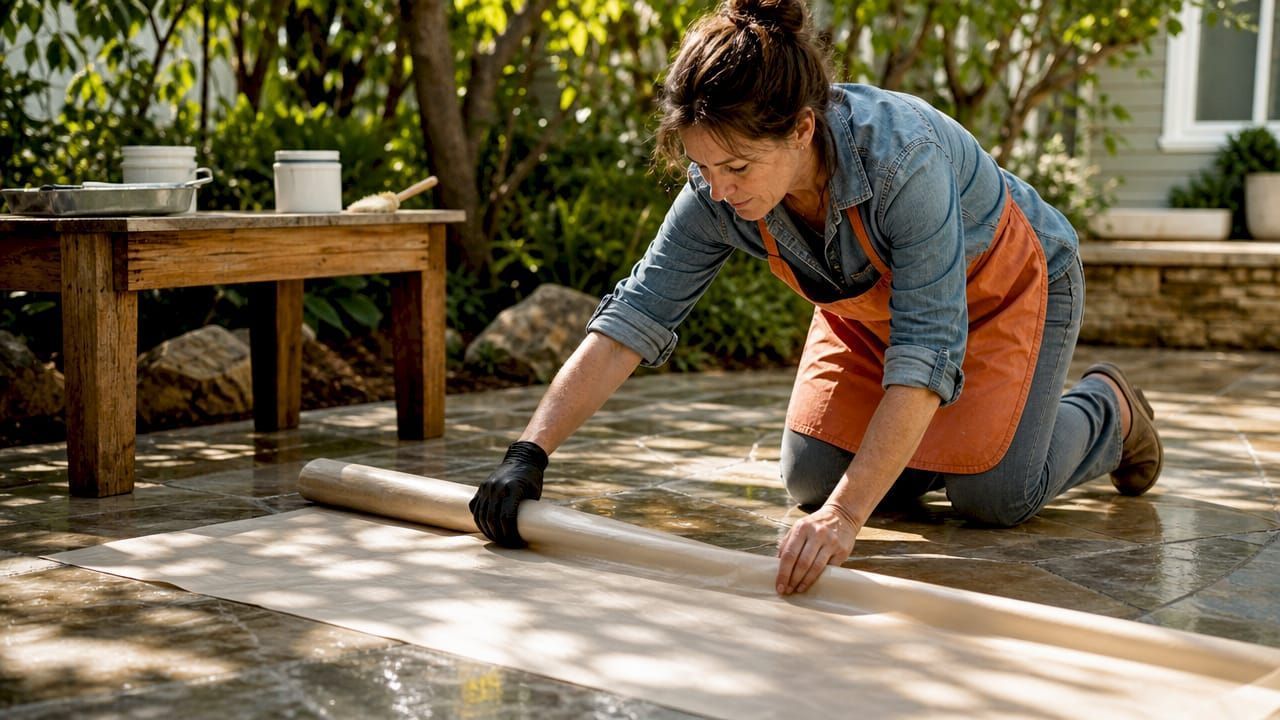
How to protect sensitive surfaces: know your materials first
Not every surface fails the same way. Understanding what makes each material vulnerable is the first step toward protecting it correctly.
Marble and natural stone are porous. Acidic liquids like vinegar, lemon juice, and many common household cleaners etch the surface at a microscopic level. The damage looks like dullness or white haze, and it is permanent without professional refinishing.
Hardwood floors absorb moisture. Standing water, high humidity, and non-breathable coverings cause the wood to cup, warp, or stain beneath the surface. The finish also scratches easily under grit and foot traffic.
Glass surfaces face two distinct threats: physical scratches from abrasive tools and UV degradation when protective films are not rated for sunlight exposure. UV-stable films are the only safe choice for windows and glass doors exposed to direct sun. Without them, adhesive cures onto the glass and removal causes damage.
Stainless steel scratches along its grain pattern. Cleaning against the grain with abrasive pads leaves visible marks that catch light at every angle.
Painted surfaces and faux finishes are among the most fragile. Strong adhesive tapes pull paint off cleanly, and even mild abrasives cut through the top coat. These surfaces need the gentlest possible approach at every stage.
Tile and grout face staining from oils, minerals, and biological growth. Unsealed grout acts like a sponge, absorbing everything it contacts. The surface texture of tile also affects which protective product bonds correctly.
Surface finish matters as much as material type. A polished marble countertop and a honed marble floor are both marble, but they respond differently to sealers and films. Always identify both the material and the finish before selecting any protective product.
What protective products work best for each surface?
Choosing the wrong protective product causes the exact damage you are trying to prevent. The table below matches surface types to their most effective protection options.
| Surface type | Best protection method | Key consideration |
|---|---|---|
| Marble and natural stone | Penetrating stone sealer | Must be reapplied periodically; avoid acid-based cleaners |
| Hardwood floors | Rosin paper topped with Ram Board or Masonite | Must be breathable to prevent moisture trapping |
| Glass (sunlit) | UV-stable protective film | Standard films degrade and bond permanently under UV |
| Stainless steel | Low-adhesion protective film | Apply along the grain; remove slowly to avoid marks |
| Painted surfaces | Low-tack painter's tape and foam-backed panels | Test tape in a hidden spot before full application |
| Tile and grout | Penetrating grout sealer plus tile protector | Reapply after heavy cleaning or renovation work |
Matching adhesion strength to the surface type is the single most important decision in film selection. Low-adhesion films suit polished metals and smooth electronics. Higher-adhesion films grip better on textured surfaces but risk leaving residue on delicate finishes.
For hardwood floors specifically, breathable protective layers like rosin paper are non-negotiable. Lay rosin paper first, then top it with a rigid board like Ram Board or Masonite. This combination absorbs impact, resists moisture, and lets the wood breathe underneath.
Pro Tip: Always buy UV-stable film for any glass that faces a window or receives direct sunlight. Standard film adhesive cures solid under UV exposure and can shatter glass upon removal.
For stone and tile, penetrating sealers outperform topical coatings in most residential settings. A penetrating sealer soaks into the pores and repels liquids from within, while a topical coating sits on the surface and wears away under foot traffic. Oceancarestore's stone and grout sealers are formulated as penetrating, plant-based options that protect without altering the surface appearance.
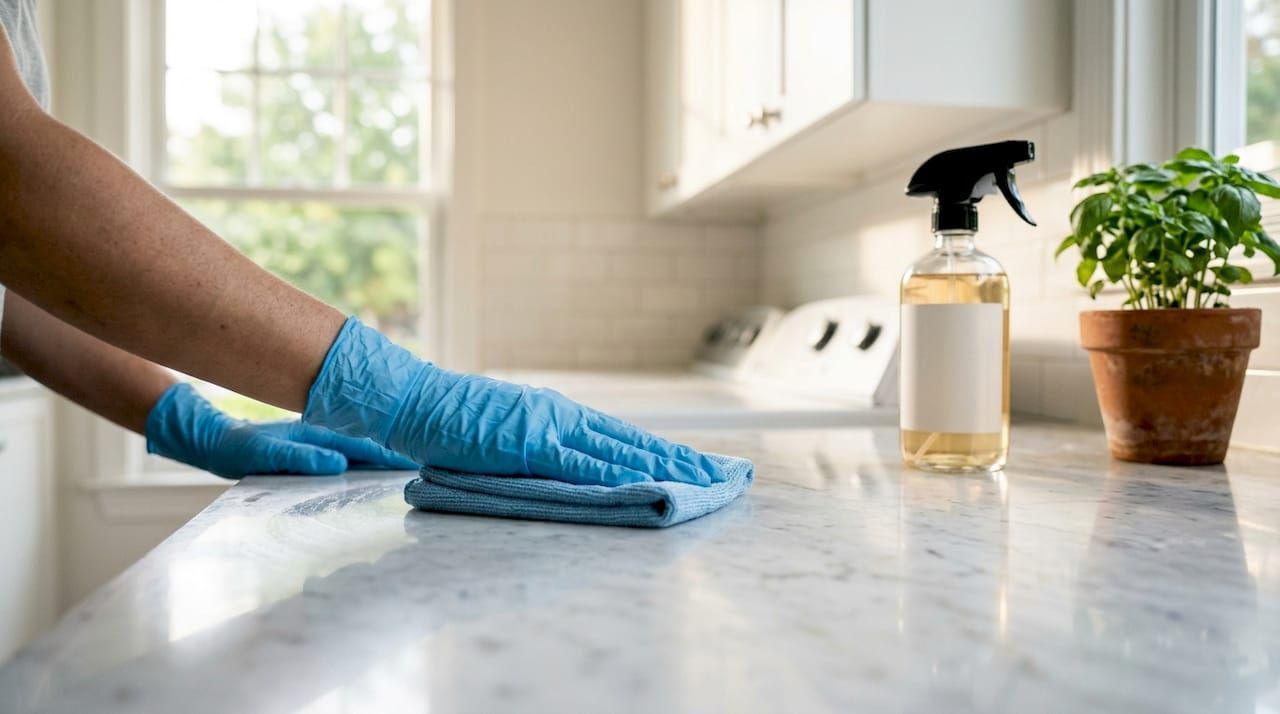
How to prepare and apply surface protection correctly
Preparation determines whether your protection works or fails. Skipping it is the most common and most costly mistake homeowners make.
- Clean the surface thoroughly before applying anything. Trapped debris under a protective film causes micro-abrasions with every footstep or touch. Dirt becomes sandpaper when sealed beneath a layer.
- Use only pH-neutral or diluted mild soaps for the pre-application clean. Acidic cleaners like vinegar or lemon-based products etch marble and strip finishes from stainless steel before you even apply protection.
- Wipe with soft microfiber cloths, not paper towels or sponges. Microfiber cloths lift particles without scratching. Paper towels contain wood fibers that drag across polished surfaces.
- Test any tape or film on an inconspicuous area first. Wait 24 hours, then remove it slowly. If the finish lifts or residue remains, choose a lower-tack option.
- Apply film or paper without trapping air bubbles or dust. Work from one edge across the surface in a single smooth motion. Bubbles create pressure points that can dent soft surfaces over time.
- Overlap seams by at least 2 inches and secure all edges with tape. Overlapping seams prevents liquid and dust from infiltrating underneath. Extend coverage at least 12 inches beyond the active work area during renovations.
- Remove protective film by pulling slowly at a 180-degree angle. Fast removal tears finishes. A slow, flat pull releases adhesive cleanly without lifting paint or stain.
Pro Tip: Warm the adhesive edge of a stubborn film with a hair dryer on a low setting for 10–15 seconds before removal. Heat softens the adhesive and prevents tearing.
Check surface restoration best practices for additional guidance on prepping surfaces before any renovation or heavy-use period.
Common mistakes that damage sensitive surfaces
Most surface damage is self-inflicted. These are the errors that cause the most harm, and how to avoid them.
- Using duct tape on finished surfaces. Duct tape pulls paint and leaves adhesive residue that bonds permanently over time. Only low-tack painter's tape or specialized no-residue tapes belong anywhere near a finished surface.
- Covering hardwood with non-breathable plastic sheeting. Non-breathable plastic traps moisture against the wood, causing cupping, staining, and finish damage. This is one of the most expensive renovation mistakes a homeowner can make.
- Skipping the pre-clean. Applying any protective layer over a dusty or grimy surface locks the contamination in place. Every movement above the surface then grinds that debris into the finish.
- Using abrasive scrubbers on glass or stone. Steel wool and rough sponges leave permanent micro-scratches. These scratches scatter light and make surfaces look permanently cloudy.
- Ignoring adhesive residue after film removal. Residue left on a surface attracts more dirt and can bond further over time. Remove it immediately with a product rated safe for that specific surface.
"The biggest mistake is neglecting thorough cleaning before applying surface protection. Dust and grit cause damage beneath protective layers, turning your protection into the source of the problem."
Inspect protection layers regularly during any renovation or high-traffic period. Lift a corner every few days to check for moisture buildup, debris infiltration, or adhesive failure. Catching a problem early costs far less than refinishing a damaged floor or countertop.
For a deeper look at cleaning mistakes to avoid, Oceancarestore covers the most common errors homeowners make with everyday cleaners.
Key Takeaways
Protecting sensitive surfaces requires matching the right product to the right surface, cleaning thoroughly before application, and removing protection slowly to avoid finish damage.
| Point | Details |
|---|---|
| Clean before you protect | Trapped dust under protective film causes micro-abrasions that damage the surface. |
| Match film adhesion to surface type | Low-adhesion films suit polished metals; higher-adhesion films work on textured surfaces. |
| Use breathable layers on hardwood | Non-breathable plastic traps moisture and causes cupping, warping, and staining. |
| Choose UV-stable film for glass | Standard films degrade under sunlight and bond permanently, risking glass damage on removal. |
| Never use duct tape on finishes | Only low-tack painter's tape or no-residue specialty tapes belong on finished surfaces. |
What I've learned from watching homeowners get this wrong
Most homeowners treat surface protection as an afterthought. They finish a renovation, realize the floors or countertops are scratched, and then ask what went wrong. The answer is almost always the same: they skipped preparation, used the wrong tape, or grabbed whatever plastic sheeting was available at the hardware store.
The part that surprises people is how little the protection material costs compared to the repair. A roll of rosin paper and a sheet of Ram Board costs a fraction of refinishing a hardwood floor. A UV-stable window film costs far less than replacing etched glass. The math is obvious once you see it, but most people never think about it until after the damage is done.
The other misconception I see constantly is that stronger cleaning products mean better results. They do not. Gentle, routine cleaning with microfiber cloths and pH-neutral solutions outperforms aggressive scrubbing every time. Harsh chemicals strip protective coatings, open pores in stone, and dull finishes. You end up doing more work to fix the damage than the original cleaning ever required.
My honest advice: treat preparation as the job itself. The actual protection application takes minutes. The cleaning, testing, and edge-securing take most of the time. That time is where the results are made.
Oceancarestore products built for sensitive surfaces
Choosing the right cleaner and sealer is as important as choosing the right protective film or board.
Oceancarestore specializes in plant-based, low-VOC sealers and cleaners designed specifically for natural stone, tile, grout, and pool surfaces. Every product in the range is formulated to protect without harsh acids or toxic residues, making them safe for household members and the surfaces themselves. The stone and grout sealer range provides penetrating protection for marble, travertine, and slate. For pool tile and outdoor stone, the pool tile restorer removes calcium buildup and restores the surface before sealing. If you are unsure which product fits your surface, the stone sealer guide walks you through the selection process step by step.
FAQ
What surfaces are considered sensitive or delicate?
Sensitive surfaces include marble, natural stone, hardwood floors, glass, stainless steel, painted walls, and unsealed tile or grout. These materials scratch, stain, or etch more easily than standard surfaces and require specialized cleaning and protection methods.
Can I use vinegar to clean sensitive surfaces?
Vinegar is acidic and permanently etches marble, limestone, and other natural stone surfaces. Use only pH-neutral or diluted mild soap solutions on delicate materials to avoid stripping finishes or causing surface damage.
How do I remove protective film without damaging the surface?
Pull the film slowly at a 180-degree angle, keeping the pull flat and steady. If the adhesive resists, apply gentle heat from a hair dryer on a low setting for 10–15 seconds to soften the bond before continuing.
How often should I reseal natural stone surfaces?
Resealing frequency depends on traffic and use, but most residential stone surfaces benefit from resealing once every one to three years. High-traffic areas like kitchen countertops and pool surrounds may need attention more frequently.
Is plastic sheeting safe to use over hardwood floors?
Non-breathable plastic sheeting traps moisture against hardwood and causes cupping, staining, and finish damage. Use breathable rosin paper as a base layer, topped with a rigid protective board like Ram Board or Masonite instead.

