
Grout Haze Removal After Tiling: A DIY Guide
TL;DR:
- Grout haze is a cloudy film that forms on tiles as cement minerals dry during curing. Removing fresh haze within 24 hours is easy with water and a microfiber cloth, but cured haze requires chemical removers suited to tile type. Patience, proper tools, and correct product use prevent damage and ensure a clean, polished finish.
Grout haze removal after tiling is the process of eliminating the thin, cloudy film that grout residue leaves on tile surfaces after installation. That film is technically called cementitious haze, and it forms as the cement minerals in grout dry and bond to the tile face. The good news is that timing and technique matter far more than chemical strength. Get both right, and you can restore a clean, polished finish without damaging a single tile. Get them wrong, and you risk etching, smearing, or permanently dulling your new floor.
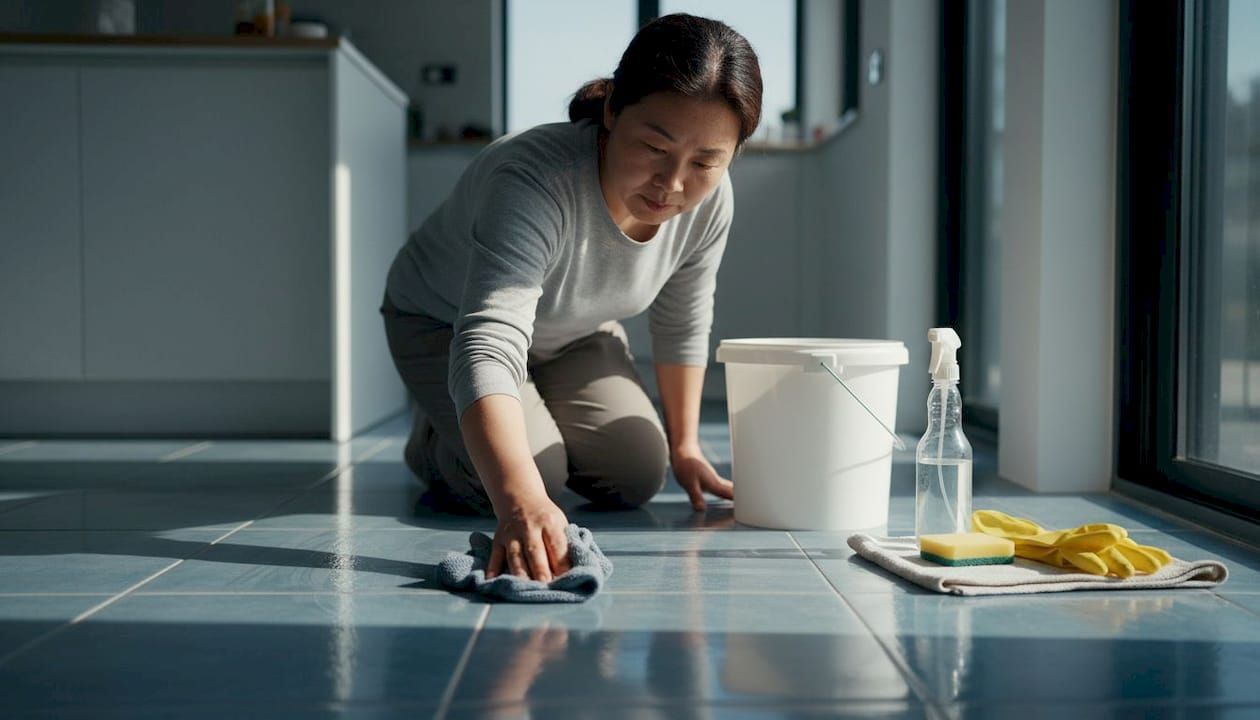
What causes grout haze and why timing matters for removal
Grout haze forms when cement particles and mineral deposits from wet grout dry onto the tile surface during the curing process. Every grout job produces some haze. The question is how hard it will be to remove.
Timing is the single biggest factor in how to clean grout haze successfully. Here is what each window means for your approach:
- Within 24 hours: The haze is loose and not chemically bonded to the tile. Fresh haze at this stage can be removed with only a damp microfiber cloth and clean water, no chemicals needed.
- 3 days to 2 weeks: The haze has bonded chemically to the tile surface. At this stage, diluted acid-based removers at ratios of 1:5 to 1:10 are typically required to dissolve the calcium carbonate bond.
- Beyond 2 weeks: The haze is fully cured and may require professional-grade products or mechanical polishing, especially on natural stone.
Tile type also affects your timeline. Polished porcelain shows haze more visibly than matte ceramic, and natural stone like marble or travertine requires a completely different cleaner regardless of timing. Knowing your tile before you start prevents costly mistakes.
What tools and products do you need for removing grout haze?
Gathering the right supplies before you start saves time and protects your tiles. The table below covers the core toolkit.
| Tool or Product | Best Used For | Safety Note |
|---|---|---|
| Microfiber cloths | Fresh haze removal on all tile types | Rinse frequently; dirty cloths spread residue |
| Two buckets | Separating cleaner and rinse water | Change rinse water often |
| pH-neutral cleaner | Natural stone, marble, travertine | Never use acid on stone |
| Diluted acid-based remover | Porcelain and ceramic with cured haze | Follow dilution ratios exactly |
| Epoxy grout haze remover | Tiles grouted with epoxy grout | Acid cleaners do not work on epoxy |
| Non-scratch white scrub pad | Gentle agitation on ceramic/porcelain | Avoid on polished stone |
| Soft-bristle brush | Textured and anti-slip tiles | Work in small sections |
| Protective gloves and eye protection | All chemical cleaning tasks | Required when using acid-based products |
One product choice that catches many homeowners off guard is the epoxy remover. Epoxy grout haze is chemically different from cement haze, and acid-based cleaners simply will not dissolve it. If you used epoxy grout, check the label before buying any remover.
Pro Tip: Use the two-bucket method every single time. One bucket holds your cleaning solution, the other holds plain rinse water. Dirty rinse water spreads cement residue across the tile instead of removing it, which is the leading cause of DIY haze removal failure.
For natural stone surfaces, acid-free stone cleaners are the only safe option. Using anything acidic on marble or limestone causes irreversible etching that no amount of scrubbing will fix.
How do you remove fresh grout haze within 24 hours?
Fresh haze removal is the easiest version of this job. The cement has not bonded yet, so water and a clean cloth do most of the work. Follow these steps carefully.
- Wait for the grout to become touch-firm. Wait 60–90 minutes after grouting before touching the surface. Starting too early pulls grout out of the joints and makes the haze worse.
- Wring out your microfiber cloth until it is damp, not wet. A dripping wet sponge floods the grout joints, which can pull grout from the joints and increase haze formation.
- Wipe in circular motions across the tile face. Work in small sections of about 4–6 square feet at a time.
- Rinse your cloth in the clean-water bucket after every 2–3 tiles. A dirty cloth deposits residue right back onto the surface.
- Change your rinse water when it turns cloudy. This is the step most homeowners skip, and it is why haze seems to come back after cleaning.
- Dry-buff the tiles with a fresh, dry microfiber cloth. This removes any remaining film and reveals the tile's true finish.
Pro Tip: Work under good lighting. Grout haze is nearly invisible in low light, and you will miss patches that dry back into a visible film. A work light held at a low angle shows haze clearly.
The entire process for a standard bathroom floor typically takes under an hour when the haze is fresh. That time investment is far smaller than the effort required to remove cured haze later.
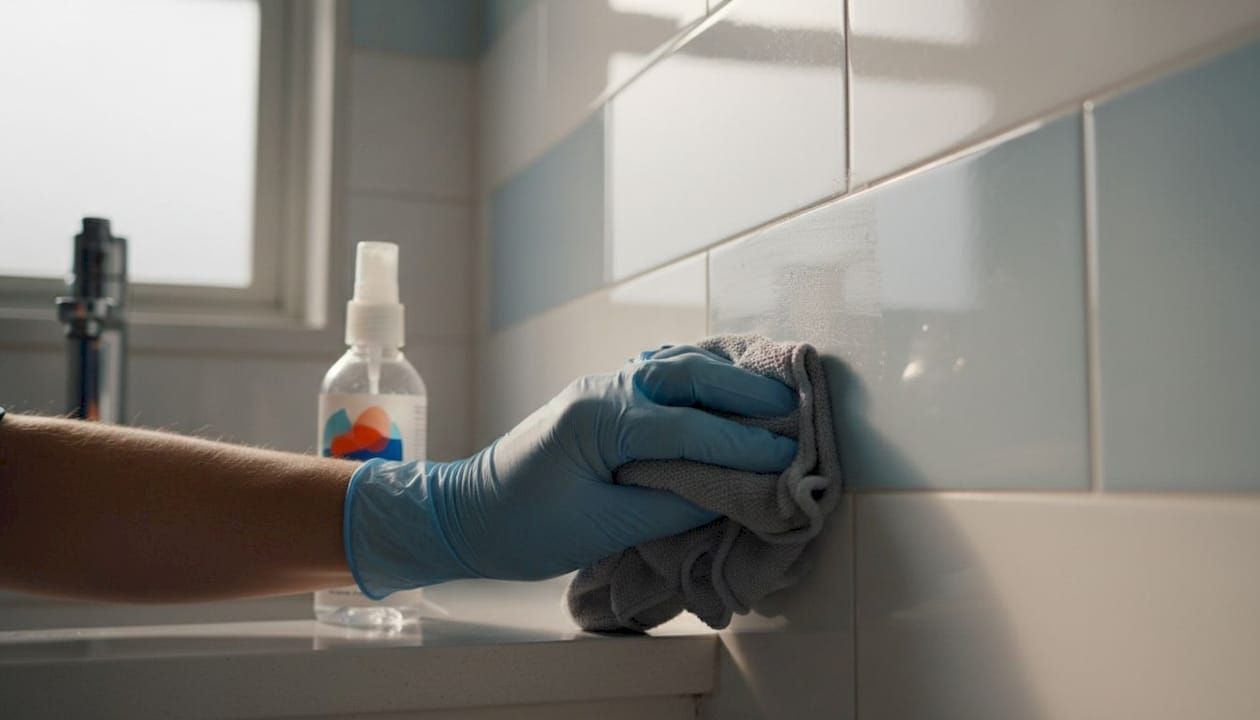
How do you remove set or cured grout haze after 24 hours?
Cured haze requires more effort and the right chemical for your tile type. Rushing this step or using the wrong product causes permanent damage.
- Identify your tile type first. Porcelain and ceramic can handle diluted acid-based removers. Natural stone cannot. When in doubt, treat the surface as stone-safe and use a pH-neutral product.
- Test your chosen cleaner on a hidden area. Apply a small amount to a grout joint corner or behind a fixture. Wait 5 minutes and rinse. Check for discoloration or dullness before proceeding.
- Pre-wet the grout joints with plain water before applying any acid-based cleaner. This prevents the acid from soaking directly into the grout and weakening the joint.
- Apply the remover in small sections. Work 2–3 square feet at a time. Let the product dwell for the time listed on the label, typically 3–5 minutes.
- Agitate gently with a non-scratch white scrub pad or soft brush. Do not scrub hard. The chemical does the work; you are just helping it contact the haze.
- Rinse the section thoroughly with clean water. Rinse at least twice. Acid residue left on the tile continues to react and can dull the glaze over time.
- Dry the area and inspect under good lighting. Repeat the process on stubborn patches, but avoid applying strong cleaners more than twice in one session.
Key cautions to keep in mind:
- Strong acid concentrations on porcelain beyond the recommended dilution risk micro-etching the tile glaze. Always dilute as directed.
- Never use acid-based products on marble, limestone, or travertine. The calcium-rich chemistry of these stones reacts with acid and causes irreversible etching or dullness.
- If the haze does not lift after two applications, stop and reassess. More chemical is not always the answer.
Pro Tip: For a deep-clean approach that skips harsh acids entirely, cleaning grout without harsh acids is a safer route for mixed-surface floors where you have both ceramic and stone tiles in the same space.
Special considerations for natural stone and textured tiles
Natural stone and textured tiles are the two surface types where most grout haze removal mistakes happen. Both require a gentler, more patient approach.
For natural stone surfaces:
- Use only stone-safe alkaline or pH-neutral cleaners. Acid and vinegar cause permanent chemical damage to marble, travertine, and limestone.
- Apply cleaner with a soft cloth or natural-bristle brush. Never use abrasive pads on polished stone.
- Rinse thoroughly and repeatedly. Stone is porous and absorbs cleaning solution, so residue left behind causes long-term discoloration.
- Seal natural stone after haze removal. Wait a minimum of 48 hours after the final cleaning before applying a penetrating sealer. Sealing protects against water absorption and future staining.
- Professional polishing may be the only solution when cured haze on natural stone cannot be safely removed with available DIY products.
For textured and anti-slip tiles:
- Haze settles deep into the surface valleys of textured tiles and does not wipe away easily.
- Use a soft-bristle brush to work cleaner into the texture. Flat pads skip over the recessed areas.
- Rinse with a wet vacuum or repeated flooding and extraction. A single rinse pass leaves residue trapped in the texture.
- Textured tiles require more thorough rinsing and agitation than smooth tiles to fully clear the haze.
The Oceancarestore intensive stone cleaner is formulated for exactly these situations, offering deep cleaning power without the acid risk.
Common mistakes and troubleshooting tips for grout haze removal
Most grout haze removal failures come down to a handful of avoidable errors. Recognizing them early saves your tiles and your time.
- Using a dripping wet sponge. Too much water floods the grout joints, weakens the bond, and pulls grout out. Use a damp, well-wrung cloth every time.
- Scrubbing before the grout cures. Aggressive scrubbing before grout fully cures damages new joints and pushes residue deeper into the tile surface. Wait the full 60–90 minutes minimum.
- Using acid on acid-sensitive surfaces. This is the most damaging mistake. Acid on marble or polished stone causes dullness that cannot be reversed without professional polishing.
- Not changing the rinse water. Dirty rinse water spreads cement residue rather than removing it. Change the water every 3–4 tiles or whenever it turns milky.
- Sealing over haze. Applying a sealer before the haze is fully removed traps the film permanently under the sealer. Always confirm the tile is completely clear before sealing.
- Giving up too early on persistent haze. If haze remains after two careful cleaning sessions, consult a professional tile restoration service before attempting stronger chemicals.
The most common DIY mistake is not dirty tools or wrong chemicals. It is impatience. Homeowners who wait for proper cure times and change their rinse water consistently remove grout haze cleanly almost every time. The shortcuts are what cause permanent damage.
For a full breakdown of what to avoid, the Oceancarestore guide on common mistakes with neutral tile cleaners covers the most frequent errors in detail.
Key Takeaways
Grout haze removal after tiling succeeds when you match your timing, tools, and cleaner to your specific tile type and haze stage.
| Point | Details |
|---|---|
| Timing is everything | Fresh haze within 24 hours removes with water alone; cured haze needs chemical removers. |
| Match cleaner to tile type | Use pH-neutral cleaners on stone and diluted acid-based removers only on porcelain or ceramic. |
| Two-bucket method prevents re-haze | Separate clean and rinse water, and change rinse water frequently to avoid spreading residue. |
| Never scrub before grout cures | Wait 60–90 minutes minimum; early scrubbing damages joints and embeds residue deeper. |
| Seal stone after cleaning | Apply a penetrating sealer at least 48 hours after final cleaning to protect natural stone. |
What I have learned from watching homeowners tackle grout haze
After seeing countless tile jobs go sideways at the cleaning stage, the pattern is always the same. Homeowners rush. They start wiping too early, use too much water, and reach for the strongest chemical they can find when the haze does not disappear immediately.
The truth is that patience is the most effective tool in this process. Waiting the full 60–90 minutes before touching fresh haze, then working methodically in small sections with clean tools, removes the vast majority of haze without any chemicals at all. That is not a tip you see on most product labels, but it is the one that actually works.
The second thing I have learned is that surface-specific cleaning is not optional. I have seen polished marble floors permanently dulled by a homeowner who used a ceramic tile acid cleaner because it was sitting in the garage. The damage was irreversible. A pH-neutral, stone-safe cleaner costs a few dollars more and takes the same amount of effort. The outcome is completely different.
My honest recommendation is to treat the two-bucket method as non-negotiable. It feels like extra effort, but dirty rinse water is the single biggest reason haze seems to return after cleaning. Clean tools and clean water do more work than any chemical shortcut.
If you are working with a contractor on a larger renovation, the single contractor kitchen and bathroom guide is worth reading before the tile work starts. Knowing what to ask for during installation prevents most haze problems before they begin.
Eco-friendly tile care from Oceancarestore
Oceancarestore carries a full range of pH-neutral, biodegradable cleaners built for exactly the surfaces discussed in this guide. Whether you need a daily-use cleaner for polished stone or a concentrated formula for stubborn cured haze, the products are plant-based, low VOC, and safe for household use.
The pH-neutral tile and stone cleaner is the go-to option for homeowners who want effective haze removal without risking their natural stone or grout. For a broader look at what eco-friendly cleaning products belong in every home, the eco-friendly cleaning essentials guide covers the full toolkit. Every product is formulated to protect your surfaces and your household.
FAQ
What is grout haze and how does it form?
Grout haze is a thin, cloudy film of cementitious residue left on tile surfaces after grouting. It forms as the cement minerals in wet grout dry and bond to the tile face during the curing process.
How long do you have to remove fresh grout haze?
Fresh grout haze is easiest to remove within 24 hours, when it has not yet chemically bonded to the tile. After 3 days to 2 weeks, the haze bonds firmly and requires diluted acid-based removers to dissolve it.
Can you use vinegar to remove grout haze from natural stone?
No. Vinegar is acidic and causes irreversible etching on marble, limestone, and travertine. Use only stone-safe alkaline or pH-neutral cleaners on natural stone surfaces.
Why does grout haze keep coming back after cleaning?
Grout haze reappears when dirty rinse water spreads cement residue back across the tile instead of removing it. Change your rinse water every 3–4 tiles and use the two-bucket method to prevent this.
When should you seal tiles after grout haze removal?
For natural stone tiles, wait a minimum of 48 hours after the final cleaning before applying a penetrating sealer. Sealing too early traps moisture and any remaining residue under the sealer.

