
How to Deep‑Clean Grout Without Harsh Acids
Grout is the material used to fill the spaces between tiles, and over time, it can become a magnet for dirt, grime, and mildew. This is particularly true in damp areas like bathrooms and kitchens, where moisture can lead to mildew growth. Grout is porous, which makes it susceptible to absorbing spills and stains, further contributing to its discolored appearance. To maintain the appearance and longevity of your tiles, regular cleaning of grout is essential.
The challenges with grout don't stop at just dirt and mildew. Grout can also become a breeding ground for bacteria and mold, especially if not cleaned regularly. This can lead to unpleasant odors and even potential health risks. Moreover, the buildup of grime can weaken the grout over time, leading to cracks and the need for costly repairs. Understanding these challenges can help you address them more effectively and maintain a cleaner, healthier home environment.

Why Avoid Harsh Acids?
While acidic cleaners can be effective in removing stains, they can also damage the grout and tiles over time. Acidic solutions can erode the grout, leading to weakened and discolored joints. Over time, this erosion can cause the grout to crumble, necessitating re-grouting, which is both time-consuming and expensive. Moreover, they can pose health risks, especially if you have sensitive skin or respiratory issues. Therefore, opting for non-acidic cleaning methods is a safer and more sustainable choice.
Using harsh acids can also impact the environment, as many of these chemicals can find their way into water systems, affecting aquatic life and ecosystems. By choosing gentle, natural cleaning solutions, you not only preserve the integrity of your tiles but also contribute to a healthier planet. The good news is that natural alternatives are just as effective when used correctly, and they offer peace of mind knowing you're not compromising on safety.
Preparing for Grout Cleaning
Before diving into the cleaning process, it's essential to gather the right tools and materials. Here's what you'll need:
- A stiff-bristled brush or a toothbrush
- Baking soda
- White vinegar
- Hydrogen peroxide
- Dish soap
- A spray bottle
- A clean cloth or sponge
Having the right tools on hand is half the battle. A stiff-bristled brush is crucial for scrubbing away tough stains without scratching the tiles. Baking soda and vinegar are household staples that, when combined, create a powerful cleaning agent that is both effective and gentle. Hydrogen peroxide acts as a natural disinfectant, while dish soap helps cut through grease and grime. By assembling these items beforehand, you ensure a smooth and efficient cleaning process.
Safety Precautions
Even though we're using mild cleaning agents, it's always a good idea to wear gloves to protect your skin. Prolonged exposure to any cleaning agent, even natural ones, can lead to skin irritation. Additionally, ensure the area is well-ventilated to avoid inhaling any fumes, especially when working in enclosed spaces like showers. Opening windows or using a fan can help circulate air and reduce the concentration of any airborne particles.
It's also wise to test the cleaning solution on a small, inconspicuous area of grout before applying it to larger sections. This will help you ensure that the solution doesn't cause any discoloration or damage. Lastly, remember to keep cleaning solutions out of reach of children and pets, as even natural products can be harmful if ingested.
Step-by-Step Guide to Deep-Clean Grout
Step 1: Create a Baking Soda Paste
Start by making a cleaning paste using baking soda and water. Mix three parts baking soda with one part water until it forms a thick paste. Baking soda is a gentle abrasive that helps lift dirt and stains without damaging the grout. Its alkaline nature also helps neutralize odors, leaving your space smelling fresh.
The paste should be thick enough to adhere to the grout lines without sliding off. If you find the mixture too runny, simply add more baking soda until you achieve the desired consistency. This paste serves as the foundation for your grout-cleaning efforts, working to break down grime and set the stage for further cleaning actions.
Step 2: Apply the Paste
Apply the baking soda paste to the grout lines using your brush. Ensure the paste covers all the stained areas. Let it sit for about 10-15 minutes. This allows the baking soda to break down the grime and makes it easier to scrub away. The waiting period is crucial, as it gives the paste time to penetrate and loosen stubborn dirt particles.
As you apply the paste, pay special attention to heavily soiled areas or spots with visible mildew. The longer the paste sits, the more effective it will be in lifting away grime. However, avoid letting it dry completely, as it can become difficult to rinse off. If necessary, lightly mist the area with water to keep the paste moist and active.
Step 3: Spray with Vinegar
Fill a spray bottle with equal parts of white vinegar and water. Spray this solution over the baking soda paste. The reaction between the baking soda and vinegar will create a fizzing action that helps lift away dirt and mildew. This fizzing not only enhances the cleaning power but also adds a visual cue that the solution is working.
The acetic acid in vinegar helps dissolve mineral deposits and cut through grease, making it an excellent companion to baking soda. Be sure to spray evenly over all the paste-covered areas to maximize the reaction. As the fizzing subsides, you'll notice the grime becoming easier to remove, setting the stage for the next step.
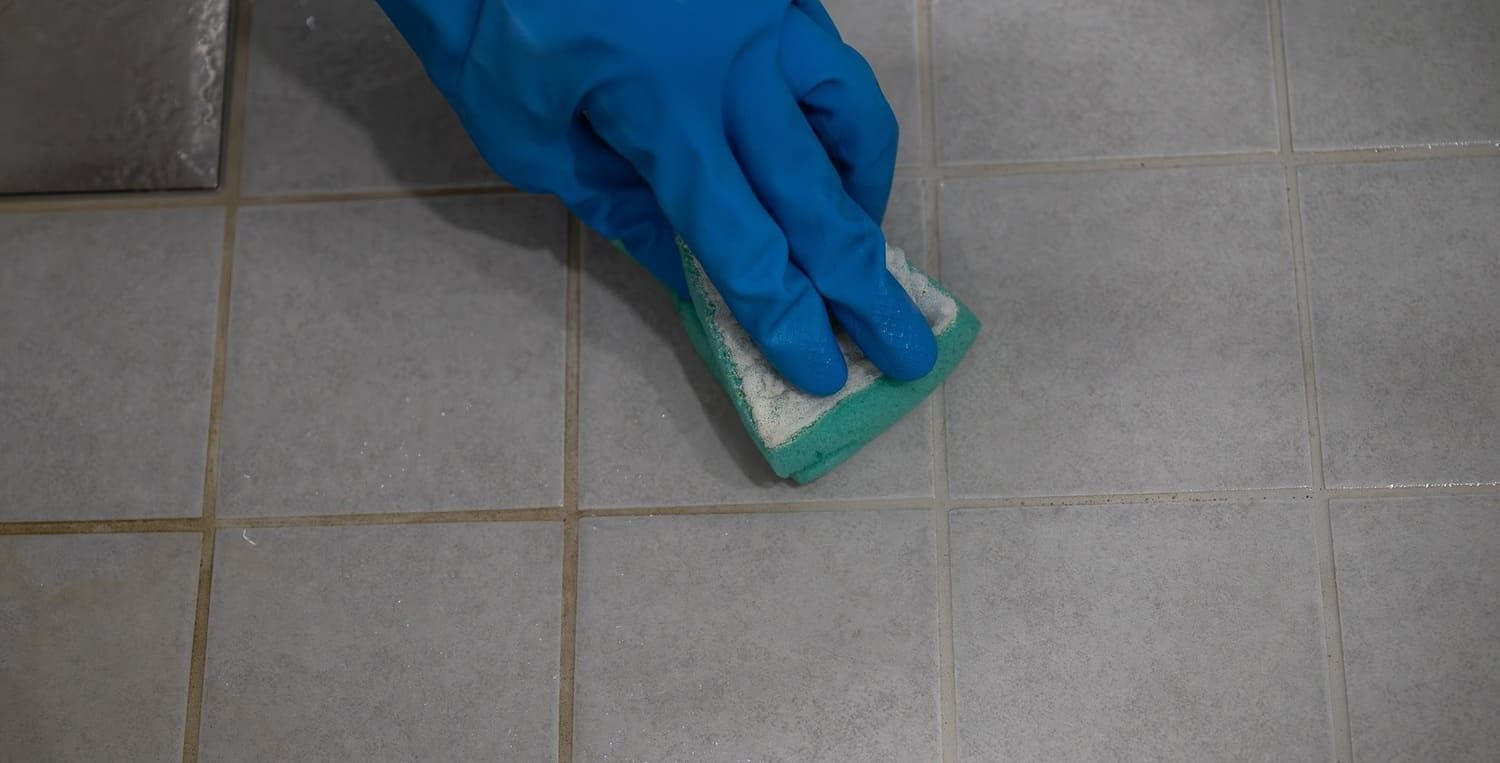
Step 4: Scrub the Grout
Using your brush or toothbrush, scrub the grout lines vigorously. Focus on areas with visible stains or mildew. The fizzing action should have loosened much of the grime, making it easier to remove. Be thorough in your scrubbing to ensure all the dirt is lifted from the porous grout surface.
Use a back-and-forth motion to work the bristles into the grout lines. This will help dislodge any remaining particles and ensure a deep clean. If you encounter particularly stubborn spots, don't hesitate to reapply the paste and vinegar solution, allowing it to work for an additional few minutes before scrubbing again.
Step 5: Rinse and Dry
Once you're satisfied with the scrubbing, rinse the area with warm water to remove any remaining paste and dirt. Use a clean cloth or sponge to wipe down the tiles and grout. Ensure the area is thoroughly dried to prevent new mildew growth. Moisture is a breeding ground for mildew, so drying is a crucial final step.
Rinsing removes any residue that could attract new dirt or mildew. Be sure to check that all cleaning solutions are washed away, as leftover residue can lead to future discoloration. After drying, inspect the grout to ensure it's clean and free of stains. A little extra time spent on this step can save you from having to repeat the process sooner than necessary.
Dealing with Stubborn Mildew Stains
Step 6: Use Hydrogen Peroxide
Hydrogen peroxide is a powerful yet safe bleach alternative that can help remove tough mildew stains. Pour a small amount of hydrogen peroxide onto the stained grout lines and let it sit for about 10 minutes. Its oxidizing properties work to break down mildew at a molecular level, making it an effective stain remover.
This step is especially useful for areas that are frequently exposed to moisture, such as shower stalls. As hydrogen peroxide is also a disinfectant, it helps kill any lingering bacteria or mold spores. Always use fresh hydrogen peroxide, as it loses its potency over time, especially when exposed to light.
Step 7: Add Dish Soap
For extra cleaning power, mix a few drops of dish soap with the hydrogen peroxide before applying it to the grout. The soap helps to break down oils and residue that may be contributing to the stains. This combination enhances the cleaning process, ensuring a more thorough result.
Dish soap is a mild detergent that cuts through grease and organic matter without leaving a harsh chemical residue. By combining it with hydrogen peroxide, you create a dual-action cleaner that tackles both stains and grime. Apply this mixture to the grout, let it sit for a few minutes, and then scrub as usual.
Step 8: Scrub and Rinse Again
After allowing the hydrogen peroxide to work its magic, scrub the grout lines once more. Rinse thoroughly with water and dry the area completely. This final rinse ensures all cleaning agents are removed, leaving behind clean and fresh grout.
Drying the area is crucial, especially in damp environments, to prevent mildew from returning. Use a towel or a microfiber cloth to absorb excess moisture, and consider using a fan or opening windows to speed up the drying process. Regular cleaning and maintenance will keep your grout looking pristine for longer.
Maintaining Clean Grout
To keep your grout looking its best, regular maintenance is key. Here are some tips to prevent future grime buildup:
- Wipe Down Regularly: After showers or cooking, wipe down tiles and grout with a dry cloth to remove moisture. This simple habit can significantly reduce the potential for mildew growth.
- Use a Grout Sealer: Apply a grout sealer once or twice a year to create a protective barrier against dirt and stains. Sealers help repel water and contaminants, making future cleaning easier and less frequent.
- Ventilation: Ensure proper ventilation in damp areas to reduce humidity and mildew growth. Use exhaust fans or open windows to allow air circulation, which helps keep these spaces dry.
Regular maintenance not only keeps your grout looking good but also extends the life of your tiles. By incorporating these practices into your routine, you create an environment that is less conducive to mold and mildew. Consistency is key, and even a few minutes of upkeep each week can prevent the need for more intensive cleaning sessions.
Conclusion
At Oceancare Products Store, we offer the best Grout Haze Remover & Cleaner designed to tackle tough stains without the need for harsh chemicals. Cleaning grout doesn't have to be an overwhelming chore—with the right tools and natural solutions, you can deep-clean effectively and safely.
By following these steps and maintaining regular cleaning habits, your grout will stay clean and mildew-free, enhancing the overall look of your tiles. Remember, the key to pristine grout is consistency. With these tips, you'll be able to keep your grout spotless without harsh acids, ensuring a healthy and beautiful home environment.
Taking the time to care for your grout not only boosts your space’s aesthetics but also supports a healthier living area. Embrace these natural cleaning methods—and if you have any questions, contact us at Oceancare Products Store. We’re here to help you enjoy the peace of mind that comes with a clean and chemical-free home.
FAQs About Deep Cleaning Grout Without Harsh Acids
What’s the best way to deep clean grout without using acid?
Use a mix of baking soda and hydrogen peroxide, scrub with a grout brush, and rinse thoroughly with warm water for effective, non-acidic cleaning.
Can I clean grout without chemicals or toxic cleaners?
Yes, you can deep-clean grout naturally using baking soda, hydrogen peroxide, lemon juice, or essential oils for safe, chemical-free results.
Why avoid using acid-based cleaners on grout?
Acid can erode grout lines, discolor the surface, and damage surrounding materials like natural stone or tile adhesive.
Is baking soda safe to use on grout for deep cleaning?
Yes, baking soda is a gentle abrasive that’s safe for most grout and can lift dirt, grease, and mild stains without causing damage.
How does hydrogen peroxide clean grout without acid?
Hydrogen peroxide breaks down stains, disinfects, and brightens grout without the harsh effects of bleach or acid.
What tools are best for scrubbing grout without damaging it?
Use a grout brush, nylon scrub pad, or an old toothbrush—avoid metal brushes that can scratch or loosen grout.
Can I use a steam cleaner to deep clean grout safely?
Yes, steam cleaning is highly effective and chemical-free. It lifts dirt and kills bacteria without damaging grout or tile.
Is it safe to use vinegar for cleaning grout?
Vinegar is mildly acidic and can be used on ceramic tile grout, but should be avoided on natural stone or sealed grout to prevent etching.
How often should I deep clean my grout naturally?
Deep clean high-traffic grout lines every 3 to 6 months, and low-traffic areas once or twice per year depending on buildup.
How can I remove mold from grout without using bleach?
Use hydrogen peroxide, baking soda paste, or a tea tree oil solution to safely kill mold and clean grout without bleach.
Does oxygen bleach work for grout cleaning without acids?
Yes, oxygen bleach (like OxiClean) is a safe, non-acidic solution that effectively lifts stains and brightens grout.
What is a safe DIY grout cleaner recipe without acid?
Combine ½ cup baking soda, ¼ cup hydrogen peroxide, and 1 tsp dish soap to create a powerful, non-toxic grout cleaner.
Can essential oils be added to grout cleaners?
Yes, oils like tea tree or eucalyptus add antibacterial properties and fragrance to natural grout cleaning mixtures.
How can I clean grout between stone tiles without acid?
Use a pH-neutral cleaner or baking soda and water. Avoid acidic substances that may etch or stain natural stone.
Can dish soap help clean grout without harsh chemicals?
Yes, dish soap can break down grime when mixed with warm water or baking soda, making it a gentle and effective option.
Will brushing too hard damage grout lines?
Over-scrubbing with hard bristles can wear down grout. Use a medium or soft brush to protect the grout surface.
How do I treat stubborn grout stains without using acids?
Apply a thick baking soda paste and let it sit for 10–15 minutes before scrubbing. Repeat or try oxygen bleach for deep stains.
Can grout be thoroughly cleaned without removing tiles?
Yes, all standard deep-cleaning methods target surface stains and dirt without needing tile removal.
Should I reseal grout after cleaning it?
Yes, resealing helps protect grout from moisture, stains, and mold—especially in kitchens, bathrooms, and other wet areas.
Where can I find acid-free grout cleaners for purchase?
Look for pH-neutral or eco-safe cleaners at hardware stores or online. Brands like Black Diamond and Eco-Me are popular choices.

