
What Is Tile Efflorescence and How to Fix It
TL;DR:
- Tile efflorescence is a powdery salt deposit resulting from moisture-driven salt migration in porous tile systems. It indicates either curing salts or ongoing water infiltration and can be prevented through proper installation, waterproofing, and sealing. Removal typically involves a vinegar solution and diligent moisture management, with persistent issues signaling underlying waterproofing failures needing professional assessment.
Tile efflorescence is the migration of water-soluble salts to the surface of porous tile, grout, or cementitious substrates, where they crystallize into a white, powdery deposit as water evaporates. It is not dirt, mold, or grout haze. It is a mineral residue left behind after moisture moves through your tile system and exits at the surface. Bathrooms, pool surrounds, balconies, and basement floors are the most common locations where homeowners and property managers encounter this problem. This guide explains what causes tile efflorescence, how to identify it correctly, and what you can do to prevent and remove it without damaging your surfaces.
What is tile efflorescence and why does it happen?
Efflorescence forms through a three-step process: water enters a porous material, dissolves soluble salts within it, and then carries those salts to the surface. When the water evaporates, the salts are left behind as a white or grayish crystalline crust. The process is straightforward, but the sources of those salts are worth understanding because they determine how severe and persistent the problem becomes.
Where the salts come from
The salts responsible for efflorescence originate from the materials used in tile installation itself. Portland cement, sand, mortar, and grout all contain soluble compounds including calcium hydroxide, sodium sulfate, and potassium sulfate. Even the mixing water contributes minerals if it is not clean potable water. The more porous the grout or substrate, the easier it is for moisture to move through and carry those salts outward.
Construction practices also play a significant role. A water-cement ratio that is too high creates excess moisture in the mix, which has nowhere to go except outward through the tile system. Rushing the curing and drying period before grouting traps moisture that then migrates slowly over days or weeks, depositing salts along the way.
Primary vs. secondary efflorescence
LATICRETE Australia distinguishes between two types that behave very differently. Primary efflorescence occurs during the initial drying and curing of cementitious products. It is an aesthetic defect, and it typically resolves once the available soluble salts are depleted. Secondary efflorescence results from ongoing external water infiltration after installation is complete. It recurs until the moisture source is identified and fixed. Secondary efflorescence is the more serious of the two because it signals an active moisture problem in your tile system, not just a curing artifact.
Pro Tip: If you see white deposits returning within days of cleaning, you are dealing with secondary efflorescence. Do not stop at surface cleaning. Inspect for water infiltration at grout joints, substrate cracks, or failed waterproofing membranes.
- Soluble salts come from cement, sand, grout, and mixing water
- High water-cement ratios accelerate salt migration
- Insufficient curing time before grouting increases primary efflorescence risk
- Ongoing moisture infiltration drives secondary efflorescence and signals a structural concern
How to identify tile efflorescence
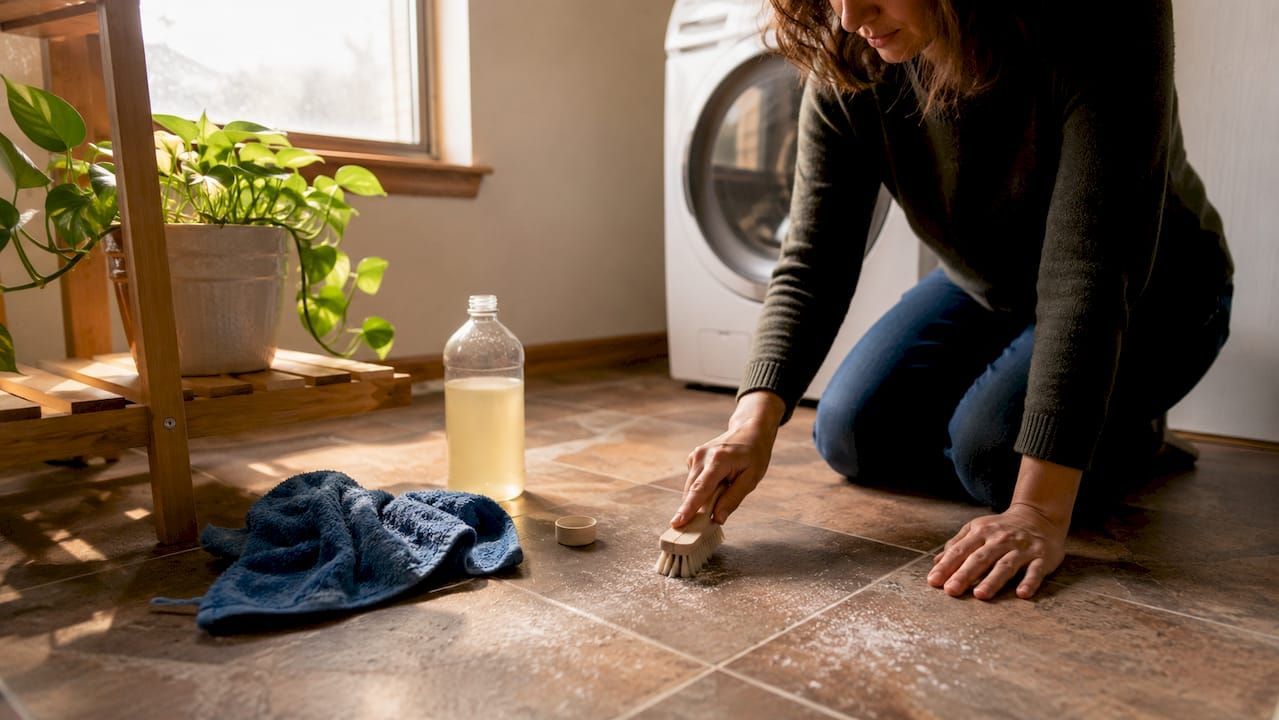
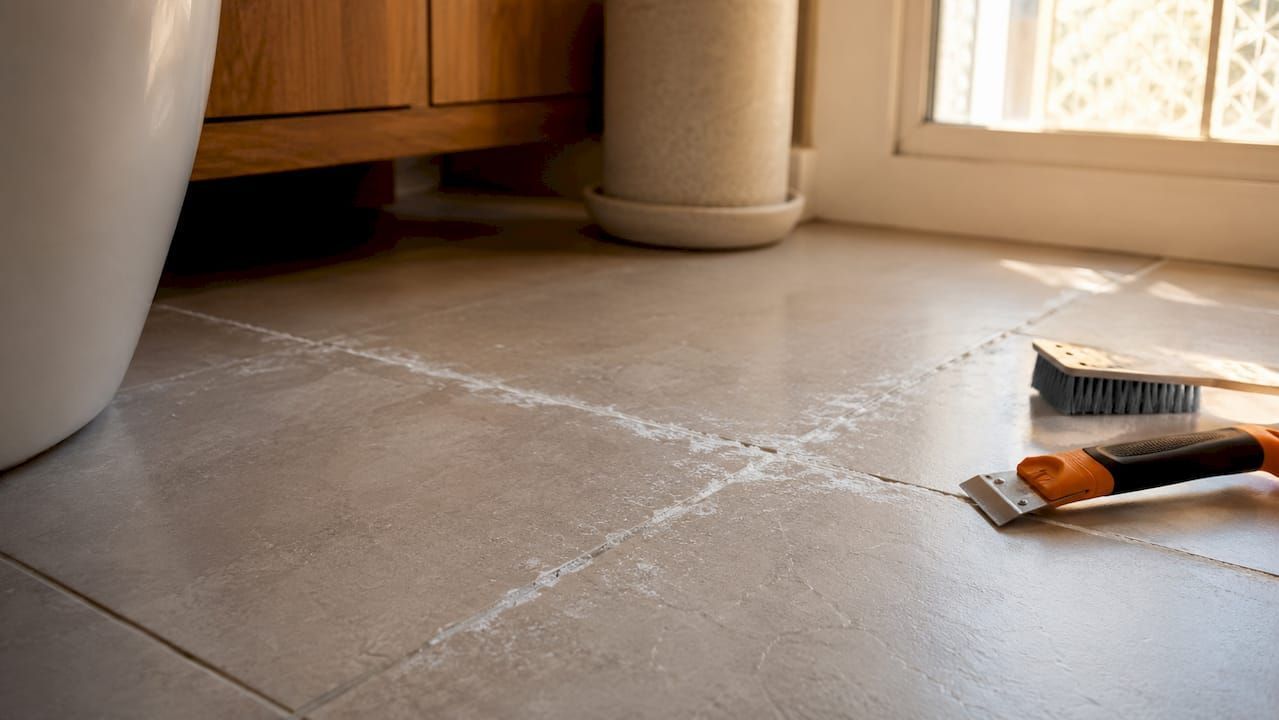
Efflorescence appears as a white, powdery, or chalk-like deposit sitting on top of the tile surface or along grout lines. It has a dry, dusty texture and will partially brush away with your finger. That tactile quality is one of the clearest diagnostic signals available to you without any tools.
Distinguishing efflorescence from similar surface problems
Mold grows in the grout and tile surface, appears gray, black, or green, and has a biological smell. Efflorescence sits on top of the surface, is always white or light gray, and has no odor. Grout haze is a film left from improper cleanup during installation. It covers the tile face uniformly and has a smeared, translucent appearance rather than the localized, crystalline look of efflorescence.
ARDEX ENDURA confirms that efflorescence is a crystalline salt deposit, not dirt, which explains why it can be brushed away but returns if moisture continues moving through the tile system. That distinction matters for diagnosis. If brushing removes the deposit and it does not return within a week, you likely had primary efflorescence from the curing phase. If it returns, moisture is still active in the system.
Common locations to inspect
- Bathroom floors and shower walls near grout joints
- Pool tile surrounds and waterline tiles
- Outdoor balconies and terrace tiles exposed to rain
- Basement floors with below-grade moisture pressure
- Newly installed tile in any wet area before full curing
A simple home inspection takes two minutes. Run your finger across the white deposit. If it smears or feels slimy, suspect mold. If it feels dry and powdery and leaves a chalky residue on your finger, efflorescence is the correct diagnosis. For grout lines specifically, check whether the deposit follows the joint pattern precisely, which is a strong indicator of salt migration through the grout itself.
How to prevent tile efflorescence during installation and maintenance
Prevention is far more effective than treatment, and most of it happens before a single tile goes down. ARDEX ENDURA recommends polymer-modified grout, waterproofing wet areas before tiling, and allowing full substrate drying before grouting to minimize salt migration. These three steps address the root causes directly.
Installation best practices
- Waterproof the substrate before tiling in any wet area, including bathrooms, showers, and pool surrounds. A waterproofing membrane blocks the external moisture pathway that drives secondary efflorescence.
- Allow the substrate to dry fully before applying adhesive or grout. Rushing this step traps moisture that will migrate outward over time.
- Use polymer-modified, low-porosity grout. Standard cement grout is highly porous and provides an easy migration path for dissolved salts. Polymer-modified grout reduces that porosity significantly.
- Mix grout and mortar with clean potable water at the correct water-cement ratio. Excess water is the single most controllable variable in primary efflorescence risk.
- Seal grout lines after full curing. A quality penetrating sealer limits moisture intrusion from the surface side, which is especially important in bathrooms and outdoor areas. An eco-friendly bathroom tile sealing guide can walk you through the right products and application methods for lasting results.
Prevention comparison: standard vs. best practice installation
| Installation factor | Standard practice | Best practice |
|---|---|---|
| Grout type | Basic cement grout | Polymer-modified, low-porosity grout |
| Substrate preparation | Tile over damp substrate | Full drying before tiling |
| Waterproofing | Optional in wet areas | Membrane applied before tiling |
| Mixing water | Tap water, variable ratio | Clean potable water, correct ratio |
| Post-installation sealing | Rarely done | Penetrating sealer after full cure |
Pro Tip: Conduct a periodic moisture test on tiled floors by taping a plastic sheet to the surface for 24 hours. If condensation forms underneath, moisture is still moving through the substrate and your sealer may need reapplication.
How to safely remove tile efflorescence
Removing efflorescence starts with the least aggressive method and escalates only if needed. United Trade Links recommends a 50/50 white vinegar and water solution applied to the affected area, left for several minutes, then scrubbed with a stiff brush. This works well for light to moderate deposits on ceramic and porcelain tile.
Step-by-step removal approach
- Dry-brush the surface first with a stiff nylon brush to remove loose crystals before applying any liquid
- Apply a 50/50 white vinegar and water solution and allow it to dwell for 5 to 10 minutes
- Scrub with a stiff brush, working along grout lines where deposits concentrate
- Rinse thoroughly with clean water to remove dissolved salts and vinegar residue
- Inspect after drying to determine whether the deposit has returned within 48 to 72 hours
For heavier deposits or natural stone tile, avoid straight vinegar or any acid-based cleaner. Acids etch natural stone and can degrade grout integrity over time. Oceancarestore's approach to deep-cleaning grout without harsh acids is the right model here: use pH-neutral or mildly acidic cleaners formulated specifically for tile and grout, not household acids at full strength.
When to call a professional
If deposits return within a week of cleaning, if you notice grout crumbling near the efflorescence, or if the affected area covers more than a few square feet in a wet zone, the problem has moved beyond surface treatment. Nashoba Pros and similar professional tile and grout services can assess whether the waterproofing membrane has failed and whether re-grouting or substrate repair is needed.
After successful removal, apply a penetrating stone and grout sealer to limit future moisture intrusion. Eco-friendly cleaning methods combined with a quality sealer represent the most sustainable long-term maintenance strategy for tiled surfaces.
Pro Tip: Always test any cleaning solution on a small, inconspicuous tile area first. Some glazed tiles and all natural stone surfaces react differently to acidic cleaners, and a patch test takes 60 seconds but saves you from permanent surface damage.
Key takeaways
Tile efflorescence is a salt migration problem driven by moisture, and fixing it permanently requires addressing the moisture source, not just the surface deposit.
| Point | Details |
|---|---|
| Definition of efflorescence | Water-soluble salts migrate to the tile surface and crystallize as water evaporates, leaving white deposits. |
| Primary vs. secondary types | Primary resolves after curing; secondary recurs until the external moisture source is identified and repaired. |
| Prevention starts at installation | Polymer-modified grout, waterproofing membranes, and correct curing time eliminate most efflorescence risk. |
| Safe removal method | A 50/50 vinegar-water solution with stiff brush scrubbing removes light deposits without damaging grout. |
| Sealing prevents recurrence | A penetrating grout sealer applied after cleaning limits moisture intrusion and reduces future salt migration. |
What years of watching tile systems fail taught me
Most homeowners treat efflorescence as a cosmetic annoyance and reach for the nearest cleaning product. That instinct is understandable, but it misses the more important question: why is moisture still moving through that tile system?
The distinction between primary and secondary efflorescence is the most practically useful concept in this entire topic, and almost no one talks about it clearly. Primary efflorescence on a newly tiled bathroom floor is not a crisis. It will stop once the curing salts are depleted. But secondary efflorescence on a three-year-old shower wall is a warning sign that the waterproofing membrane has failed or was never properly installed. Cleaning it weekly will not solve anything.
The other misconception I see repeatedly is that stronger cleaners equal better results. Homeowners reach for undiluted muriatic acid or aggressive descalers designed for concrete, apply them to ceramic or natural stone tile, and end up with etched surfaces and degraded grout that now absorbs moisture even faster. The risk of ignoring persistent efflorescence goes beyond aesthetics. Ongoing moisture infiltration can compromise the adhesive bond between tile and substrate, leading to loose or cracked tiles that require full replacement.
My honest recommendation: treat the first appearance of efflorescence as a diagnostic moment, not just a cleaning task. Brush it away, wait 72 hours, and see if it returns. That single observation tells you more about the health of your tile system than any amount of scrubbing.
Protect your tiles with eco-friendly solutions from Oceancarestore
Removing efflorescence is only half the job. Keeping it from coming back requires the right products applied consistently.
Oceancarestore carries a curated range of eco-friendly home cleaners formulated specifically for tile, grout, and natural stone surfaces. These plant-based, low-VOC options remove salt deposits and surface buildup without etching tile or degrading grout integrity. Pair a targeted cleaner with one of Oceancarestore's stone and grout sealers to create a moisture barrier that limits future salt migration. The combination of safe cleaning and quality sealing is the most effective long-term strategy for keeping tiled surfaces looking their best while protecting the substrate underneath.
FAQ
What is tile efflorescence in simple terms?
Tile efflorescence is a white, powdery deposit that forms on tile or grout surfaces when water carries dissolved salts to the surface and evaporates, leaving the minerals behind. It is a salt crystallization process, not mold or dirt.
What causes efflorescence in tiles?
Efflorescence in tiles is caused by soluble salts in cement, grout, and mortar being dissolved by moisture and transported to the tile surface. High water-cement ratios, insufficient curing time, and failed waterproofing all increase the risk.
How do I fix tile efflorescence at home?
Apply a 50/50 white vinegar and water solution, let it dwell for five to ten minutes, then scrub with a stiff brush and rinse thoroughly. If deposits return within a week, the moisture source needs to be identified and addressed before cleaning will have any lasting effect.
Is tile efflorescence harmful to my tile or grout?
Light primary efflorescence is cosmetic and causes no structural damage. Persistent secondary efflorescence signals active moisture infiltration that can weaken the adhesive bond between tile and substrate and eventually cause tiles to crack or lift.
How do I prevent efflorescence from coming back?
Preventing efflorescence recurrence requires sealing grout lines with a penetrating sealer after cleaning, using polymer-modified grout during any re-grouting work, and confirming that waterproofing membranes in wet areas are intact and functional.

