
Restore tile shine naturally: eco-friendly guide 2026
You scrub your tile floors and pool surfaces regularly, yet they still look dull and lifeless. Despite your best efforts with conventional cleaners, that original luster seems impossible to reclaim. Natural stone tiles require specialized care to restore their shine without causing damage, and harsh chemicals often do more harm than good. This guide walks you through proven eco-friendly methods to bring back your tile's natural brilliance while protecting both your surfaces and the environment. You'll discover safe, effective techniques that work for travertine, marble, limestone, and other natural stone tiles in your home and pool areas.
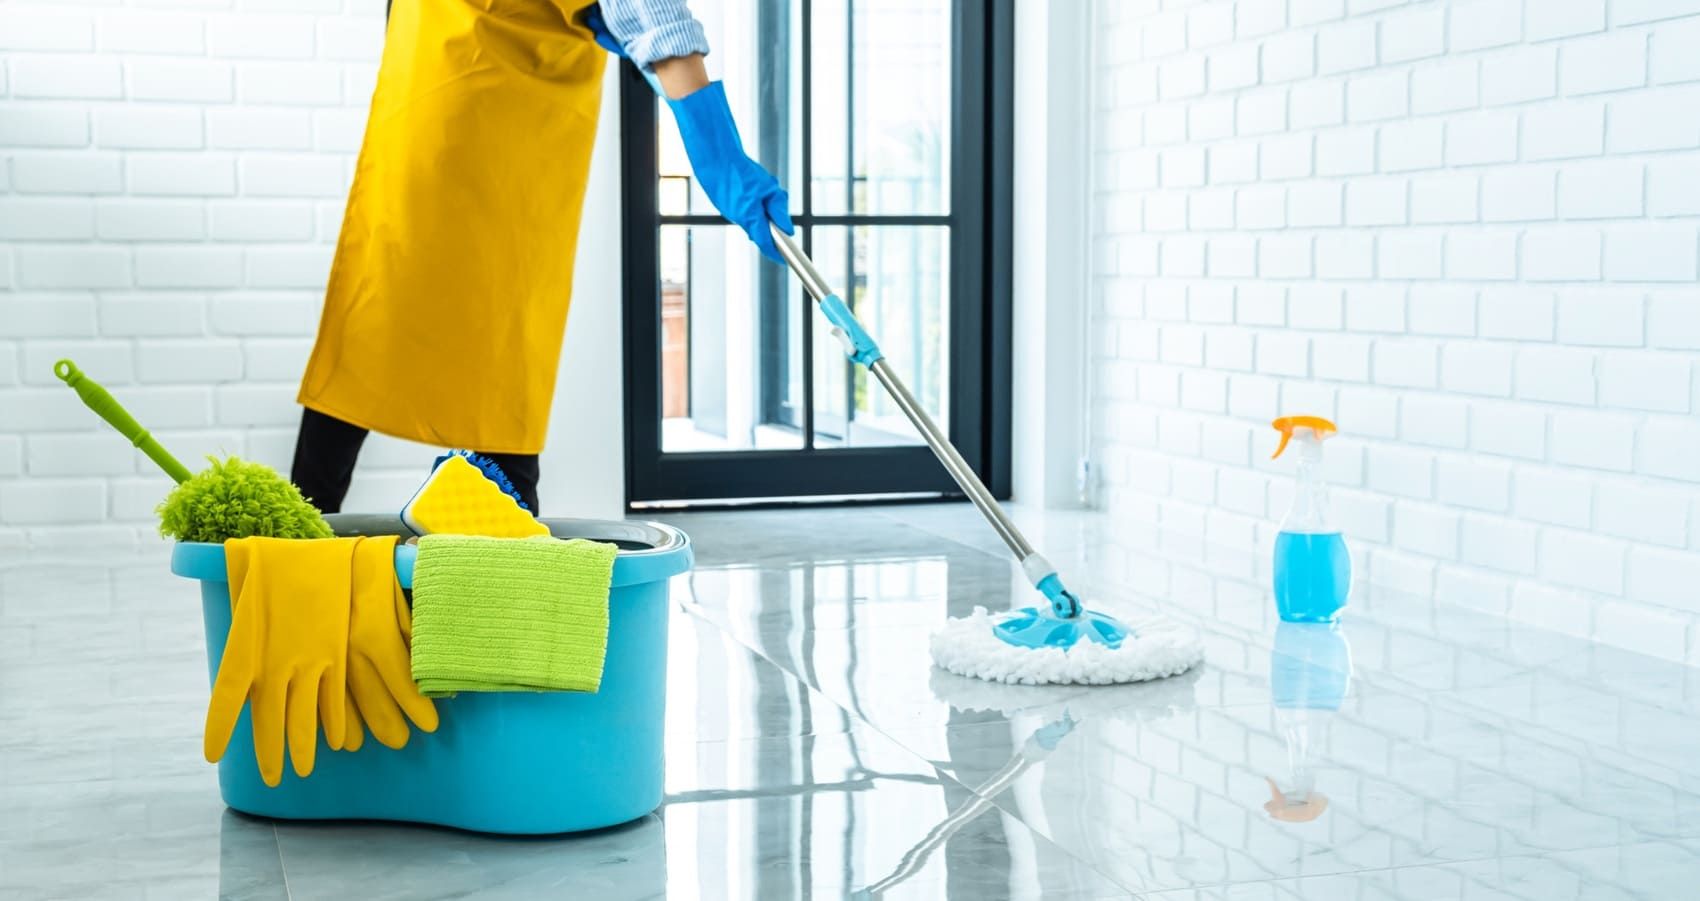
Table of Contents
Key takeaways
| Point | Details |
|---|---|
| Choose pH-neutral cleaners | Eco-friendly, pH-neutral products prevent damage to natural stone while effectively removing grime and restoring shine. |
| Seal regularly | Reseal stone tiles every 1 to 3 years based on usage and exposure to maintain protective barriers and enhance shine. |
| Avoid acidic solutions | Vinegar etches calcium-based stones like marble and travertine, so use baking soda or hydrogen peroxide instead. |
| Prepare surfaces properly | Dry sweeping and steam cleaning grout before restoration removes 98% of particulates and ensures better product absorption. |
| Maintain with natural habits | Cold water mopping and plant-based sealers extend shine duration while reducing VOC emissions in your home. |
Preparing to restore your tile shine: tools and eco-friendly products you need
Before you begin restoration work, gathering the right tools and products makes the difference between mediocre results and stunning shine. Natural stone demands gentle yet effective solutions that clean without compromising the surface integrity. You need pH-neutral stone cleaners, castile soap, baking soda pastes, and hydrogen peroxide for safe cleaning, while avoiding vinegar that etches calcium-based surfaces.
Your toolkit should include high-grit polishing pads specifically designed for natural stone, soft-bristled brushes that won't scratch delicate surfaces, and microfiber cloths for buffing. A steam cleaner becomes invaluable for grout lines, eliminating stubborn dirt without chemicals. These tools work together to prepare, clean, and polish your tiles effectively.
Here's what each product accomplishes in your restoration process:
| Product/Tool | Purpose | Safety Notes | Best Use Case |
|---|---|---|---|
| pH-neutral cleaner | Deep cleans without etching | Safe for all natural stone | Daily maintenance and restoration prep |
| Castile soap | Gentle surface cleaning | Plant-based, biodegradable | Light soil removal |
| Baking soda paste | Mild abrasive for stains | Non-toxic, food-safe | tubborn spots on durable stones |
| Hydrogen peroxide | Brightens and disinfects | 3% solution only | Grout whitening |
| High-grit polishing pads | Restores surface luster | Use with water only | Final polishing step |
| Steam cleaner | Chemical-free grout cleaning | High temperature caution | Deep grout restoration |
| Microfiber cloths | Streak-free buffing | Washable and reusable | Polishing and drying |
Prepare your surfaces properly before applying any restoration products:
- Dry sweep or vacuum thoroughly to remove loose dirt and debris that could scratch during cleaning
- Steam clean grout lines to eliminate embedded grime without harsh chemicals
- Test any new product on an inconspicuous area to verify compatibility with your specific stone type
- Remove all furniture and items from the work area to ensure complete access
- Ensure adequate ventilation even when using eco-friendly products
Pro Tip: Never use vinegar on natural stone tiles like travertine, marble, or limestone. The acidity etches the calcium-based surface, creating permanent dull spots that require professional grinding to remove. Stick with pH-neutral alternatives to protect your investment.
Understanding tile stain prevention tips helps you avoid future restoration needs, while following an eco-friendly grout cleaning guide ensures comprehensive surface care. Many homeowners make neutral cleaner usage mistakes that diminish results, so familiarize yourself with proper application techniques before starting.
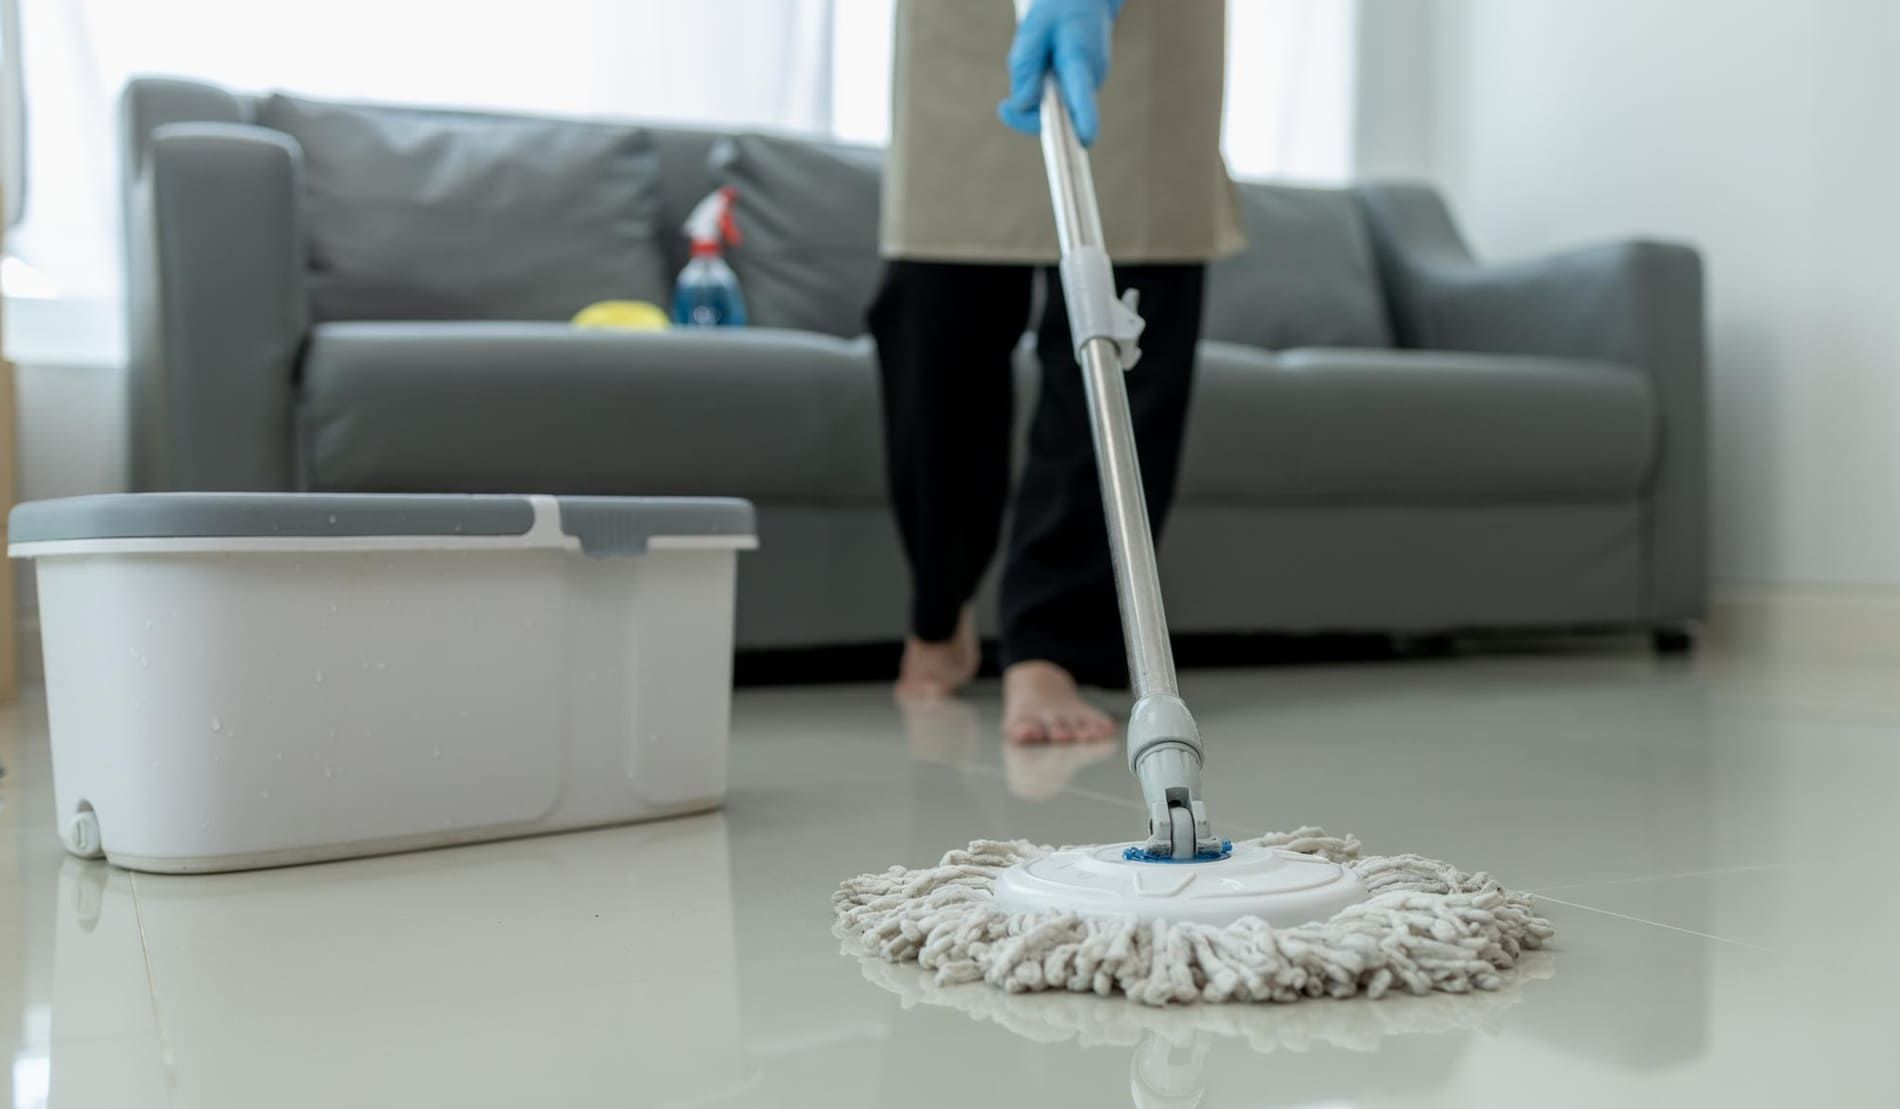
Step-by-step guide to restoring and polishing tile shine naturally
Restoring your tile's natural shine requires a methodical approach that builds from thorough cleaning to protective sealing and final polishing. Deep cleaning with pH-neutral cleaners, removing residues, sealing, and light polishing with high-grit pads form the core methodology for natural stone like travertine. This process takes time but delivers professional-looking results when done correctly.
Follow these numbered steps for optimal shine restoration:
- Begin with thorough dry sweeping or vacuuming to eliminate surface particles that could scratch during wet cleaning. This foundational step prevents micro-scratches that dull the finish.
- Mix your pH-neutral cleaner according to package directions and apply it evenly across the tile surface using a soft mop or cloth. Let it sit for 5 to 10 minutes to break down embedded grime.
- Scrub gently with a soft-bristled brush, paying extra attention to grout lines and textured areas where dirt accumulates. Avoid excessive pressure that could damage softer stones.
- Rinse thoroughly with clean water and remove all cleaner residue using a damp microfiber cloth. Any remaining product creates a hazy film that prevents shine.
- Allow the surface to dry completely for 24 hours before proceeding to sealing. Moisture trapped under sealant causes clouding and reduces effectiveness.
- Apply an eco-friendly stone sealer following manufacturer instructions, typically using a clean cloth or applicator pad. Work in small sections to ensure even coverage.
- Let the sealer cure for the recommended time, usually 24 to 48 hours, before walking on the surface or exposing it to water.
- Once cured, use a high-grit polishing pad with light pressure in circular motions to bring out the natural shine. This step enhances the surface without removing the protective seal.
- Buff the entire surface with a clean, dry microfiber cloth to remove any polishing residue and reveal the final luster.
Expect natural methods to restore shine in 15 to 30 minutes for mild dullness, though deeper restoration may require several hours spread across multiple days for proper drying and curing. The investment pays off with dramatically improved appearance and extended surface protection.
Pro Tip: Always test your cleaning solution and sealer on a small, hidden area first. Stone varieties react differently to products, and this simple precaution prevents costly mistakes on visible surfaces.
Know when professional help becomes necessary. If your tiles show uneven shine after following these steps, have lippage (uneven height between tiles), or display deep etching and scratches, a stone restoration specialist can grind and rehone the surface to factory condition. DIY methods work wonderfully for surface dullness but cannot fix structural issues.
For pool owners specifically, pool tile restoration techniques address unique challenges like calcium buildup and waterline staining. Establishing a pool tile cleaning and sealing schedule prevents severe deterioration that requires intensive restoration.
Remember to reseal stone every 1 to 3 years depending on traffic and exposure. High-use areas like entryways and pool decks need more frequent resealing than protected indoor spaces. Water absorption testing helps determine when resealing becomes necessary.
Maintaining your tile's shine with eco-friendly habits and regular care
Once you've restored your tile's beautiful shine, maintaining it requires consistent eco-friendly habits that protect the surface while minimizing environmental impact. Regular maintenance prevents the buildup that necessitates intensive restoration, saving you time and effort long term. Simple daily and weekly routines keep your tiles looking freshly polished.
Implement these eco-friendly upkeep habits into your cleaning routine:
- Dry sweep or vacuum daily in high-traffic areas to remove abrasive particles before they scratch the surface
- Mop weekly with cold water and a pH-neutral cleaner, which removes 92% of biofilm as effectively as hot water
- Steam clean grout lines monthly to prevent discoloration without introducing harsh chemicals
- Wipe up spills immediately to prevent staining, especially acidic substances like citrus juice or wine
- Place mats at entryways to capture dirt and moisture before they reach your tile floors
- Use felt pads under furniture legs to prevent scratches when moving items
- Avoid dragging heavy objects across tile surfaces
Understanding the differences between chemical and natural cleaning approaches helps you make informed decisions:
| Factor | Chemical Cleaners | Natural Eco-Friendly Methods |
|---|---|---|
| VOC Emissions | High, contributes to indoor air pollution | Minimal to none, safer air quality |
| Surface Safety | May etch or damage natural stone | pH-neutral formulas protect stone integrity |
| Environmental Impact | Pollutes waterways, harms ecosystems | Biodegradable, minimal ecological footprint |
| Effectiveness | Strong but potentially harmful | Equally effective with proper technique |
| Long-term Cost | Moderate, may require surface repairs | Lower, prevents damage and extends surface life |
| Health Considerations | Respiratory irritation, skin sensitivity | Safe for households with children and pets |
For homeowners and pool owners, plant-based sealers extend shine 1 to 2 years while maintaining environmental safety standards. Steam cleaning proves effective for grout without introducing chemicals, though professionals remain necessary for uneven shine or lippage issues that DIY methods cannot address.
Recognize when routine cleaning no longer suffices. If water beads poorly on sealed surfaces, dull spots appear despite regular maintenance, or stains penetrate rather than sitting on top, your tiles need resealing. These signs indicate the protective barrier has worn thin and requires renewal.
Pro Tip: Apply plant-based sealers during cooler months when humidity levels stay lower. This ensures proper curing and maximum penetration into the stone, extending the protective barrier's effectiveness.
Natural methods reduce VOCs and indoor pollutants compared to conventional chemical cleaners, creating healthier living spaces. Cold water mopping works just as effectively as hot water for routine maintenance, while dry sweeping first removes 98% of particulates that could otherwise scratch during wet cleaning.
Learn proper tile floor maintenance with sealers to maximize your investment. Understanding the various types of eco-friendly pool tile cleaners helps you select products matched to your specific needs. Comprehensive pool tile maintenance tips address seasonal challenges and water chemistry impacts on tile condition.
Consult professionals when you notice persistent dullness despite proper maintenance, uneven tile heights creating tripping hazards, or widespread etching from acidic exposure. These conditions require specialized equipment and expertise beyond typical homeowner capabilities. Regular professional inspections every few years catch developing issues before they become expensive problems.
Elevate your tile care with our eco-friendly products
Now that you understand the natural methods for restoring and maintaining tile shine, you need reliable products that deliver on these principles.
Oceancare specializes in eco-friendly solutions designed specifically for natural stone and tile care. Our
pH-neutral tile and stone cleaner safely removes grime without damaging delicate surfaces, while our
biodegradable clean and seal formula combines cleaning and protection in one efficient step.
Our stone and grout sealers use plant-based formulations that protect your investment while keeping your home environment safe. These products work seamlessly with the restoration techniques outlined in this guide, giving you professional results without the environmental compromise. Whether you're maintaining pool tiles or indoor natural stone, our specialized range addresses your specific needs with proven effectiveness and genuine environmental responsibility.
FAQ
What is the best eco-friendly cleaner for natural stone tiles?
PH-neutral cleaners like Ecoprotec or those based on castile soap work best for natural stone tiles. These formulations clean effectively without the acidity that damages calcium-based stones. Our pH-neutral tile and stone cleaner specifically targets natural stone needs while maintaining environmental safety standards.
How often should I reseal my tile to maintain shine?
Reseal your natural stone tiles every 1 to 3 years depending on traffic levels and exposure to water or chemicals. High-use areas like pool decks and entryways need more frequent resealing than protected indoor spaces. Check for signs like dull spots and water absorption rather than following a rigid schedule. Learn more about optimal timing in our tile resealing frequency guide.
Can I use vinegar to clean and restore shine on all types of tile?
Vinegar works well on ceramic and porcelain tiles but damages natural stone through etching calcium-based surfaces like travertine and marble. The acidity creates permanent dull spots that require professional grinding to remove. Use baking soda or pH-neutral cleaners instead for safe, effective cleaning on all tile types. Baking soda provides safe abrasive action but avoid over-scrubbing softer stones.
How long does it take to restore tile shine using natural methods?
Mild dullness typically requires 15 to 30 minutes of active cleaning time, though the complete process spans several days when including drying and curing periods. Deep cleaning takes 1 to 2 hours, followed by 24 hours of drying before sealing. The sealer then needs 24 to 48 hours to cure before final polishing. Plan for a full weekend to complete the entire restoration process properly.
What causes natural stone tiles to lose their shine over time?
Daily foot traffic grinds abrasive dirt particles into the surface, creating microscopic scratches that dull the finish. Hard water deposits, soap scum, and cleaning product residue build up in these tiny imperfections, further reducing shine. Inadequate or worn sealant allows moisture and contaminants to penetrate the stone, causing internal discoloration. Regular maintenance with proper products prevents this gradual deterioration.
Recommended
- How to Prevent Tile Stains Naturally (Eco-Friendly)
- Eco-Friendly Grout Cleaning Guide for Safe Surface Care
- Top 5 Eco-Friendly Stone Cleaners for 2026 Homeowners
- 7 Hard Surface Cleaning Best Practices for Eco Homes
- Eco-Friendly Carpet Cleaning Steps for Spotless Results - Yarra Valley Carpet Cleaning

