
Grout Renewal Checklist: Your Complete Tile Care Guide
TL;DR:
- A grout renewal checklist is a step-by-step guide to inspect, clean, repair, and seal tile grout effectively. Neglecting grout can lead to costly damage and structural issues, especially when cracks reoccur. Proper inspection, cleaning with pH-balanced products, correct grout removal, and sealing extend tile lifespan and prevent future repairs.
A grout renewal checklist is a structured, step-by-step guide covering inspection, cleaning, repair, and sealing to restore tile grout to full function and appearance. Neglecting grout is a costly mistake. Repair costs triple when early cracks go unaddressed, because water infiltrates and damages the substrate beneath. This guide gives homeowners and property managers a practical, expert-backed process for renewing grout, from the first visual check to the final sealer coat, using industry-standard techniques and eco-conscious products.
1. Follow a grout renewal checklist before you touch a single tile
The grout renewal checklist is the industry term professionals use for a phased approach to grout restoration. It separates cosmetic fixes from structural repairs, which is the most important distinction any homeowner can make. Color sealing lasts 5–10 years on structurally sound grout, while full regrouting lasts 15–25 or more years when structural damage is present. Choosing the wrong method wastes time and money.
The checklist follows five phases: inspect, clean, remove damaged grout, regrout, and seal. Each phase has pass or fail criteria before you move to the next. Skipping phases is the single most common DIY mistake.
2. Inspect grout visually and by touch
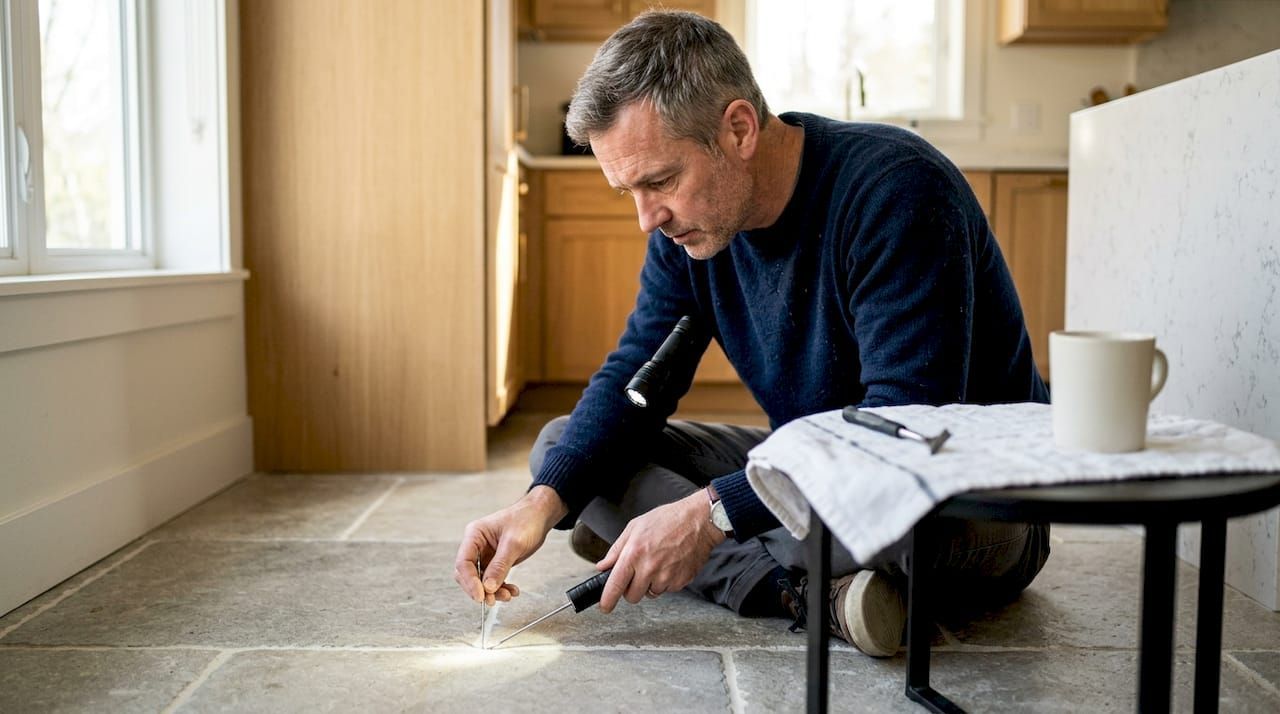
Effective inspection uses three tools: a flashlight, a thin metal probe or screwdriver, and your eyes. Shine the flashlight at a low angle across the tile surface. This raking light technique reveals hairline cracks and low spots that flat overhead lighting hides completely.
Run the probe lightly along grout lines. Solid grout resists the probe. Soft, crumbling, or hollow-sounding grout signals active deterioration. Note every problem area on a simple sketch or phone photo before you begin any work.
What to look for during inspection:
- Cracks running along the grout line or across it
- Discoloration that does not lift with a damp cloth
- Grout that crumbles or powders when touched
- Grout that has receded below the tile edge
- Mold or mildew growth in recurring patterns
- Cracks that reappear after previous repairs
Repeated cracks often signal structural movement or missing expansion joints, not simple grout failure. When cracks keep coming back in the same spots, a professional assessment is the right call before any DIY repair.
Pro Tip: Inspect grout every six months in wet areas like showers and kitchen backsplashes. Catching a hairline crack early costs almost nothing to fix. Catching it after water has reached the substrate costs far more.
3. Clean grout properly before any repair or sealing
Cleaning is not optional prep work. Grout that carries soap scum, mineral deposits, or mold will not bond properly with new grout or sealer. The cleaning step is where most homeowners make their biggest mistake: reaching for bleach or vinegar.
Harsh acidic cleaners corrode grout composition and increase porosity, which accelerates future staining. A pH-balanced or plant-based cleaner does the job without weakening the grout matrix. Oceancarestore's biodegradable grout cleaner is formulated specifically to lift grime without acid damage.
Effective cleaning steps:
- Apply your chosen cleaner directly to dry grout lines
- Allow dwell time of several minutes so the solution breaks down grime chemically
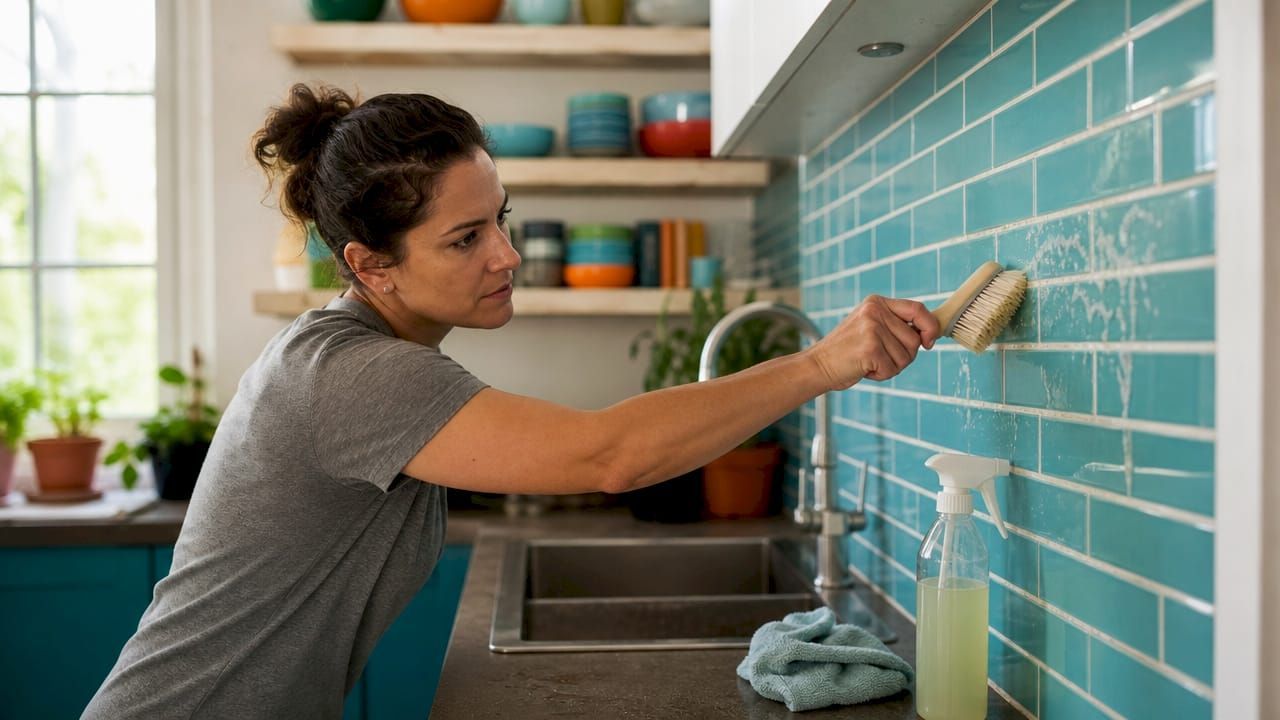
- Scrub with a stiff nylon brush, not a metal brush, which scratches tile glaze
- Rinse thoroughly with clean water and let the surface dry completely
- Repeat for heavily stained areas rather than scrubbing harder on the first pass
Pro Tip: Dwell time does the heavy lifting. Apply cleaner, set a timer for five minutes, then scrub. You will use less effort and cause less wear on the grout surface than aggressive scrubbing from the start.
For a full method breakdown, Oceancarestore's eco-friendly grout cleaning guide covers product selection and technique for every surface type.
4. Remove damaged grout to the correct depth
Old grout removal is where DIY projects most often fail. Applying new grout over old grout does not work. New grout must be removed to a minimum depth of 1/8 inch so fresh grout can mechanically bond to the substrate. Without that bond, the new layer delaminates within months.
Use an oscillating multi-tool with a grout removal blade for speed, or a manual grout saw for tight joints. Work carefully to avoid chipping tile edges. Vacuum out all dust and debris before moving to the next step.
Pro Tip: Wear safety glasses during removal. Grout fragments travel fast and far. A shop vacuum running alongside the tool keeps dust manageable and gives you a clearer view of the joint depth.
5. Choose the right grout type for the joint
Grout selection depends on joint width and location. Unsanded grout suits joints under 1/8 inch wide. Sanded grout suits joints from 1/8 inch to 1/2 inch. Epoxy grout suits high-moisture or commercial environments where stain resistance is critical.
Match the grout color to the existing tile as closely as possible if you are doing a partial repair. Full regrouting gives you the option to change color entirely, which can refresh a dated bathroom without replacing a single tile.
6. Apply new grout with the correct technique
Mix grout to a peanut butter consistency. Too wet and it shrinks as it cures. Too dry and it crumbles. Hold the float at a 45-degree angle and press grout firmly into joints, working diagonally across the tile surface to pack joints fully.
Remove excess grout with a damp sponge before it hardens. Wring the sponge nearly dry before each pass. Excess water on the surface dilutes the grout mix and weakens the finished joint.
| Step | Action | Common mistake |
|---|---|---|
| Mixing | Peanut butter consistency | Too much water weakens the mix |
| Application | Float at 45 degrees, diagonal strokes | Parallel strokes leave voids |
| Cleanup | Nearly dry sponge, light pressure | Wet sponge dilutes surface grout |
| Corners | Flexible silicone caulk, not grout | Rigid grout cracks with movement |
| Curing | 48–72 hours before water exposure | Early wetting causes shrinkage cracks |
Corners and movement joints require flexible, color-matched silicone caulk rather than rigid grout. Building movement is constant, and rigid grout in corners cracks every time. Caulk tolerates that movement without failing.
Pro Tip: Apply painter's tape along tile edges before caulking corners. Peel it while the caulk is still wet for a clean, professional line every time.
7. Allow full curing before water exposure
Grout must cure for at least 48–72 hours before any water contact or foot traffic. This is a hard rule, not a suggestion. Premature water exposure causes surface cracks and color inconsistency that cannot be fixed without removing and reapplying the grout.
In bathrooms, tape a note over the shower controls. In kitchens, keep the backsplash dry. For floor tile, block the area with a physical barrier. The cure window is short. Protecting it costs nothing.
8. Seal grout after the full cure period
Sealing is the step most homeowners skip, and it is the step that determines how long the entire job lasts. Wait for the full seven-day cure before applying sealer. Applying sealer too early traps moisture inside the grout and causes efflorescence, the white powdery residue that signals a failed seal.
Penetrating sealers absorb into the grout matrix and repel water and stains from within. Surface sealers sit on top and wear off faster. For most residential applications, a penetrating sealer is the right choice.
Sealing is recommended every 1–2 years depending on traffic and moisture exposure. High-traffic floors and shower walls need annual attention. Low-traffic backsplashes can go two years between applications.
Signs that resealing is overdue:
- Water no longer beads on the grout surface
- Stains absorb quickly and do not wipe away
- Grout color appears darker or blotchy after mopping
- Mold returns within weeks of cleaning
Avoid common sealer application mistakes like applying too thick a coat or sealing over dirty grout. Both failures require stripping and restarting.
9. Build a regular tile maintenance routine
Grout renewal is not a one-time event. A consistent maintenance routine extends the life of any regrouting job by years. Sweep or vacuum tile floors weekly to prevent abrasive grit from grinding into grout lines. Mop with a pH-neutral cleaner monthly.
Ventilate wet areas after every use. Moisture sitting in grout lines for hours feeds mold and accelerates deterioration. A bathroom exhaust fan running for 20 minutes after a shower makes a measurable difference over months and years.
For a full maintenance schedule, Oceancarestore's grout maintenance guide covers frequency, product selection, and seasonal care for both indoor and outdoor tile.
Key takeaways
A grout renewal checklist works because it separates inspection, cleaning, removal, regrouting, and sealing into distinct phases, each with clear pass criteria before the next step begins.
| Point | Details |
|---|---|
| Inspect before anything else | Use raking light and a probe to find cracks, soft spots, and recurring damage. |
| Clean with pH-balanced products | Acidic cleaners corrode grout and increase porosity, shortening its lifespan. |
| Remove old grout to 1/8 inch depth | New grout bonds to substrate, not to old grout. Shallow removal causes delamination. |
| Cure 48–72 hours before water exposure | Premature wetting causes shrinkage cracks that require full removal and reapplication. |
| Seal every 1–2 years | Penetrating sealers protect from within and outlast surface coatings in wet areas. |
What I have learned from watching homeowners rush the process
The most expensive grout jobs I have seen were not caused by bad materials. They were caused by skipping the inspection phase and treating every grout problem as a cosmetic one. A homeowner applies a grout pen to a cracked shower floor, it looks fine for three weeks, and then water has been sitting under the tile for months before anyone notices.
The color sealing versus regrouting decision is where I see the most confusion. Color sealing is a legitimate fix for grout that is structurally intact but stained or faded. It is not a patch for cracks. Using it on cracked grout is like painting over rust. The underlying problem keeps moving.
My honest advice: if cracks reappear in the same location after repair, stop repairing and start investigating. Recurrent cracks often indicate structural issues that no amount of regrouting will solve. A structural engineer or experienced tile contractor can identify whether the problem is a missing expansion joint, substrate flex, or foundation movement. Spending $200 on a professional assessment beats spending $2,000 on a third round of regrouting.
The other lesson: sealing is not glamorous, but it is the highest-return step in the entire process. Homeowners who seal on schedule spend far less on repairs over a decade than those who regrout beautifully and then never seal.
Grout and tile care products from Oceancarestore
Completing a grout renewal job correctly means having the right products at each phase. Oceancarestore carries eco-friendly, plant-based sealers and cleaners designed specifically for grout, natural stone, and tile surfaces in kitchens, bathrooms, and outdoor areas.
The stone and grout sealers collection includes penetrating formulas that meet the seven-day post-cure sealing standard and are safe for household members and pets. Every product is biodegradable and low VOC, so you are not trading surface protection for indoor air quality. Whether you are sealing a freshly regrouted shower or maintaining an outdoor stone feature, Oceancarestore has a product matched to the surface and the job.
FAQ
How often should grout be renewed?
Full regrouting is typically needed every 15–25 years for structurally sound tile. Sealing should happen every 1–2 years to maintain protection and prevent staining.
Can I apply new grout over old grout?
No. New grout applied over old grout fails quickly because it cannot bond to the substrate. Old grout must be removed to a minimum depth of 1/8 inch first.
What cleaners are safe for grout?
pH-balanced and plant-based cleaners are safe for regular use. Acidic cleaners like vinegar corrode grout over time and increase porosity, making future staining worse.
How long does grout need to cure before sealing?
Grout needs a full seven-day cure before sealer is applied. Sealing too early traps moisture and causes efflorescence or a failed bond.
When should I call a professional instead of doing it myself?
Call a professional when cracks reappear in the same location after repair. Repeated cracking signals structural movement that requires assessment beyond standard regrouting.

